| Audience | Marketers, platform admins |
| Prerequisites |
The image library stores the visual assets Lifecycle Studio can use in generated messages. Upload brand imagery, tag images to help the agent choose relevant assets, and connect external sources for automatic import.
Overview
The image library gives the agent access to your brand's visual elements: product photography, lifestyle images, icons, backgrounds, and other creative files. When the agent generates a message, it selects appropriate images based on the campaign context, message content, and image tags.
Upload images when you have new brand assets, tag them so the agent can find the right ones, and connect external sources so new assets flow in automatically.
Upload images
To upload images:
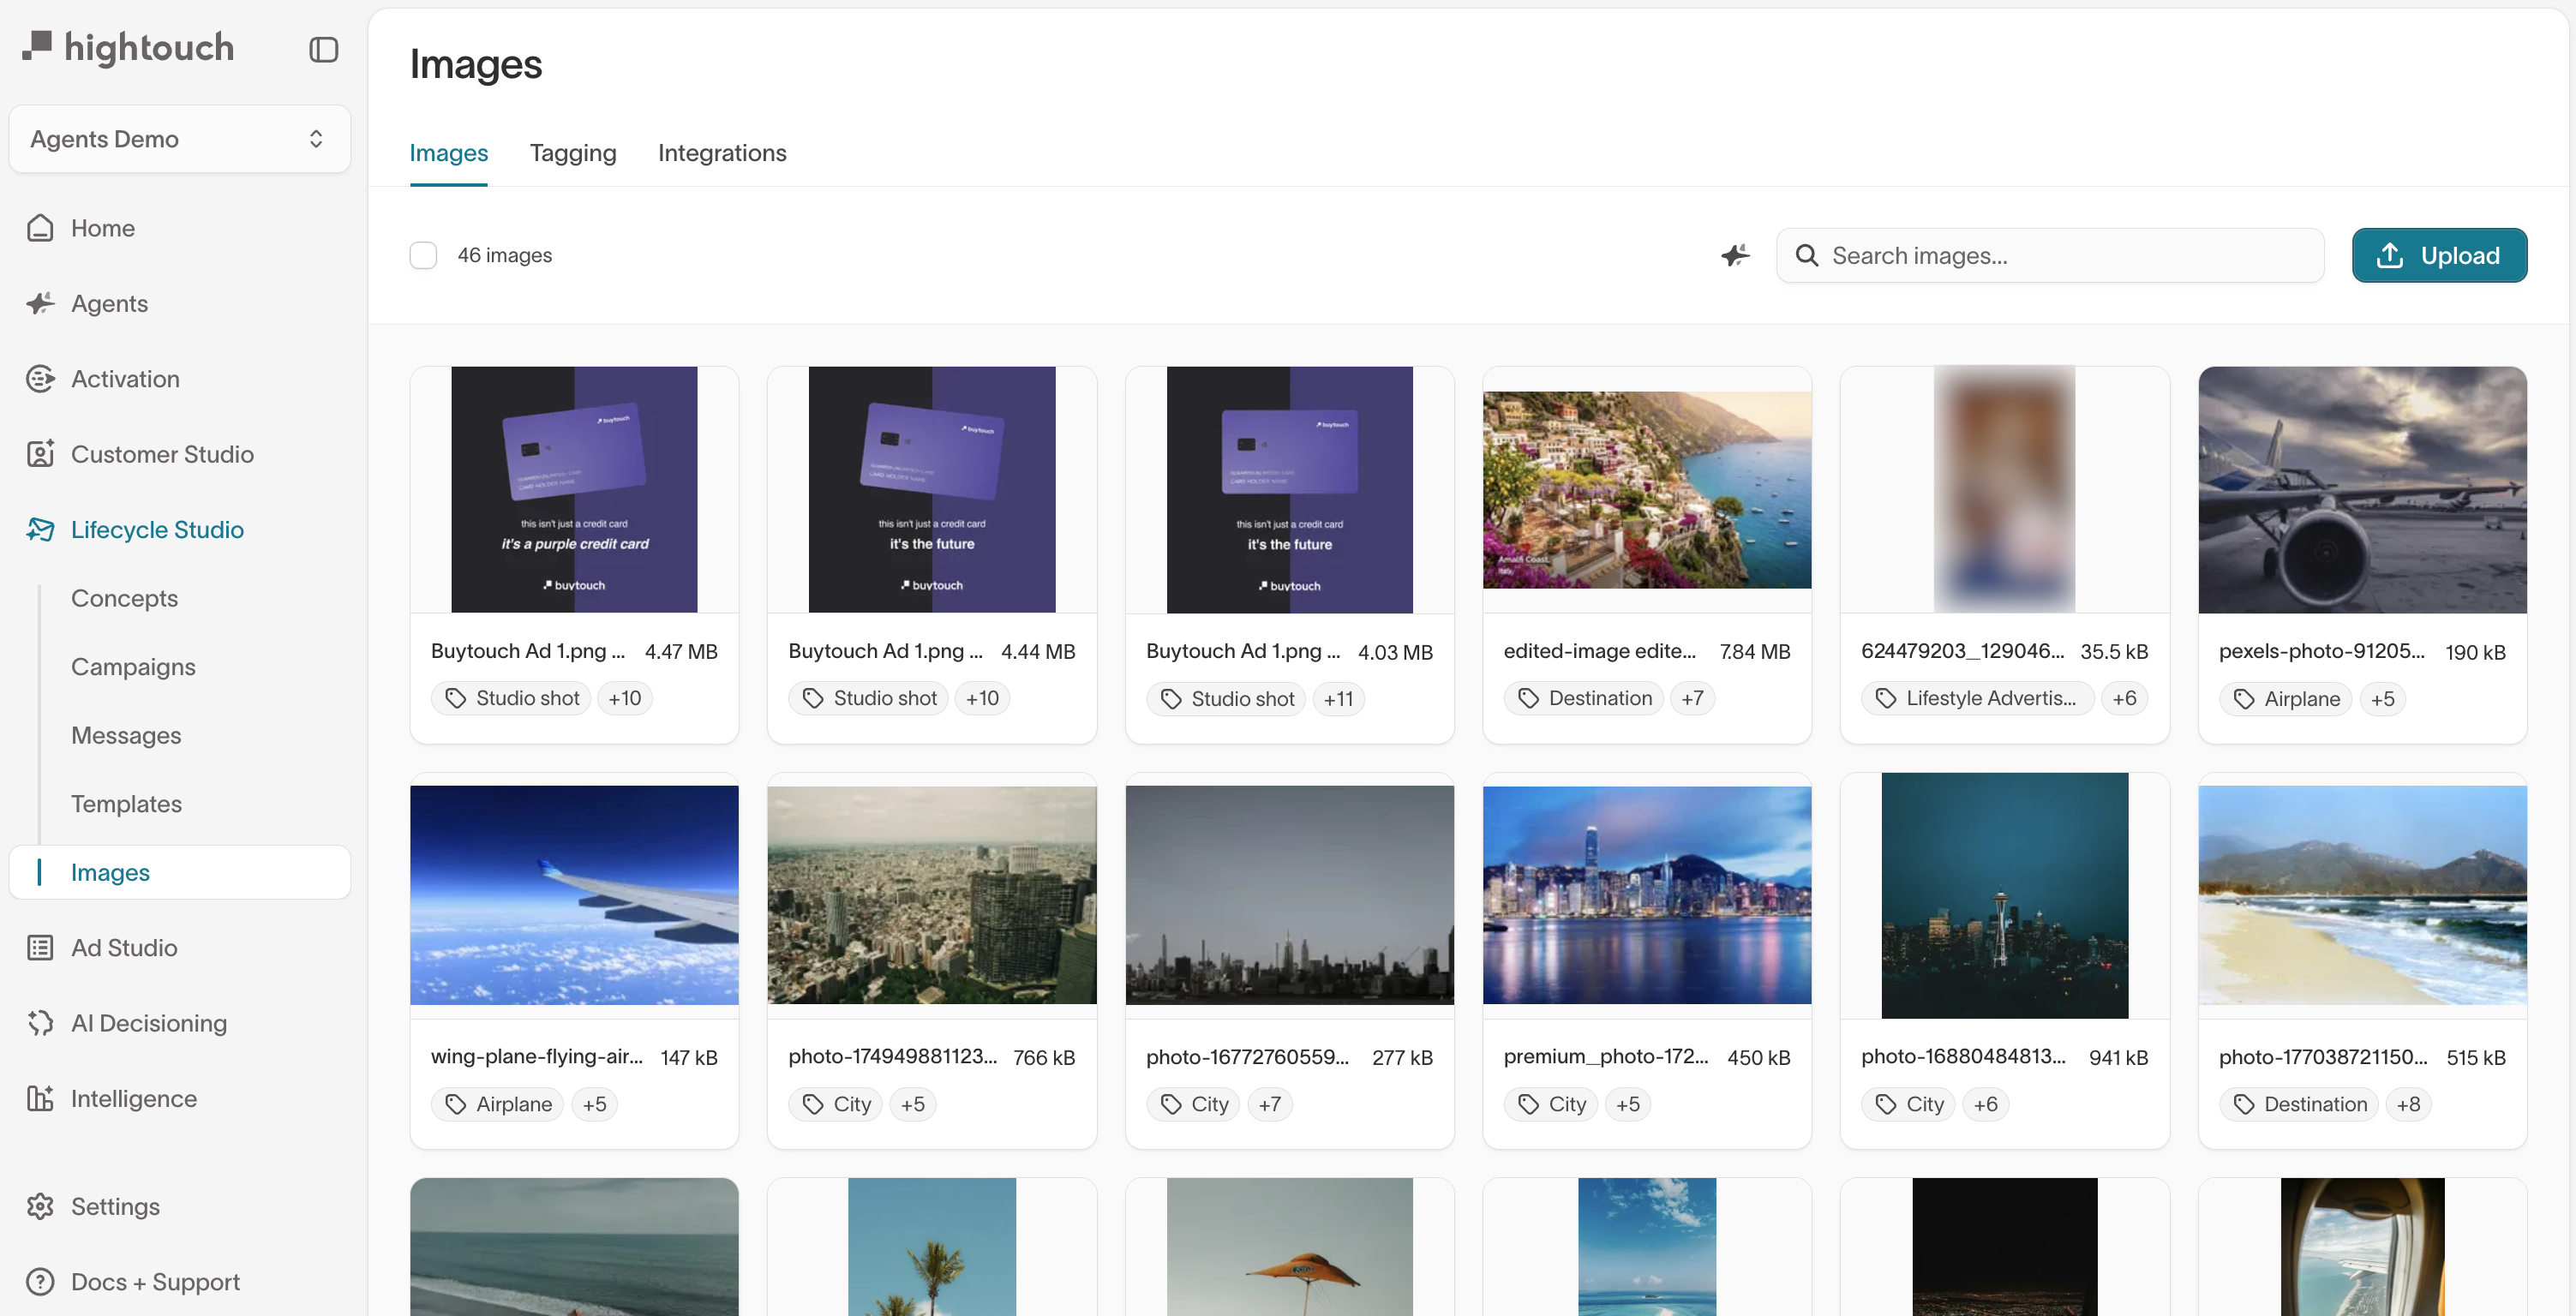
- Go to Lifecycle Studio → Images and select Upload.
- Select files or drag and drop images into the upload area.
Each image shows a thumbnail, filename, file size, and assigned tags. Select an image to see its description and tags, open the editor, or view its history.
Upload a variety of image types: product shots, lifestyle images, icons, and backgrounds. A larger, more varied library gives the agent more options and produces more varied output.
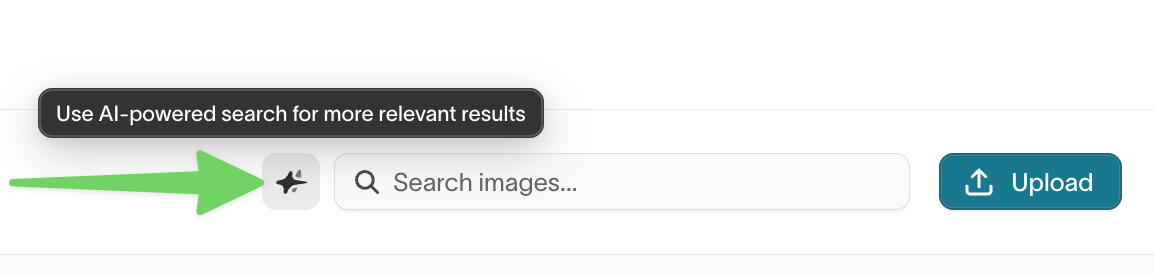
Search images
Search by filename, or switch to AI-powered search to rank results by how relevant they are to your query rather than by filename. This helps when you remember what an image shows but not what it's called.
Edit an image
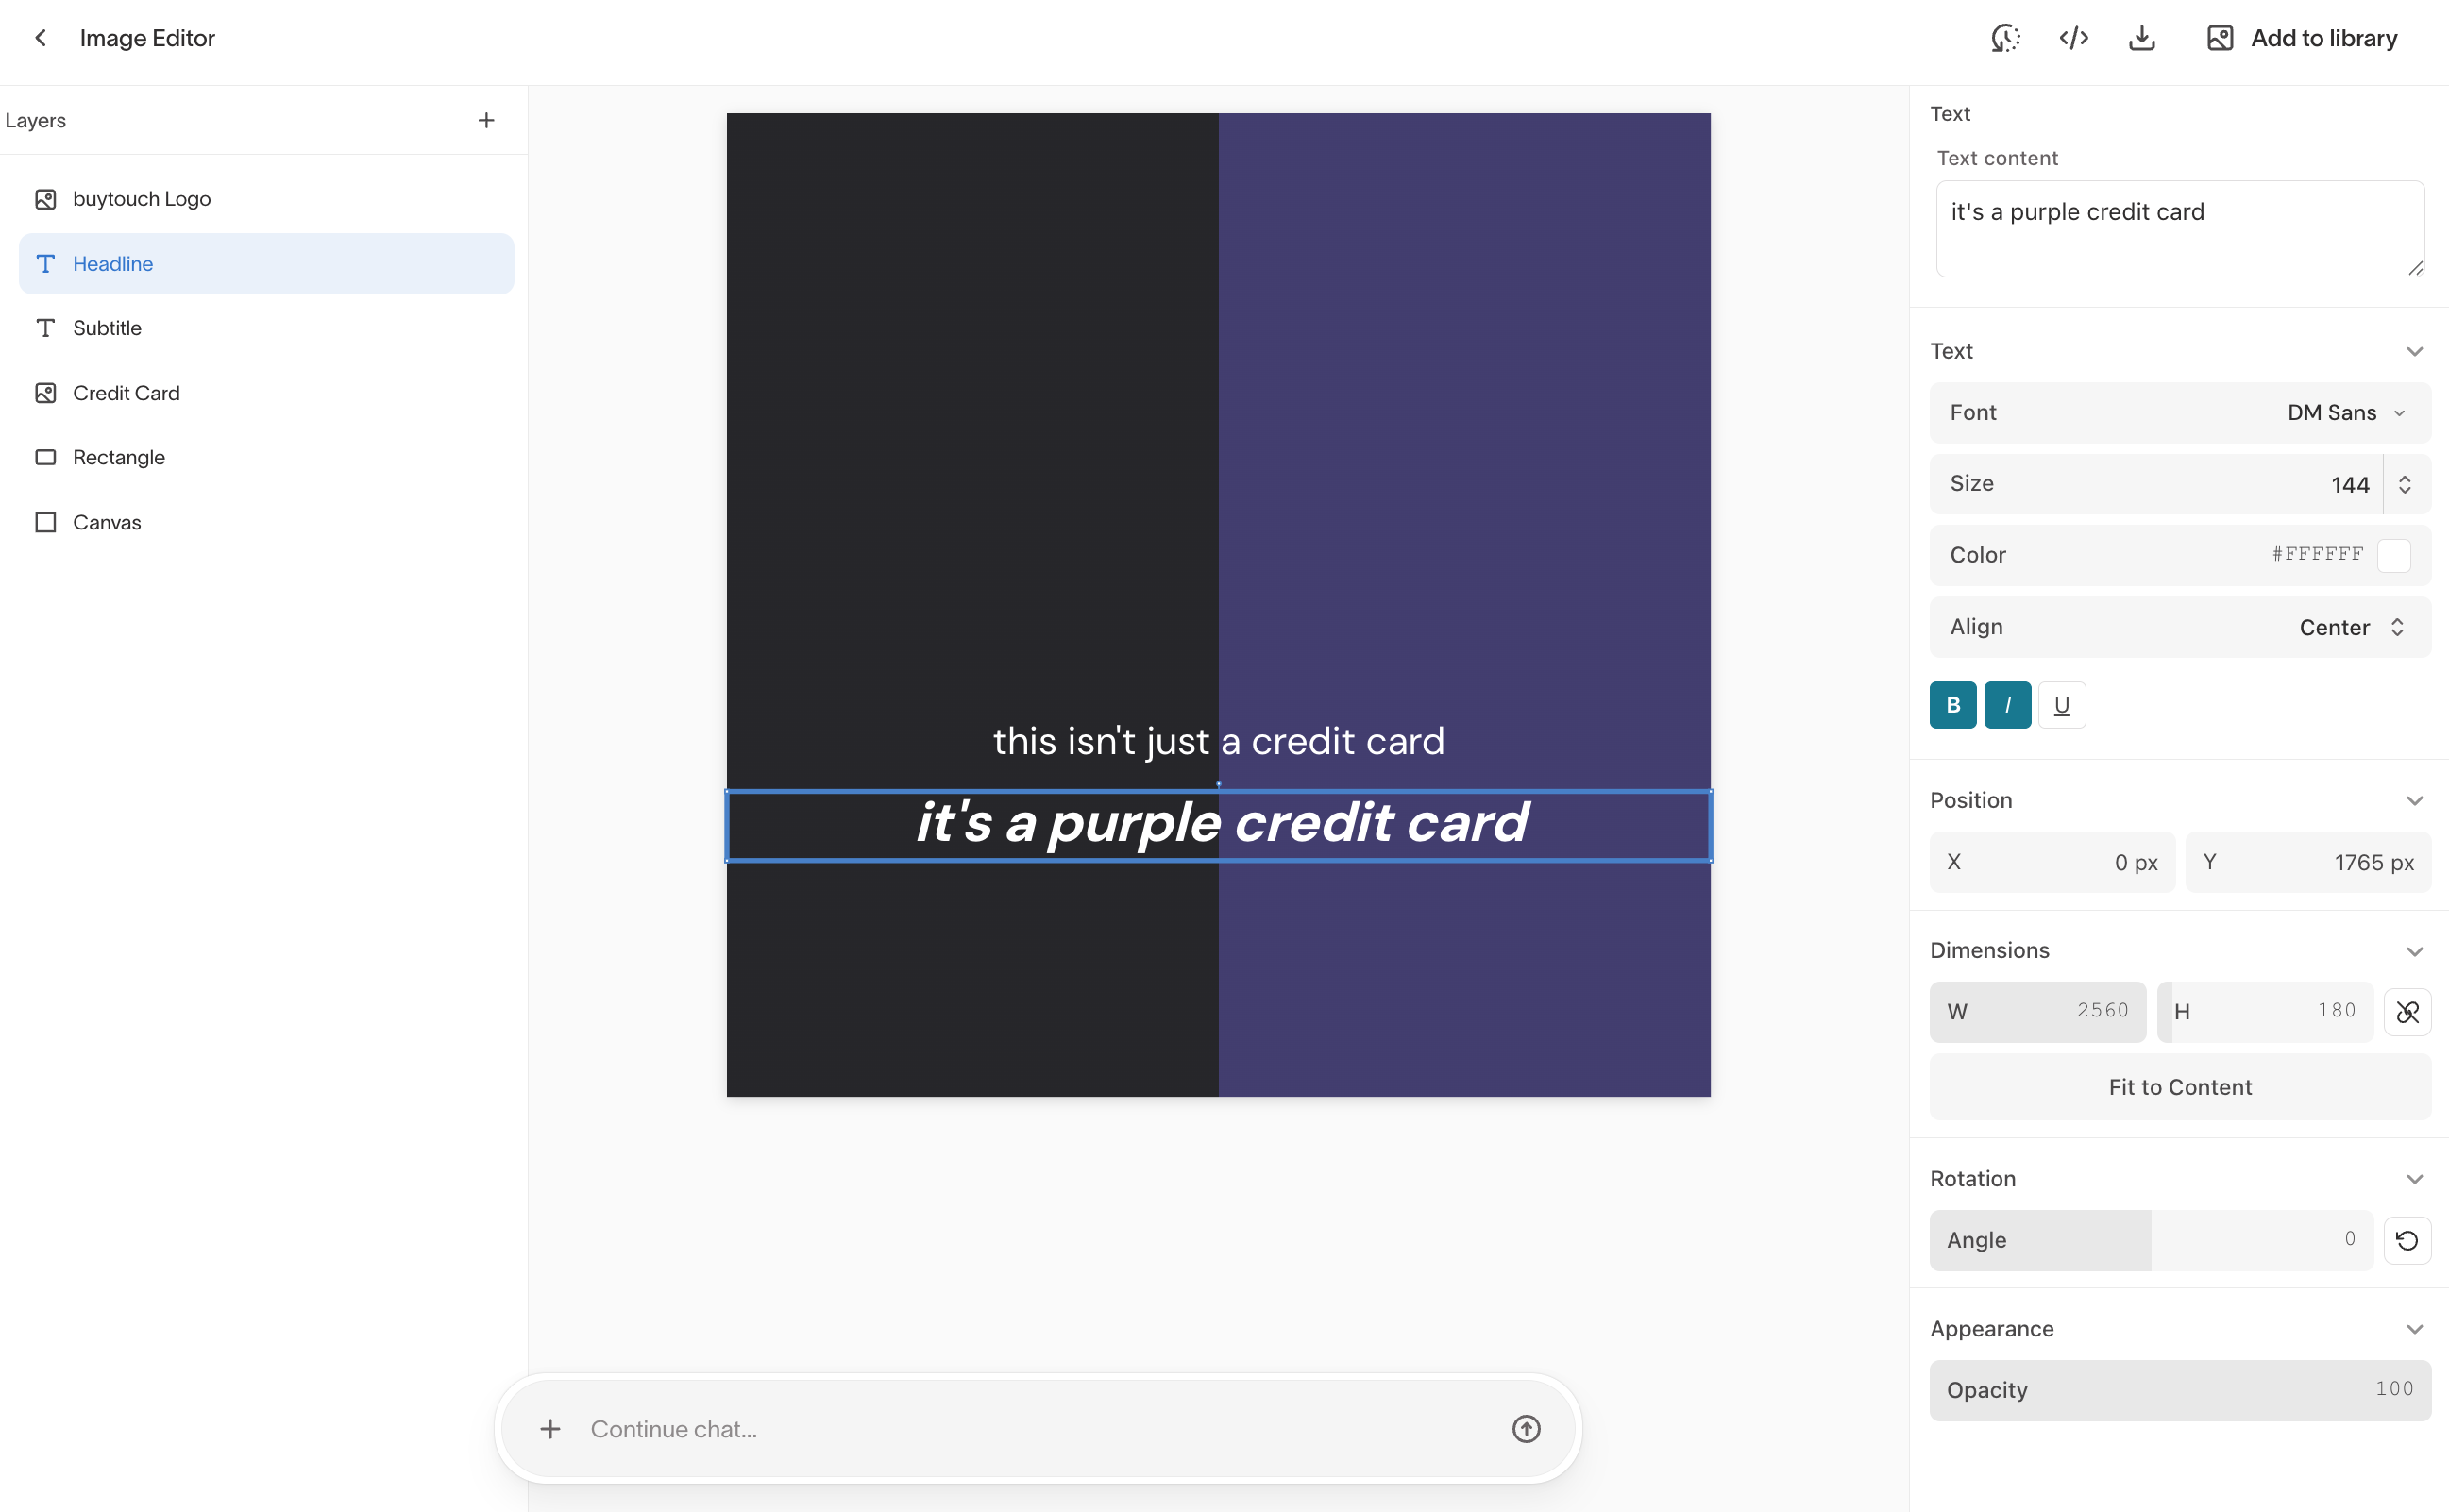
The image editor is a layer-based design tool built into Lifecycle Studio. Select an image from the library and open the editor to modify text, reposition elements, adjust fonts, colors, and sizing, and control layer ordering. An agent chat is available at the bottom of the editor for prompt-based edits.
Edits are saved as new versions. The original image is preserved in the image history.
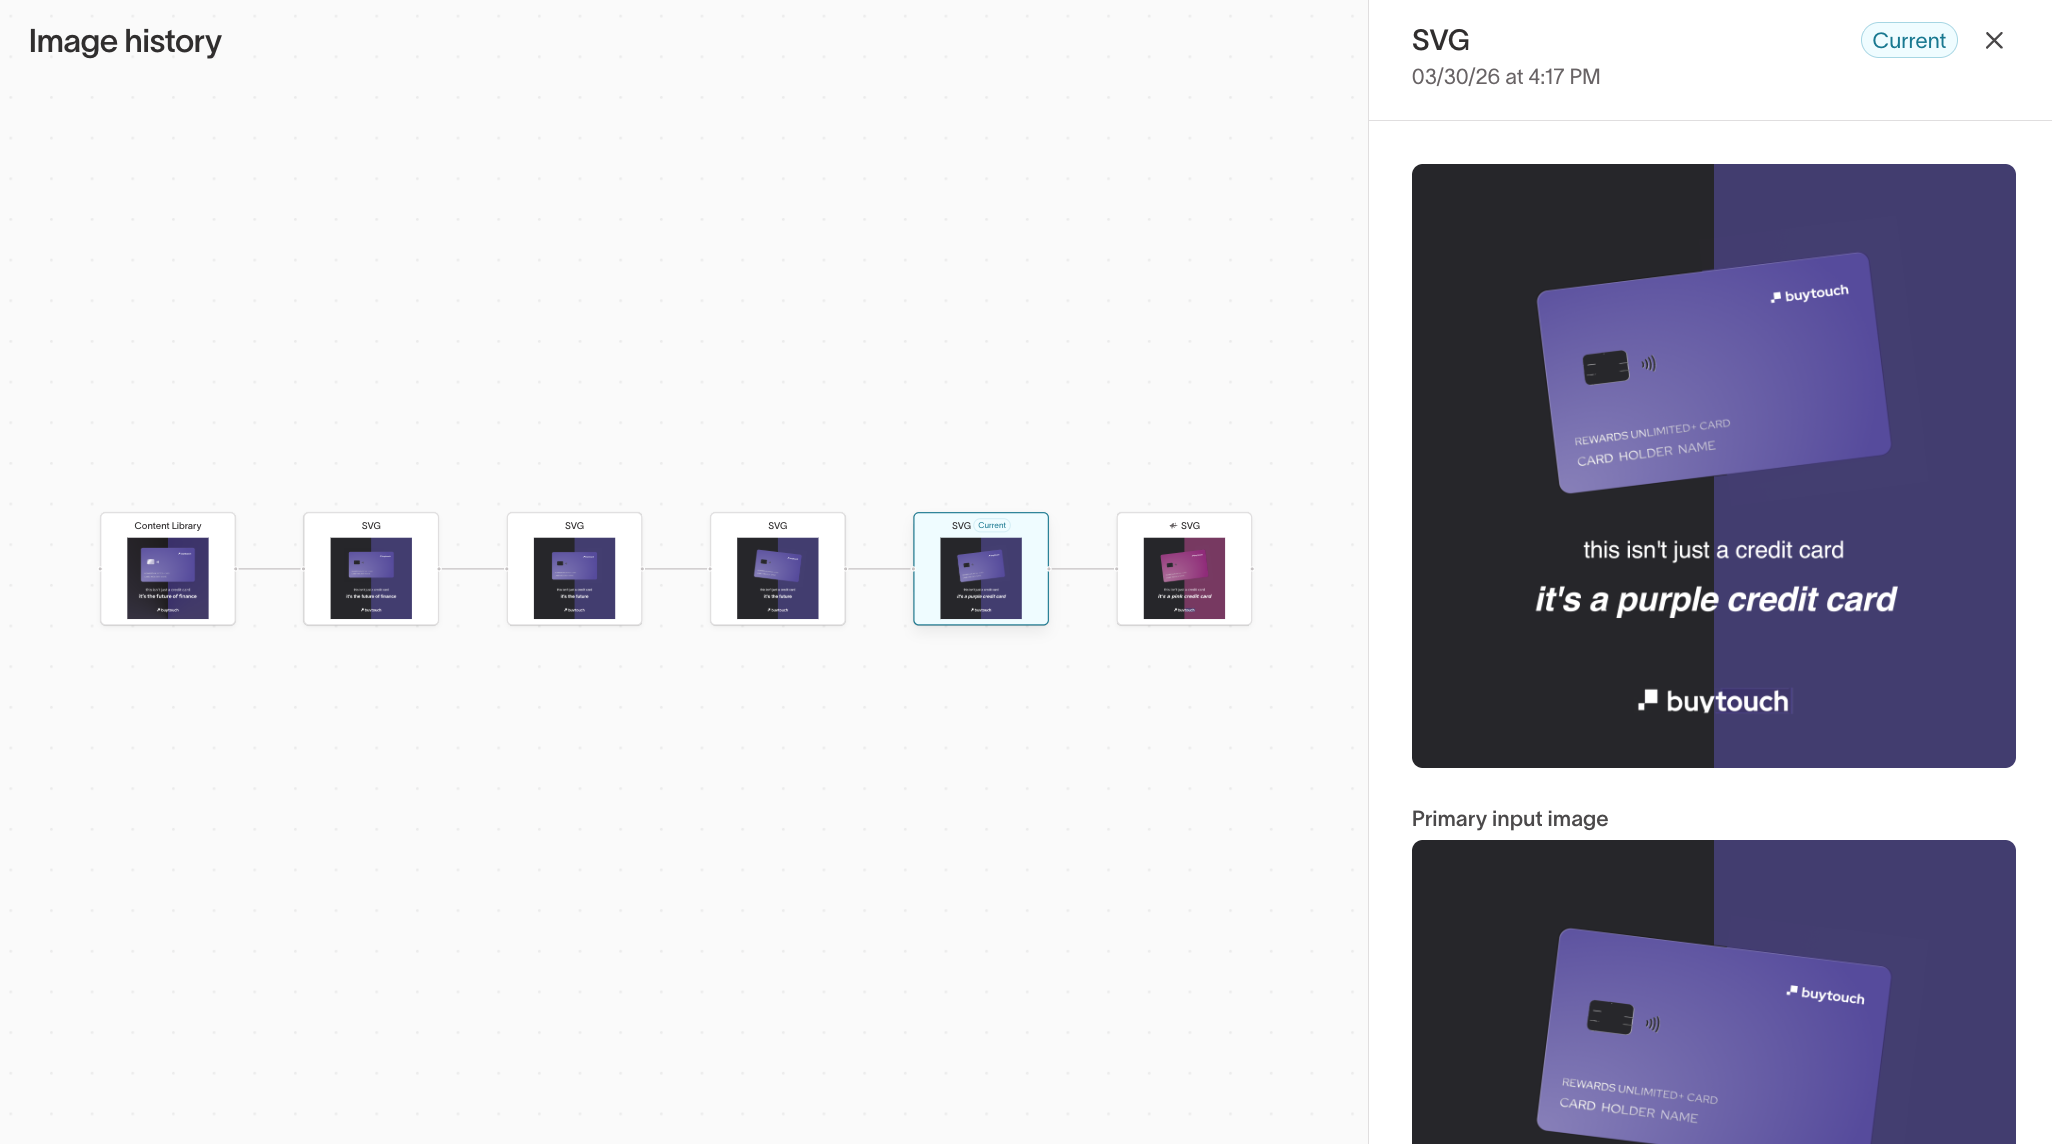
Manage versions
Each image maintains a visual history of edits. Select an image and open the history view to browse a timeline of versions from the original to the current state. Select any previous version to preview it or revert to it.
Tag images
The Tagging and Integrations tabs require the Configure Agents permission. If you don't see these tabs, contact your workspace admin. See Roles for details.
Tags help the agent select appropriate images for each message. For example, tags like "studio shot," "outdoor," "product," "lifestyle," or "seasonal" help it match images to the creative context. You can tag images individually or in bulk. Tags are freeform, so create whatever labels make sense for your brand's library.
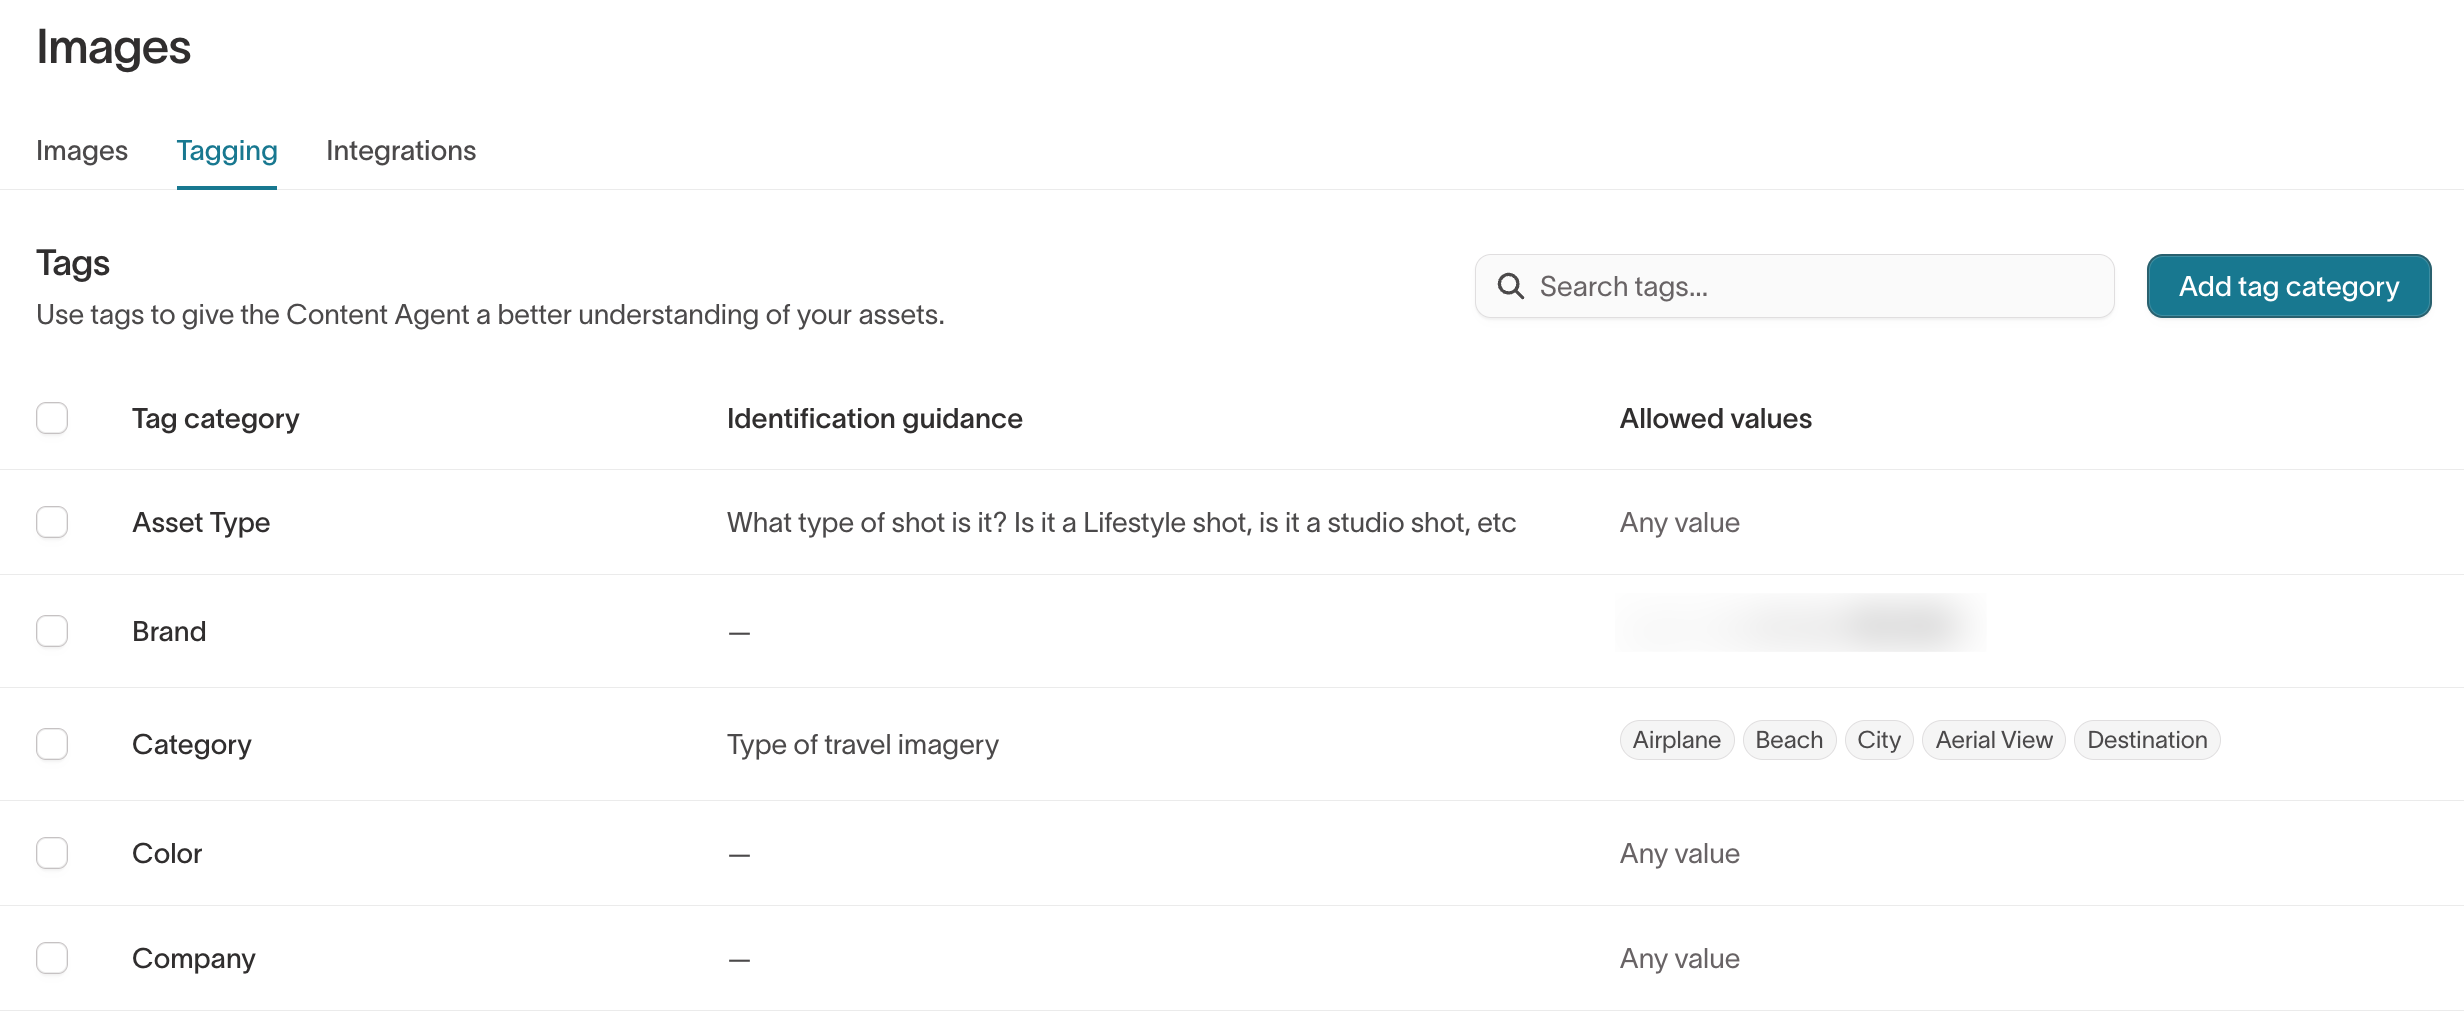
Create and edit tags
To create a tag, go to the Tagging tab and select Add tag category. Enter a tag name, identification guidance (to help the agent understand when to apply this tag), and allowed values. Select an existing tag to edit its name, guidance, or values.
Image guardrails
The agent follows guardrails configured in Context Hub when selecting and placing images in generated messages. Configure image guardrails alongside your brand guidelines to control the agent's image behavior.
Connect an external source
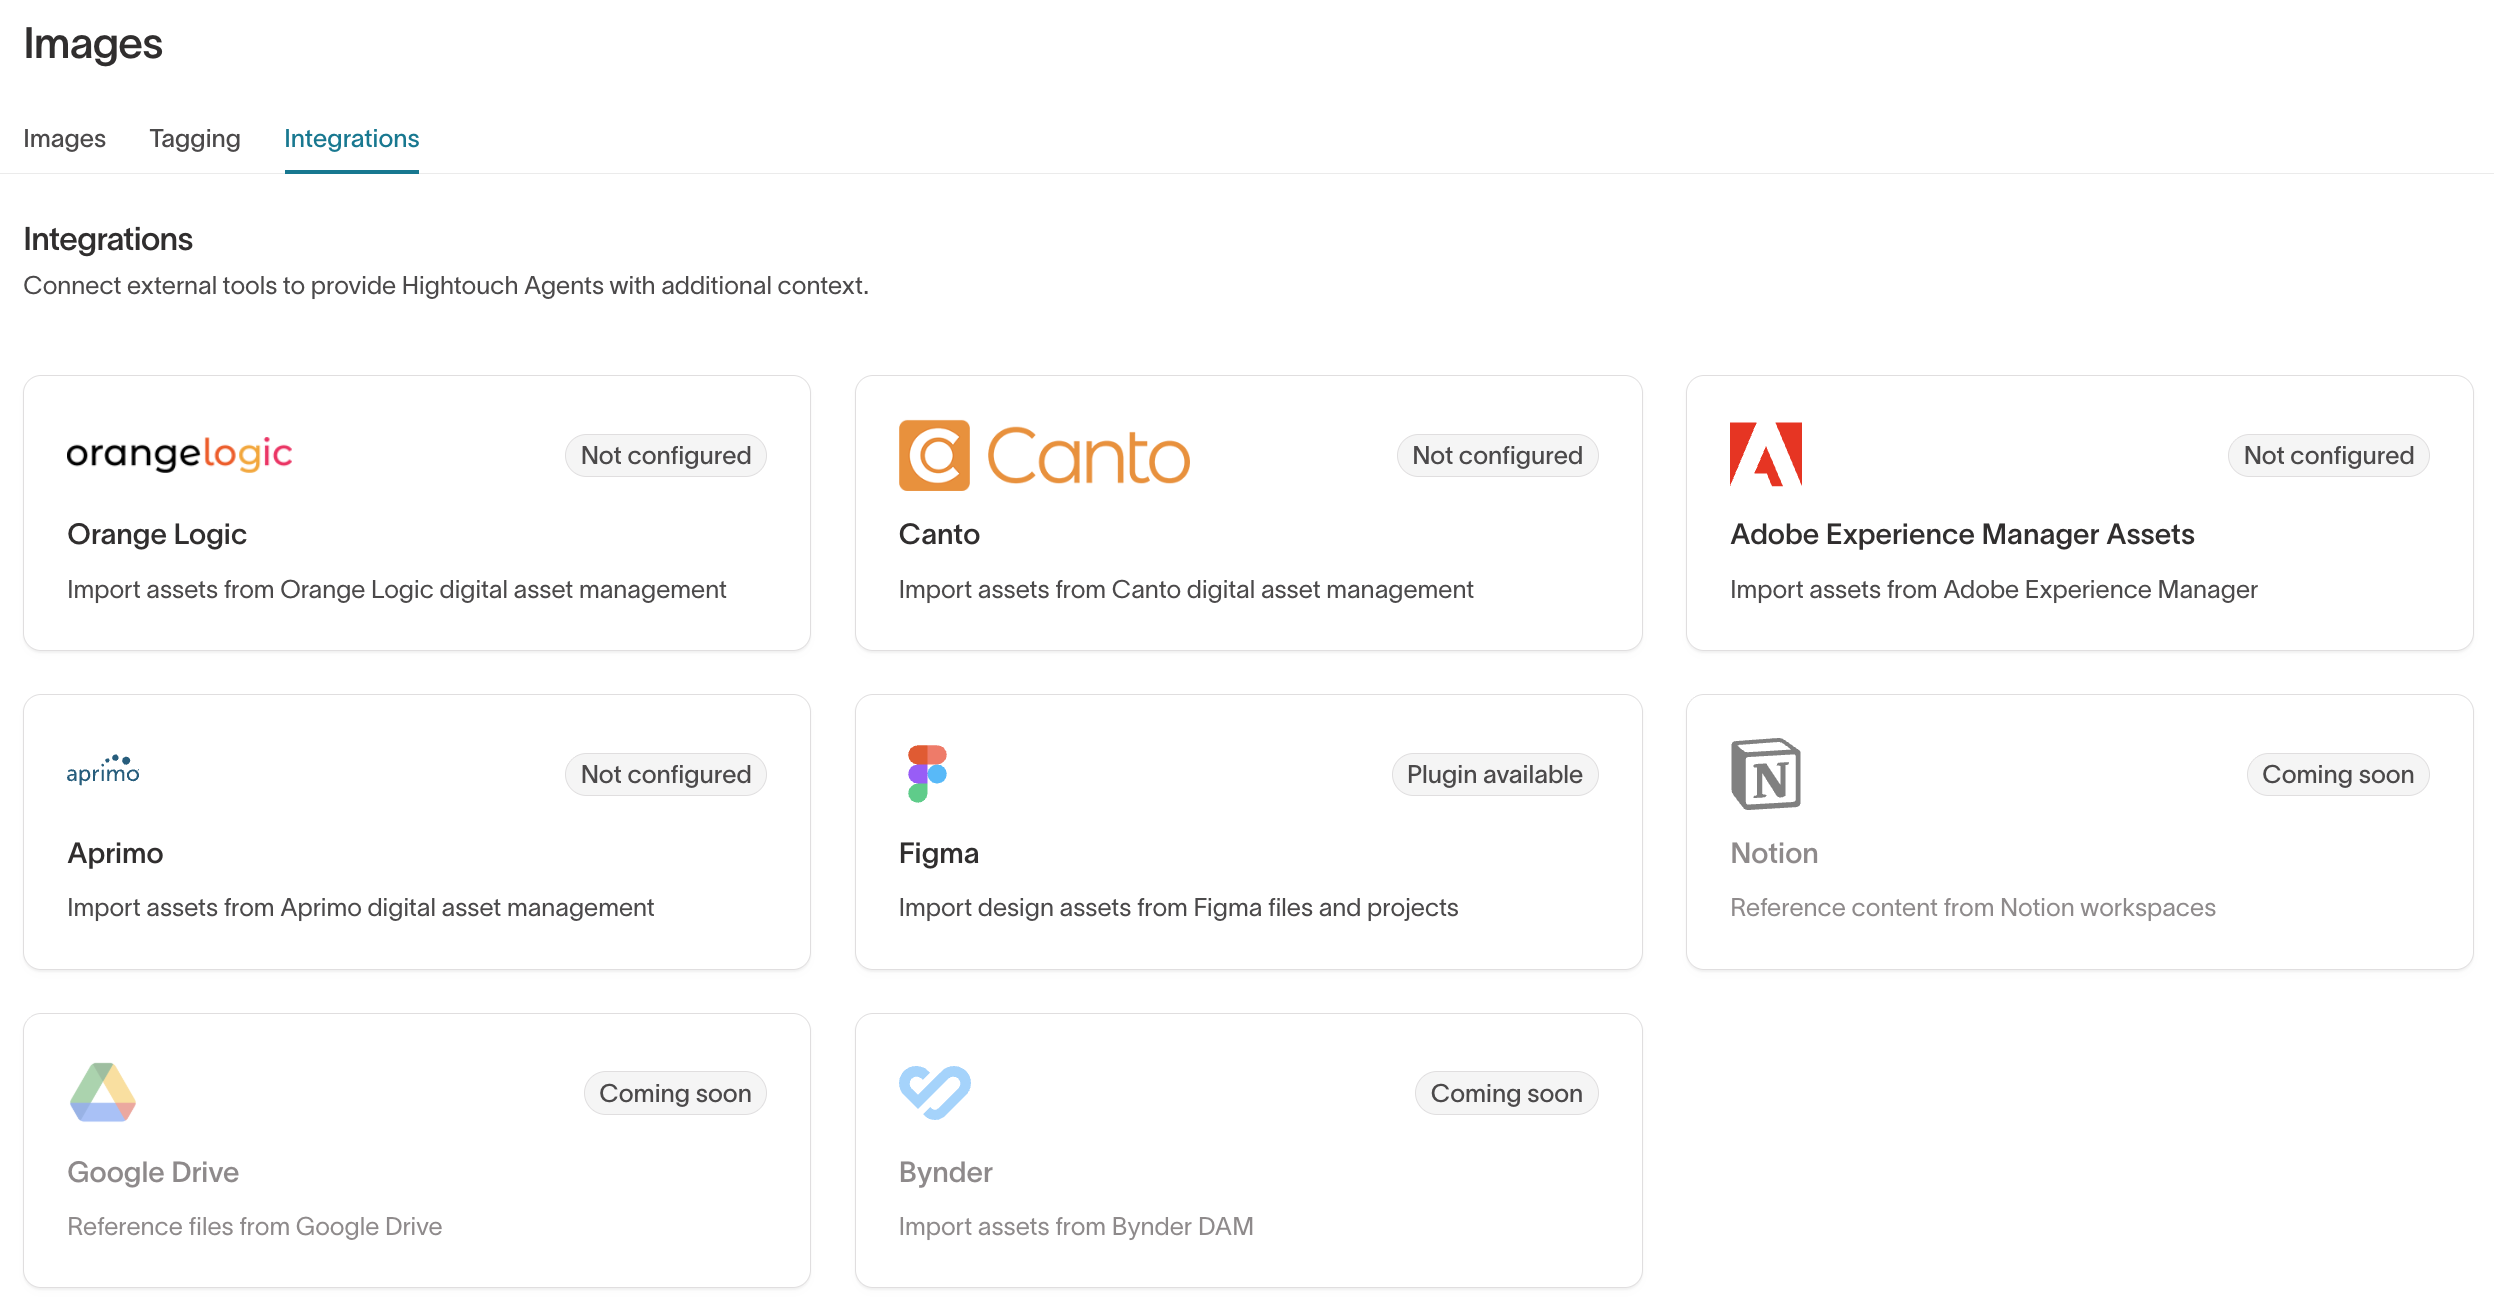
Connect Lifecycle Studio to external asset sources for automatic import. When connected, new images added to your external source become available in the image library without manual re-uploading.
To connect an external source:
- Go to Lifecycle Studio → Images → Integrations.
- Select the platform you want to connect.
- Authenticate and select the folders or libraries to sync.