| Audience | Marketers, creative teams |
| Prerequisites |
|
Campaigns are where you run a lifecycle program. Each campaign follows the same path: plan the brief and the messages it will include, generate and refine the content, then send the approved messages to your ESP. You can add messages over time as the program grows.
Overview
A campaign in Lifecycle Studio represents a single lifecycle marketing initiative: a welcome series, a re-engagement flow, a promotional push, or any other goal-driven message sequence. You describe what you want, and the agent drafts a brief, plans the messages it will create, and generates content you refine and send.
When to use campaigns
Use a campaign to run an ongoing lifecycle program, like a welcome series, a re-engagement flow, or a seasonal push: a coordinated set of messages the agent plans and drafts together. For a single one-off send, use Messages.
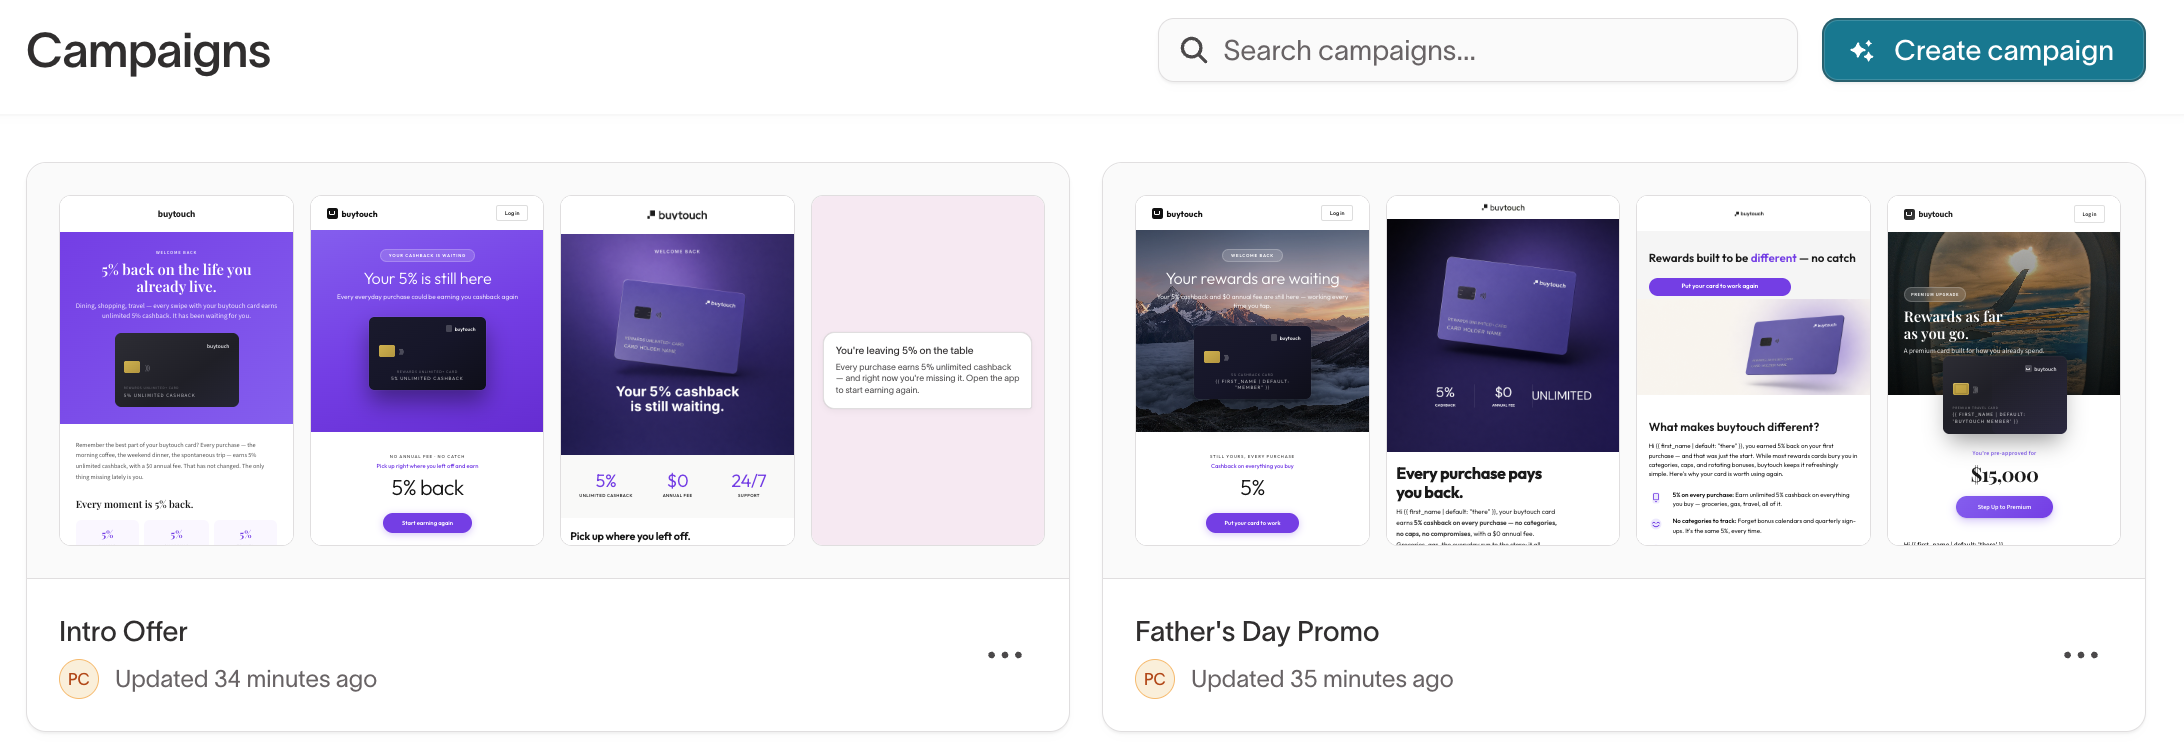
Create a campaign
To create a campaign, go to Lifecycle Studio → Campaigns and select Create campaign. Before the agent can generate anything, give it some context: start with the required essentials, then add optional guidance that shapes the output.

In Required context:
- Select the parent model to use for audience metadata and the brand the agent should follow.
- Select the channels this campaign should include — Email, Push, or SMS. Email is selected by default.
- Describe your Goal — what you want this campaign to achieve.
- Choose the target audience approach:
- Multiple sub-audiences — The agent identifies multiple audience segments in the brief and builds a different message plan for each segment.
- Single audience — The agent generates one audience that's used for the brief and every plan.
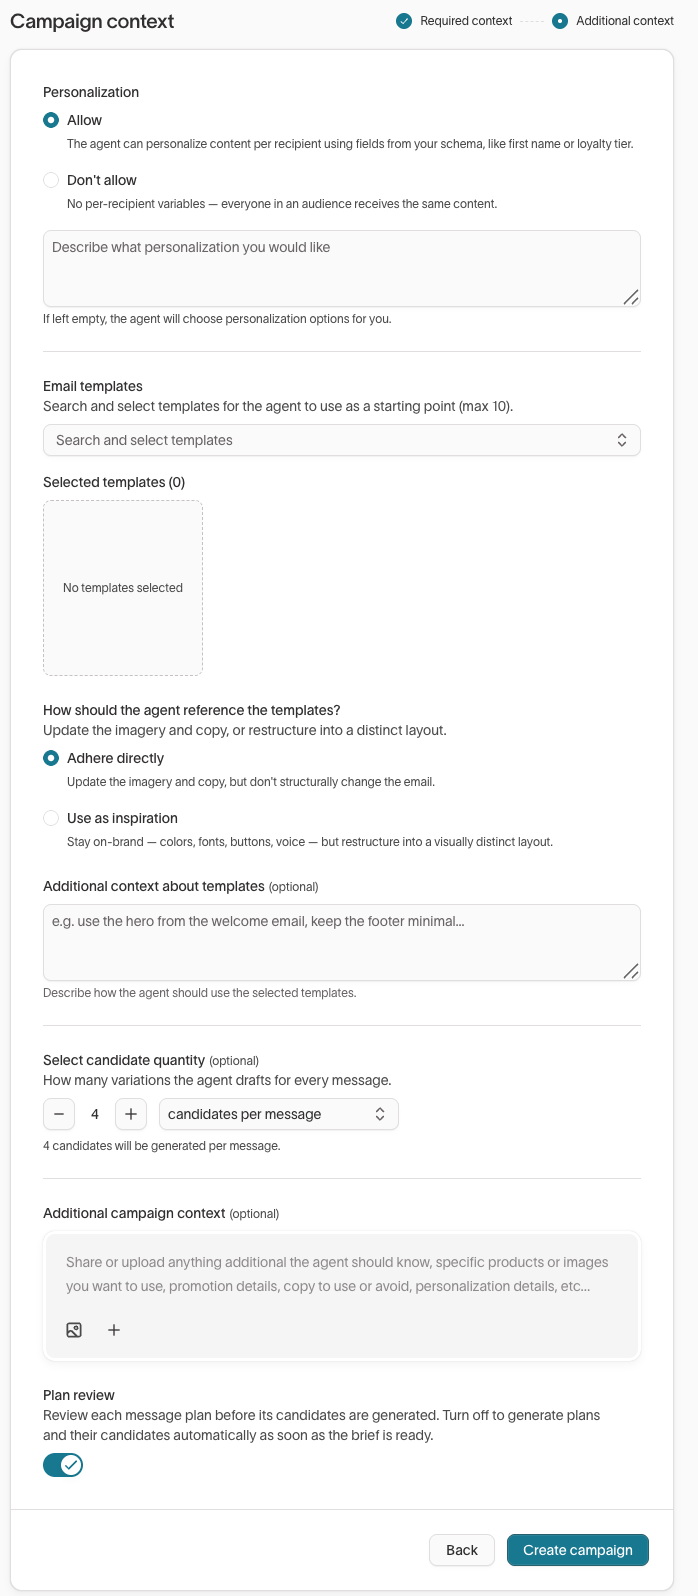
In Additional context, refine how the agent generates content. These fields are optional:
- Set Personalization to Allow so the agent can tailor content per recipient using fields from your schema, or Don't allow to send everyone the same content. You can describe the personalization you want.
- Search and select up to 10 email templates for the agent to start from.
- Choose how the agent uses those templates. Adhere directly updates the imagery and copy only. Use as inspiration restructures into a visually distinct layout. Add notes on how to use them if needed.
- Set the candidate quantity, the number of candidates the agent drafts per message.
- Add any additional campaign context the agent should know, such as specific products, promotion details, or copy to use or avoid.
- Leave Plan review on to pause and review the brief and message plan in the Plan tab before the agent generates candidates. Turn it off to generate the brief, plan, and candidates in one pass.
Select Create campaign. The agent generates a brief and a message plan based on your inputs and the business context, brand guidelines, and guardrails configured in Context Hub.
Plan
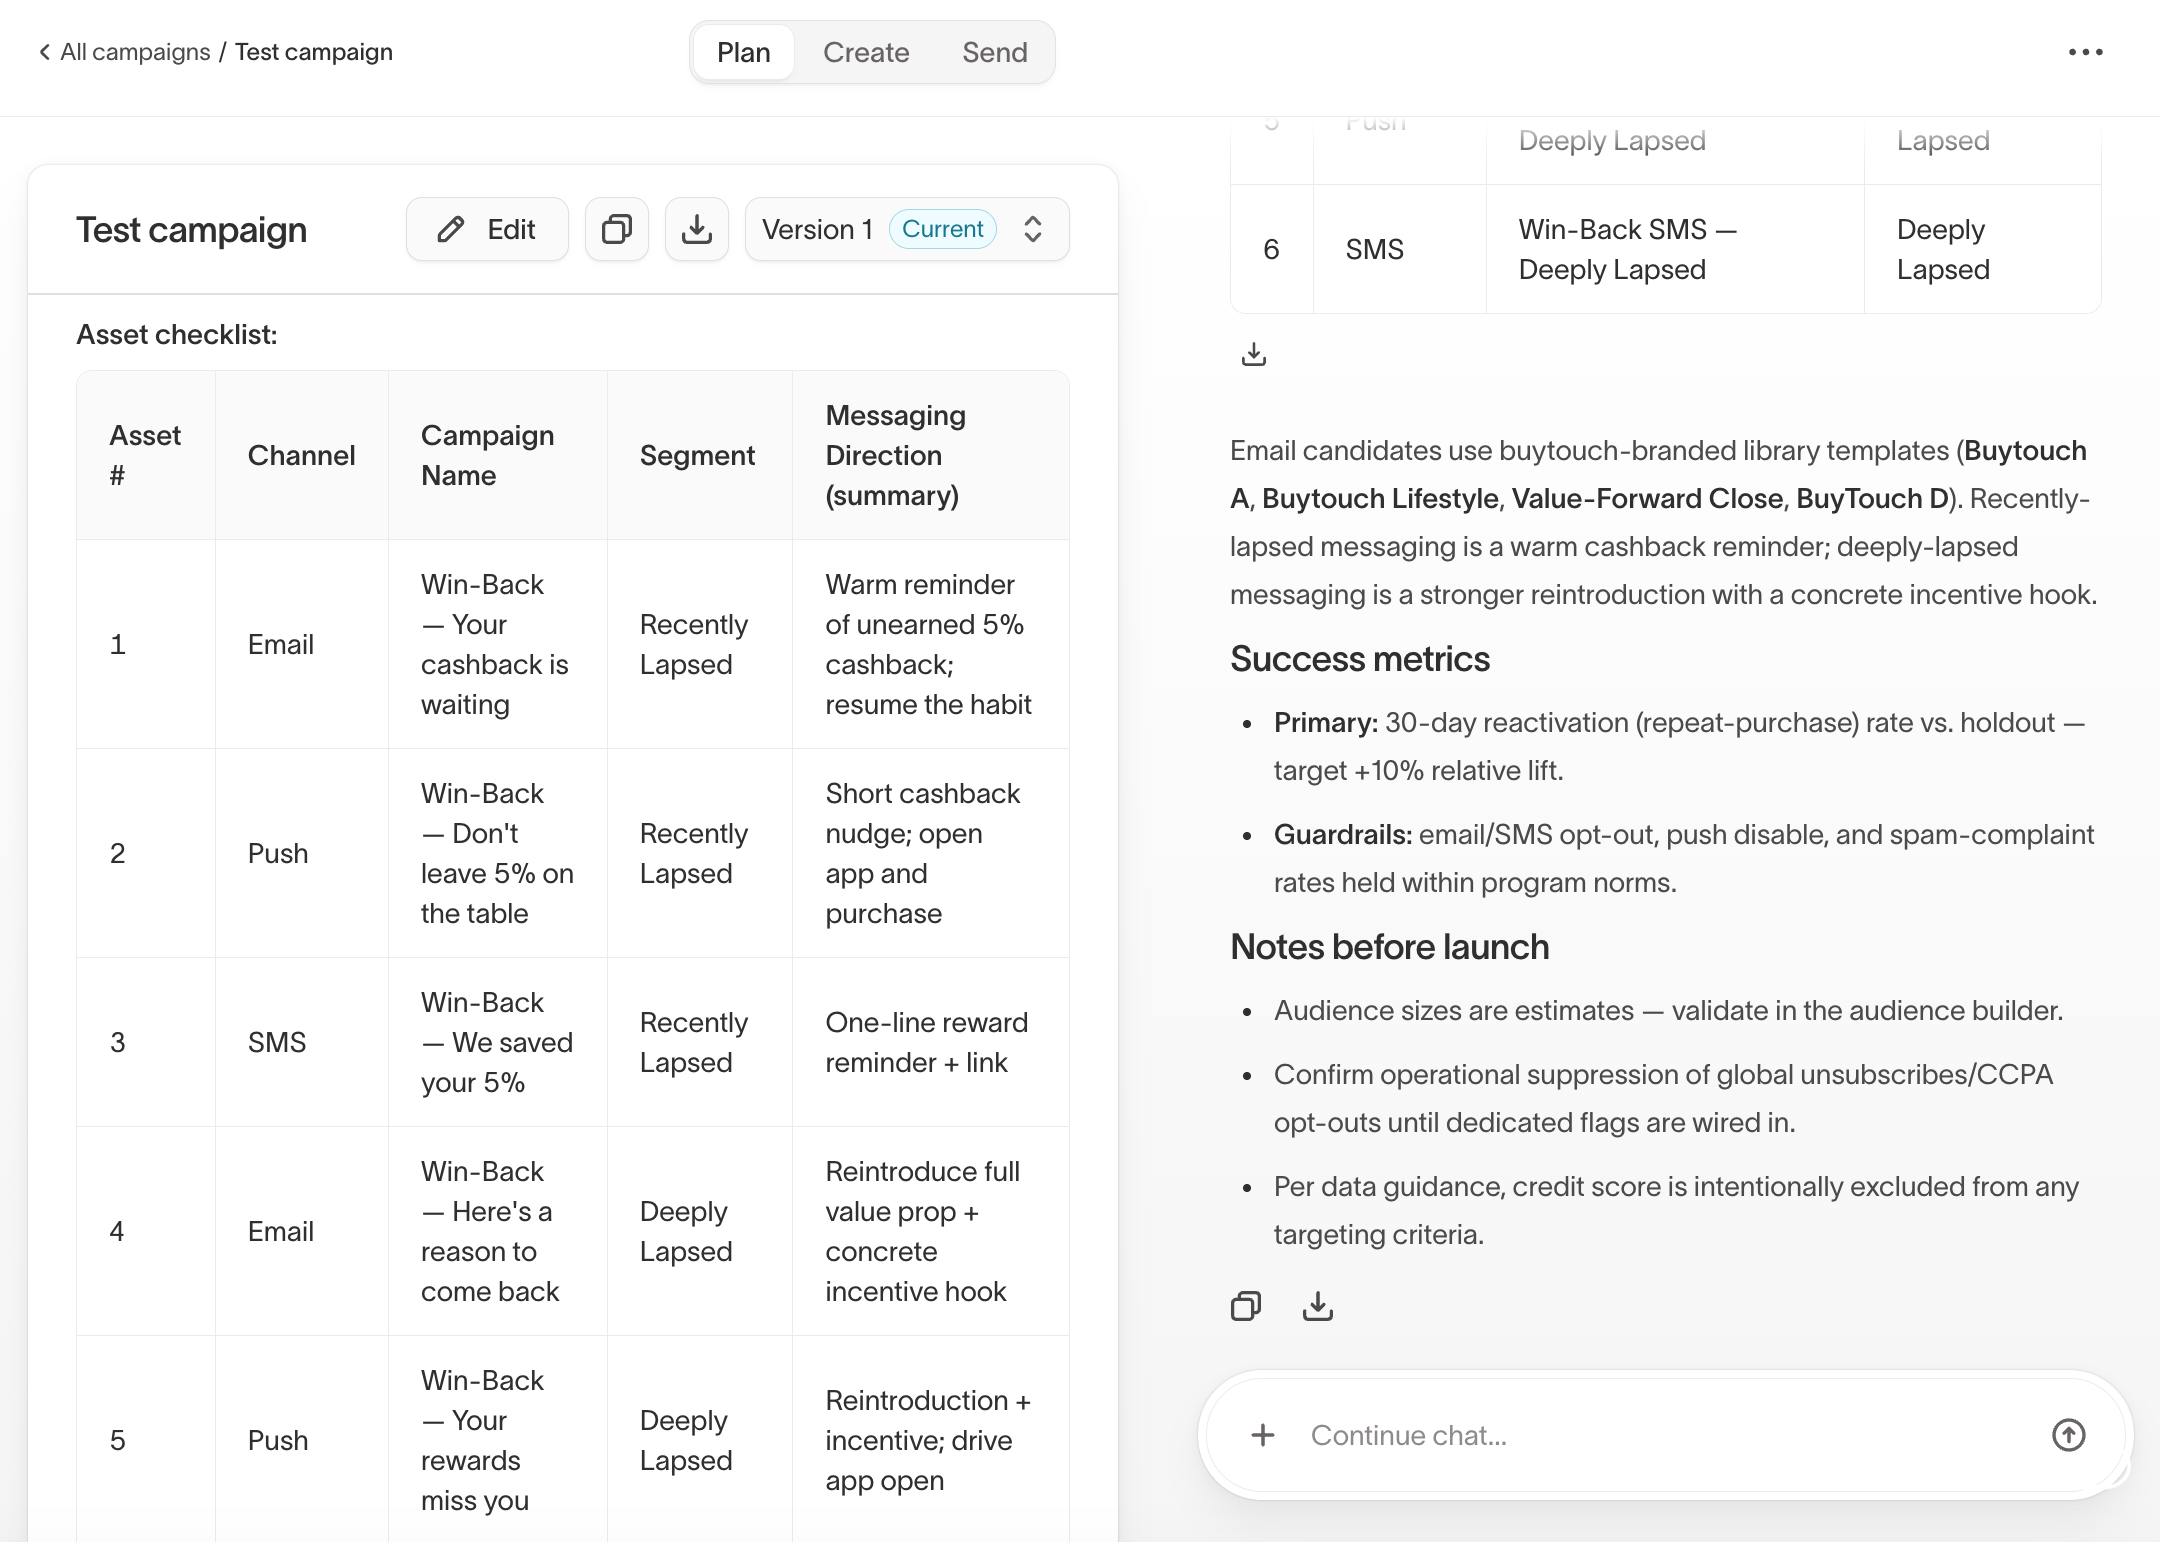
After you create the campaign, review and refine the brief in the Plan tab. The brief captures the campaign goal, target audience, messaging direction, and constraints, and it's the foundation for everything the agent generates next.
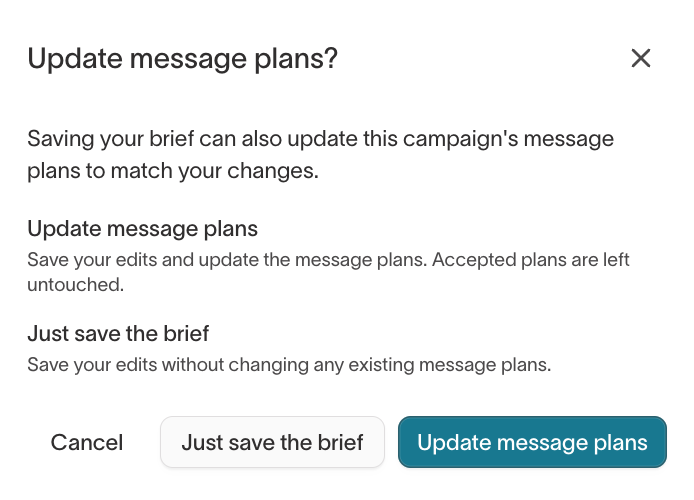
You can refine the brief in two ways: give the agent direction in the chat, or select Edit to open the brief editor and change it directly. In the editor, select Update to save. When you save, you choose how to handle the message plan:
- Just save the brief — Save your edits without changing any existing message plans.
- Update message plans — Save your edits and have the agent revise draft message plans to match the updated brief. Plans you've already generated candidates from aren't changed.
The brief incorporates your workspace context automatically. If there's context specific to a campaign, like a seasonal constraint, a specific product focus, or a competitive angle, add it to your brief via the agent chat rather than starting over.
When the brief and message plan look right, open the Create tab to generate candidates.
Create
In Create, the plan becomes real drafts. The agent generates candidates: several variations of each message in the plan. You review them and choose which ones to carry forward.
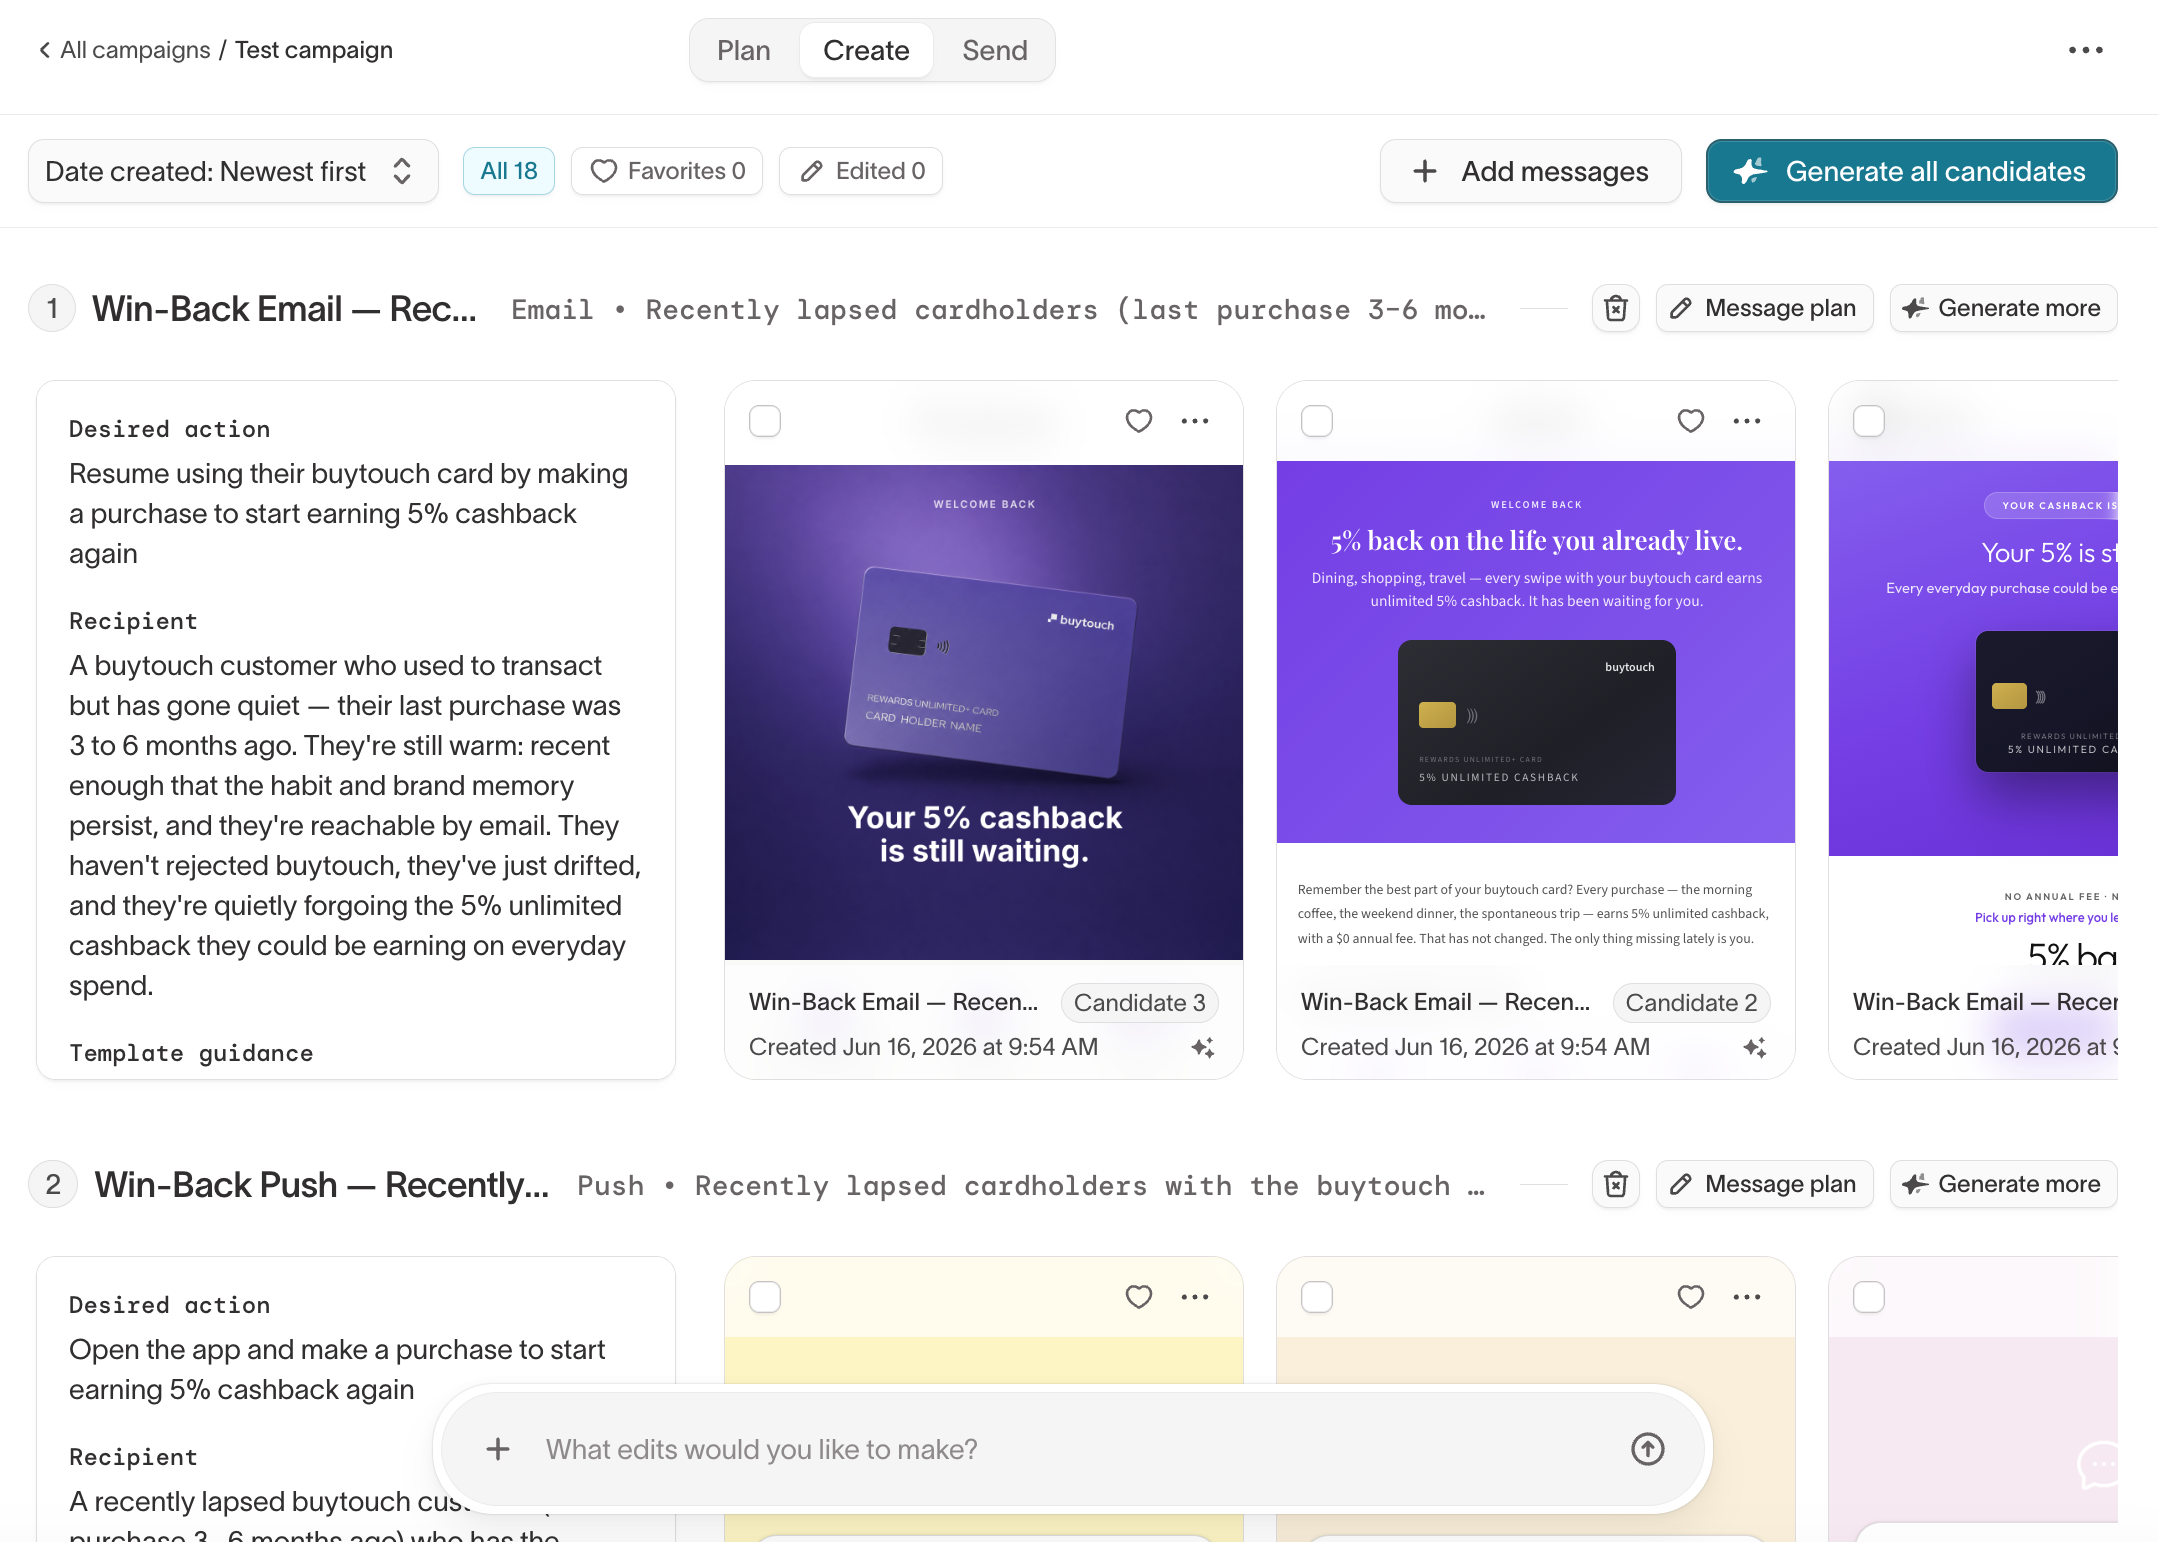
Select Generate all candidates to draft variations for every message in the plan at once, or work a single message with Generate more. If the brief targets multiple audience segments, the agent generates a separate set of messages for each segment, so the campaign can speak differently to each one.
From there, the work is comparing and narrowing:
- Review the variations for each message and favorite the ones you like.
- Select a candidate and tell the agent what to change in the chat, or open it to edit in the message editor.
- If nothing in a set lands, select Generate more for a fresh batch of that message.
- Promote the candidate you want to carry forward.
Adjust how the agent approaches a message
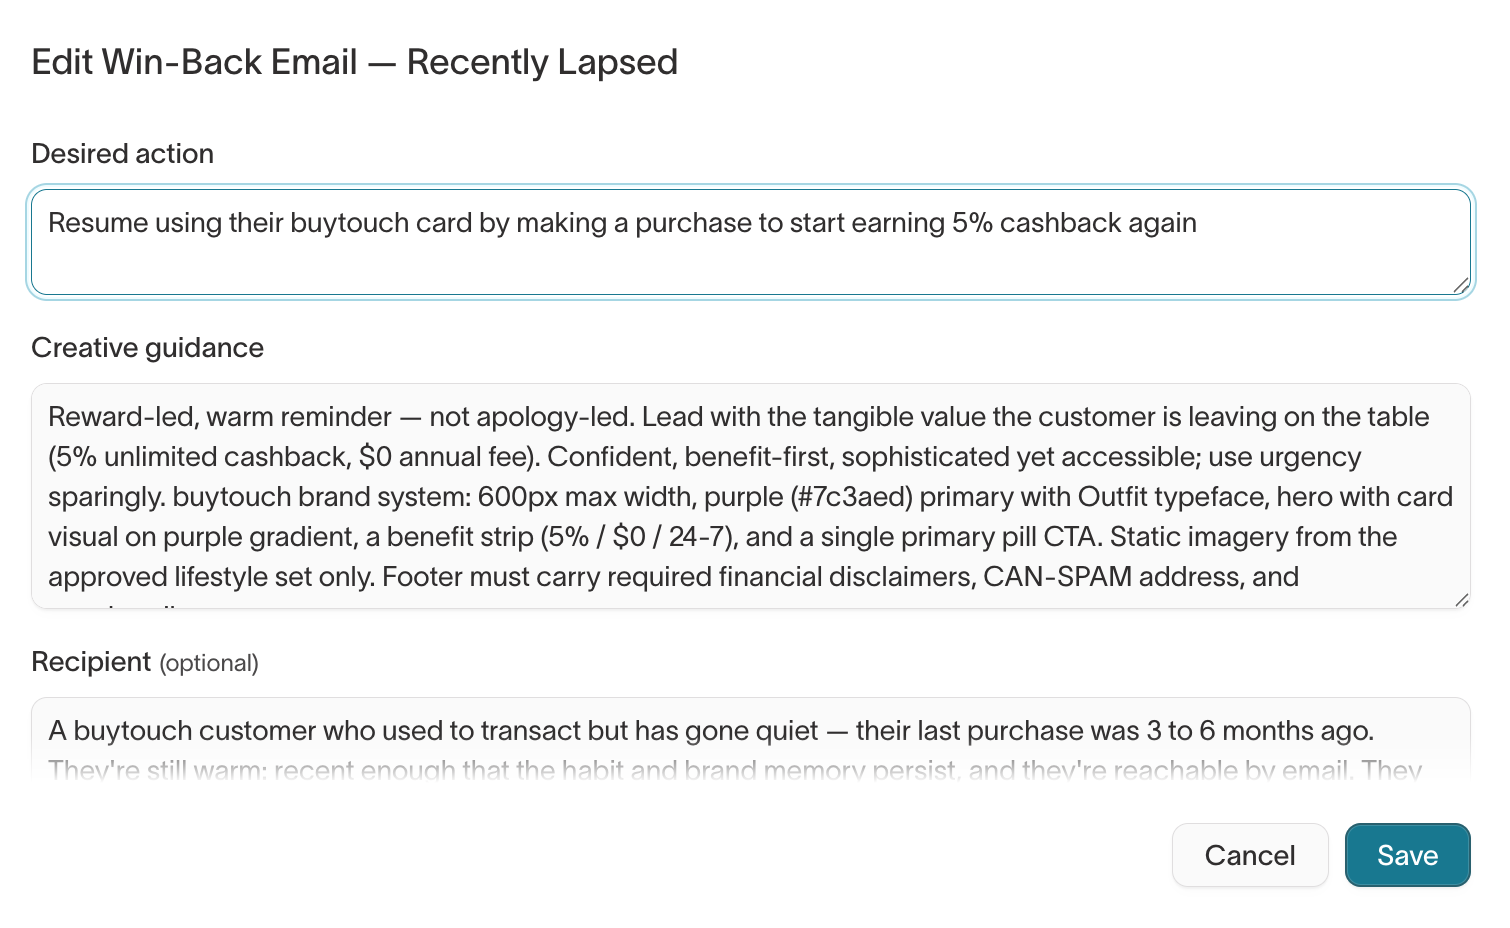
Each candidate is generated from a message plan: the agent's intended action, audience, and creative direction for that message. To change how the agent approaches a message, edit its plan.
Select Message plan for the message you want to change. You can revise three fields:
- Desired action — what you want the recipient to do.
- Creative guidance — the angle, tone, and constraints for the agent to follow.
- Recipient — who the message is for.
Save your changes, then generate again. The agent uses the updated plan for that message's candidates.
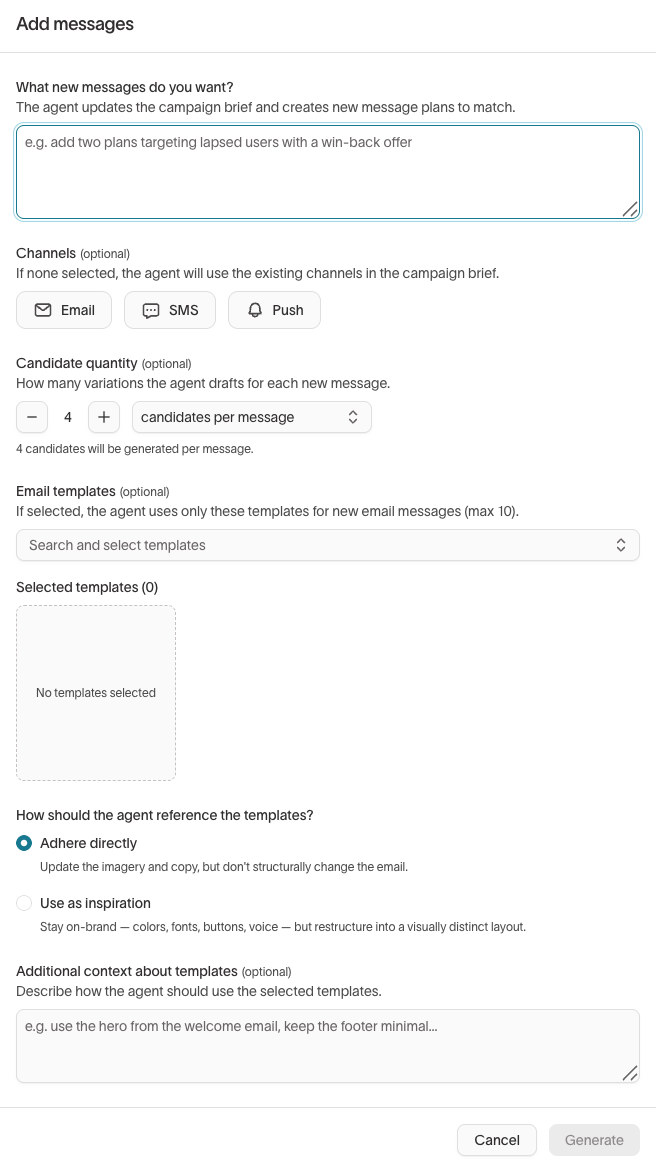
Add a message to the campaign
To add a message the plan didn't include, select Add messages and describe what you want. The agent updates the campaign brief and plans the new messages alongside the existing ones. Select channels if you want specific ones. Otherwise, the agent reuses the channels already in the brief.
Promote candidates
A candidate stays a draft until you promote it. Promoting a candidate moves it into the Send tab, where you pair it with an audience and export it to your ESP. Promote the candidates you've decided on, then move to sending.
Send
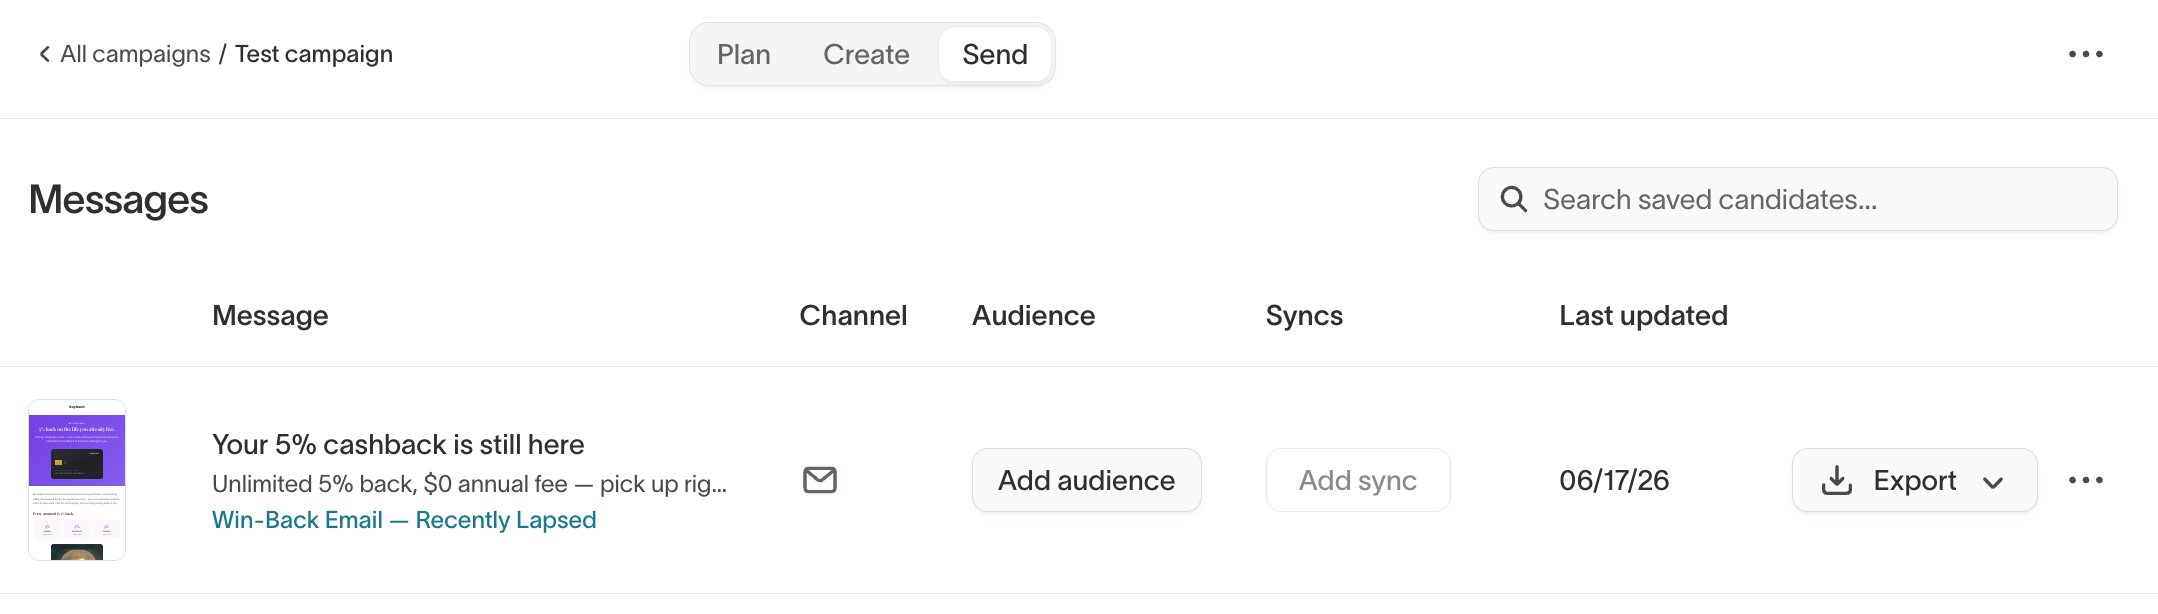
Once you've promoted your candidates, send them from the Send tab. For each candidate, you pair it with an audience, sync that audience to your destination, and export the message to your ESP.
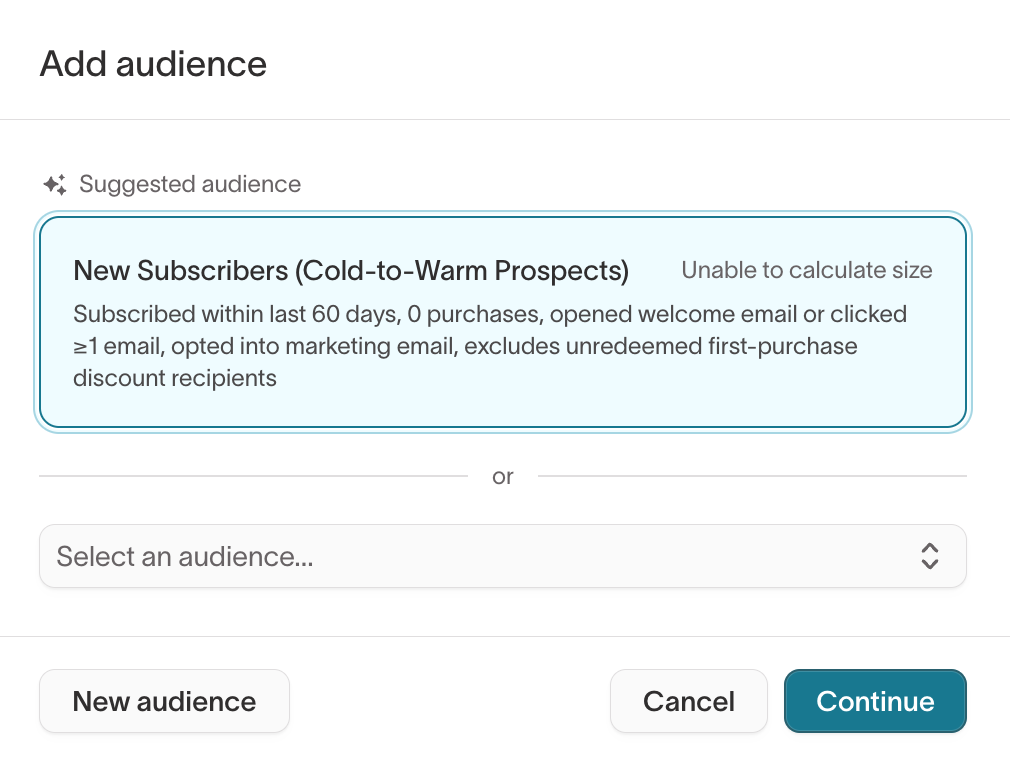
Pair each candidate with an audience
Decide who receives each candidate. Audiences come from Customer Studio. The agent suggests an audience based on the message plan, or you can select an existing one or create a new one. Review each audience's size to check reach before you export.
Sync the audience to your destination
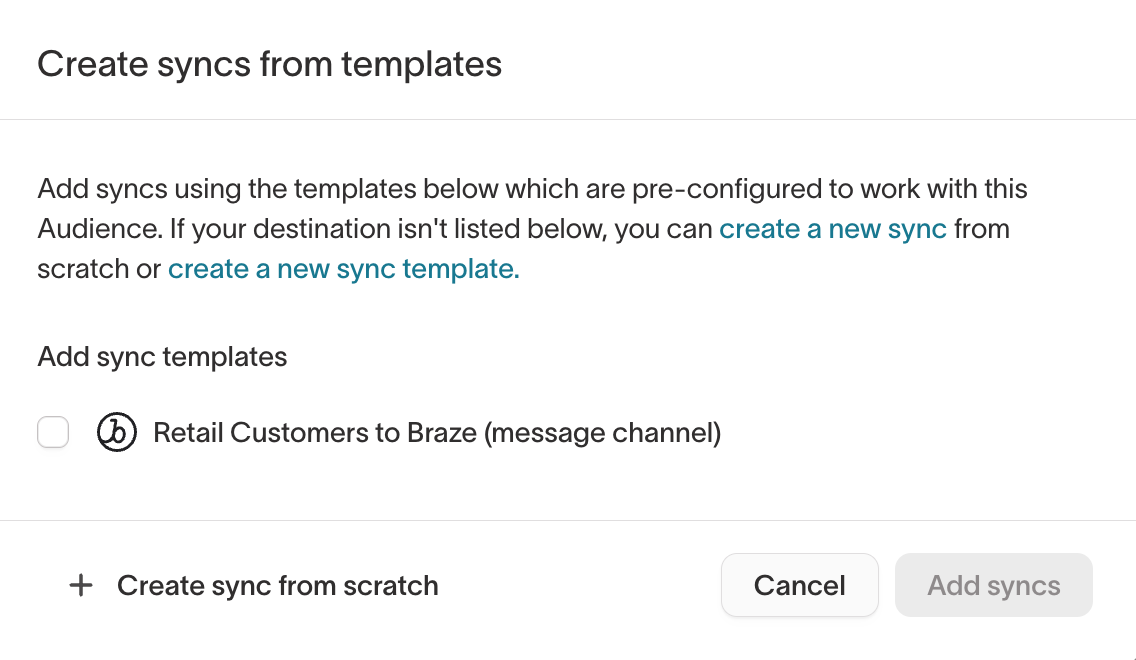
Once a candidate has an audience, set up a sync to deliver the audience data:
- Select Add sync for the candidate.
- Select a sync template, or create a new sync to send the audience to your destination.
- Review the sync configuration.
Export the message content
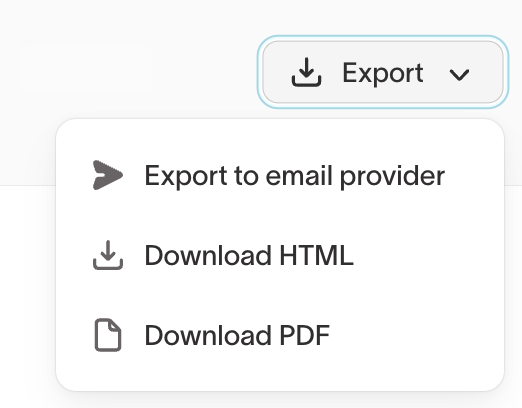
The sync moves the audience. Separately, export the message content itself:
| Action | Description |
|---|---|
| Export to email provider | Create a new HTML template in your connected ESP, or update an existing one. |
| Download HTML | Download the message as a raw HTML file. |
| Download PDF | Download a PDF rendering of the message. |
When you export to an email provider, choose the destination, then create a new template or update an existing one. Set the template name, subject line, and preheader.
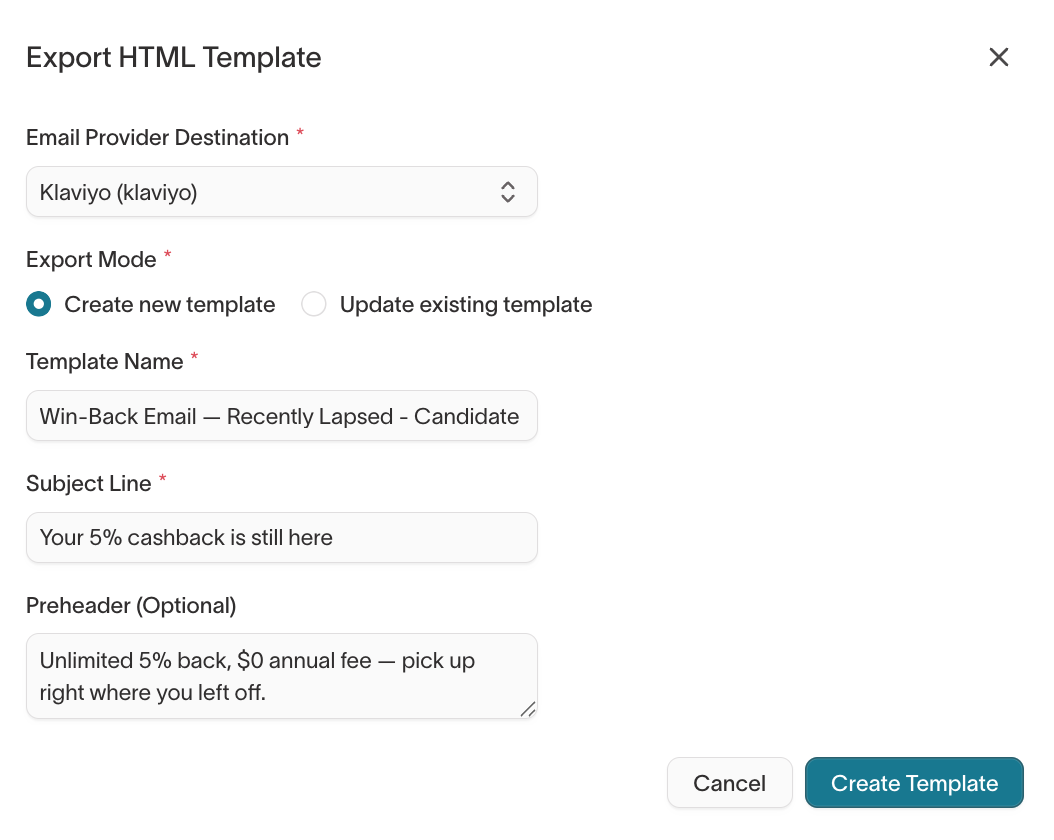
Exporting to your ESP creates or updates a template there. The actual send happens in your ESP, where you manage timing, frequency capping, and delivery rules.