Before you begin, it's essential to understand the structure of a Hightouch organization. Access control is exclusively managed at the group level, so configuring users and groups should be your first step during the onboarding process.
This guide provides an overview of common user management tasks, such as inviting users, assigning them to groups, and managing group access to workspaces. Once you've set up users and groups, you can proceed to define custom roles and manage more granular permissions.
If you're planning to connect Hightouch to your company's identity provider (e.g., Okta), it's recommended to review the single sign-on (SSO) documentation before inviting other users to your organization. An identity provider can automate many of the following through SAML SSO and SCIM.
Users
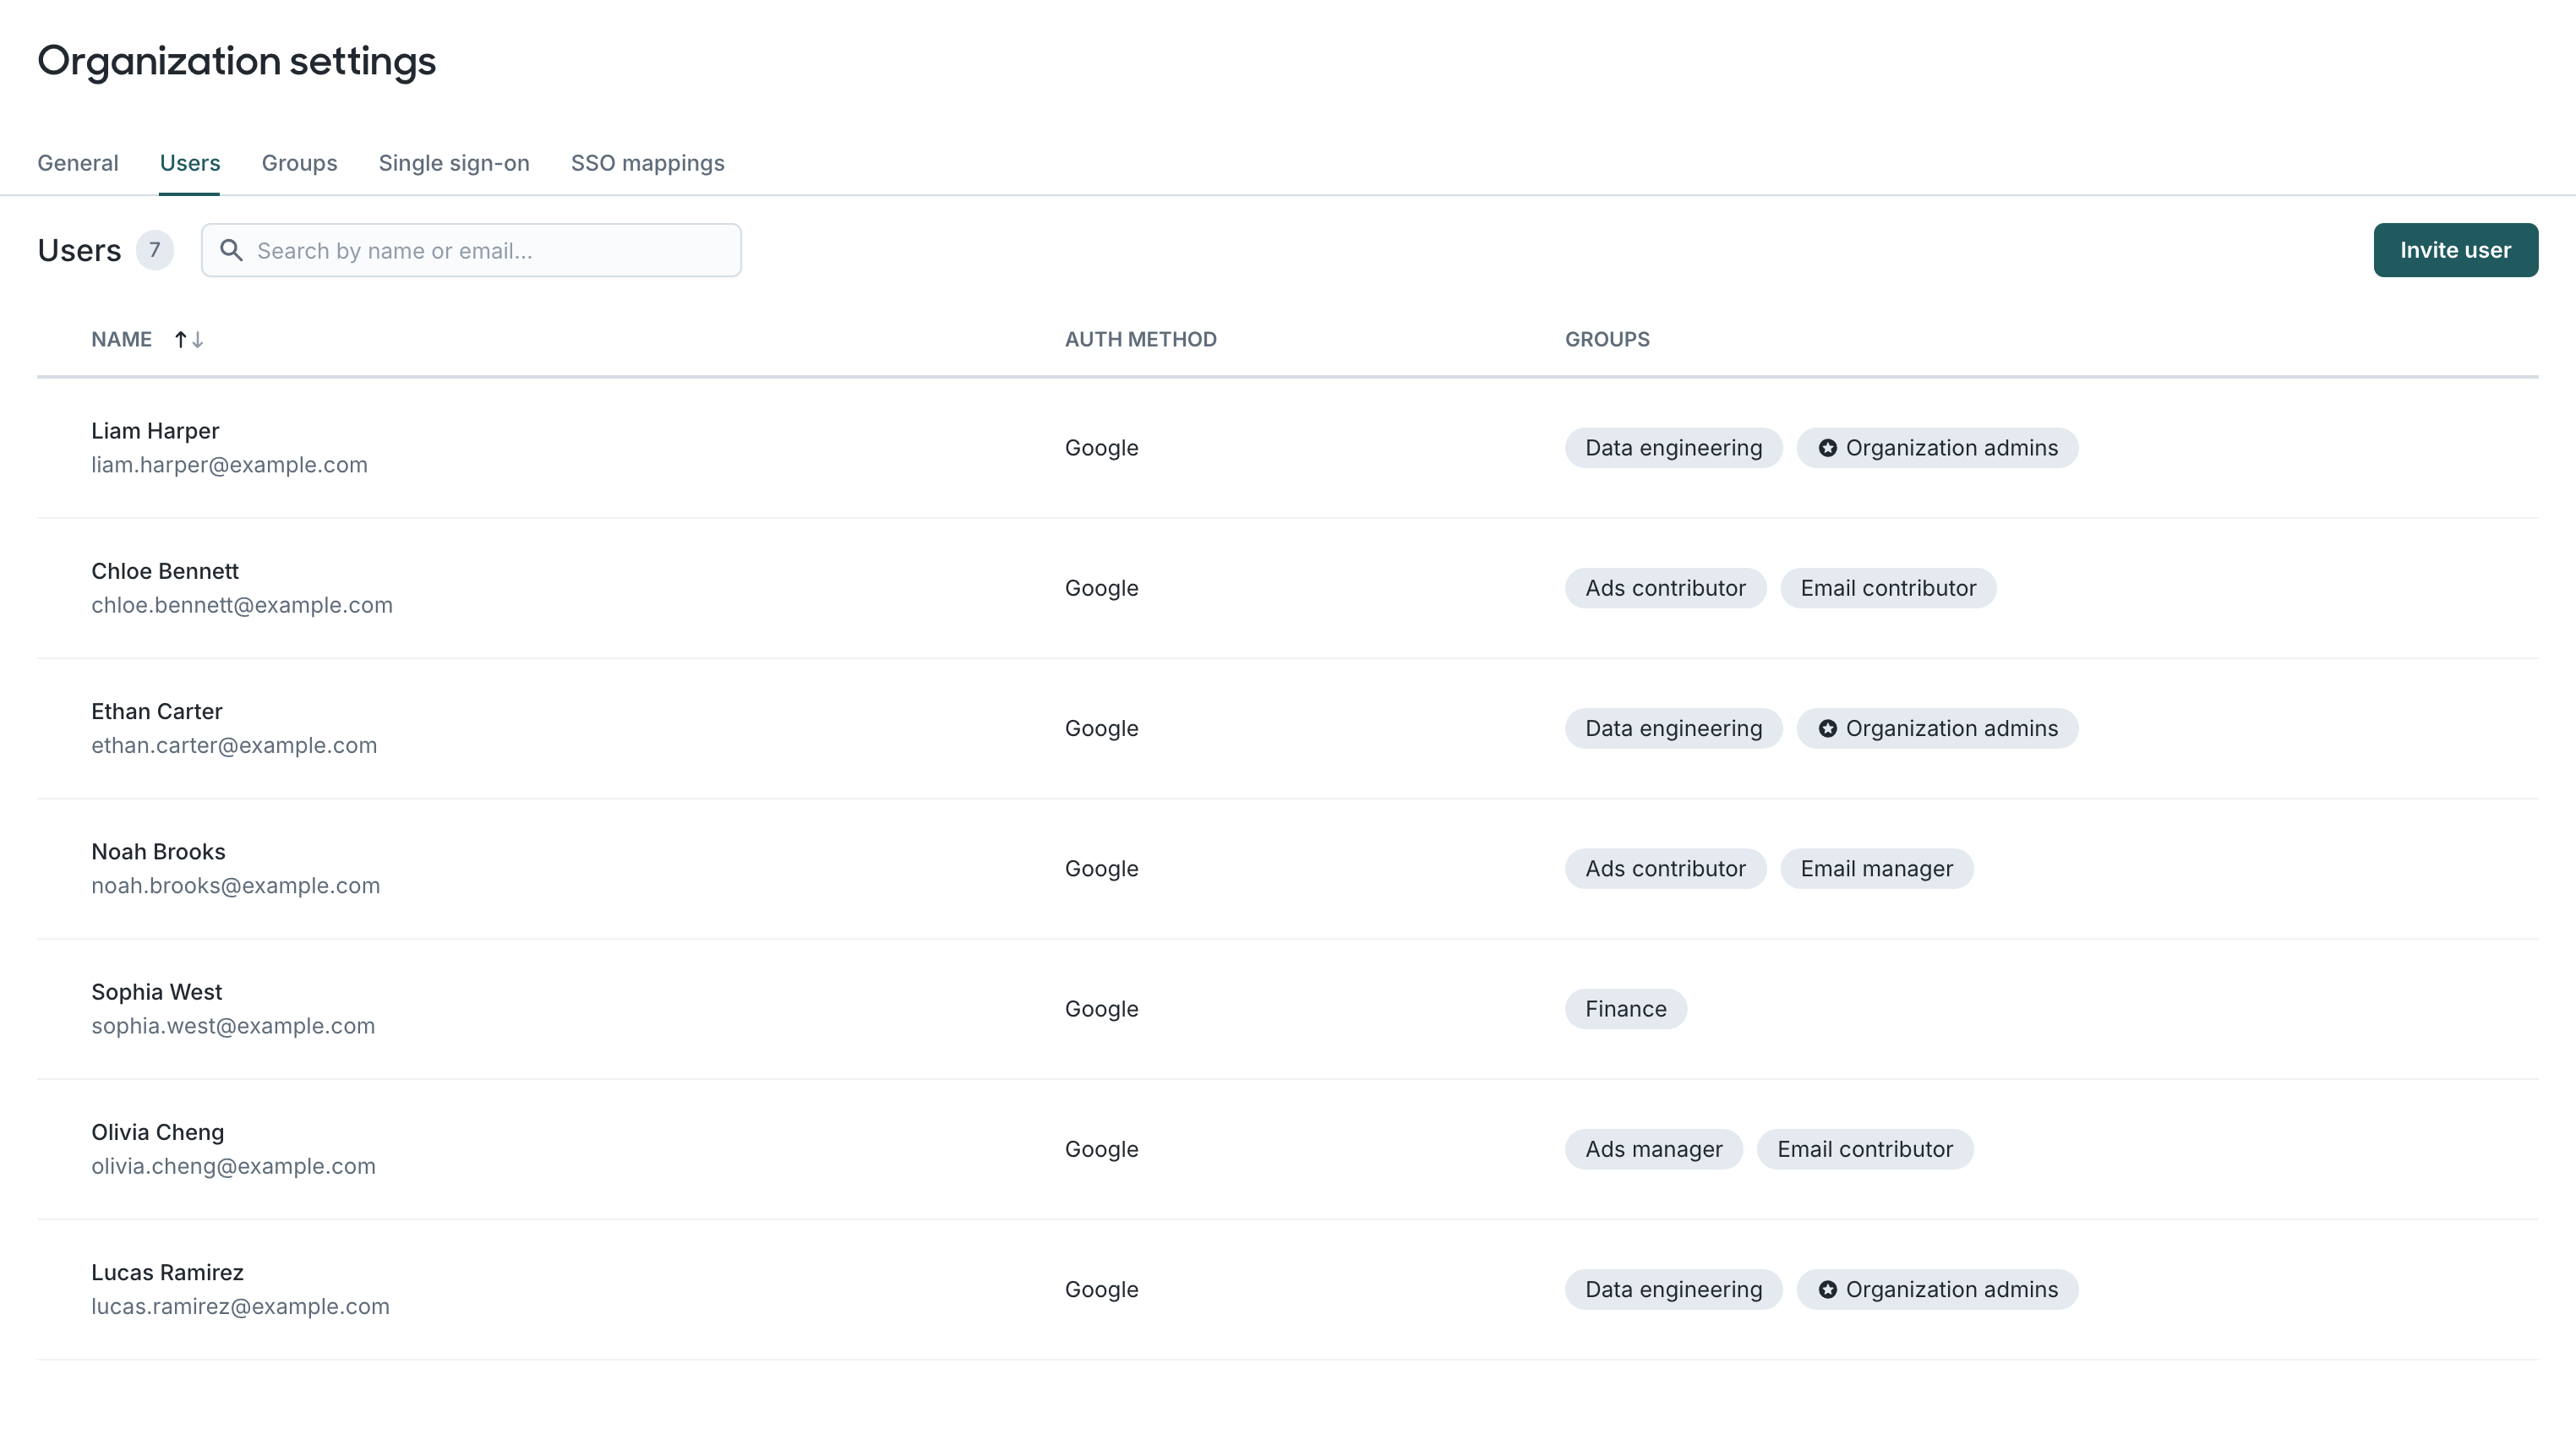
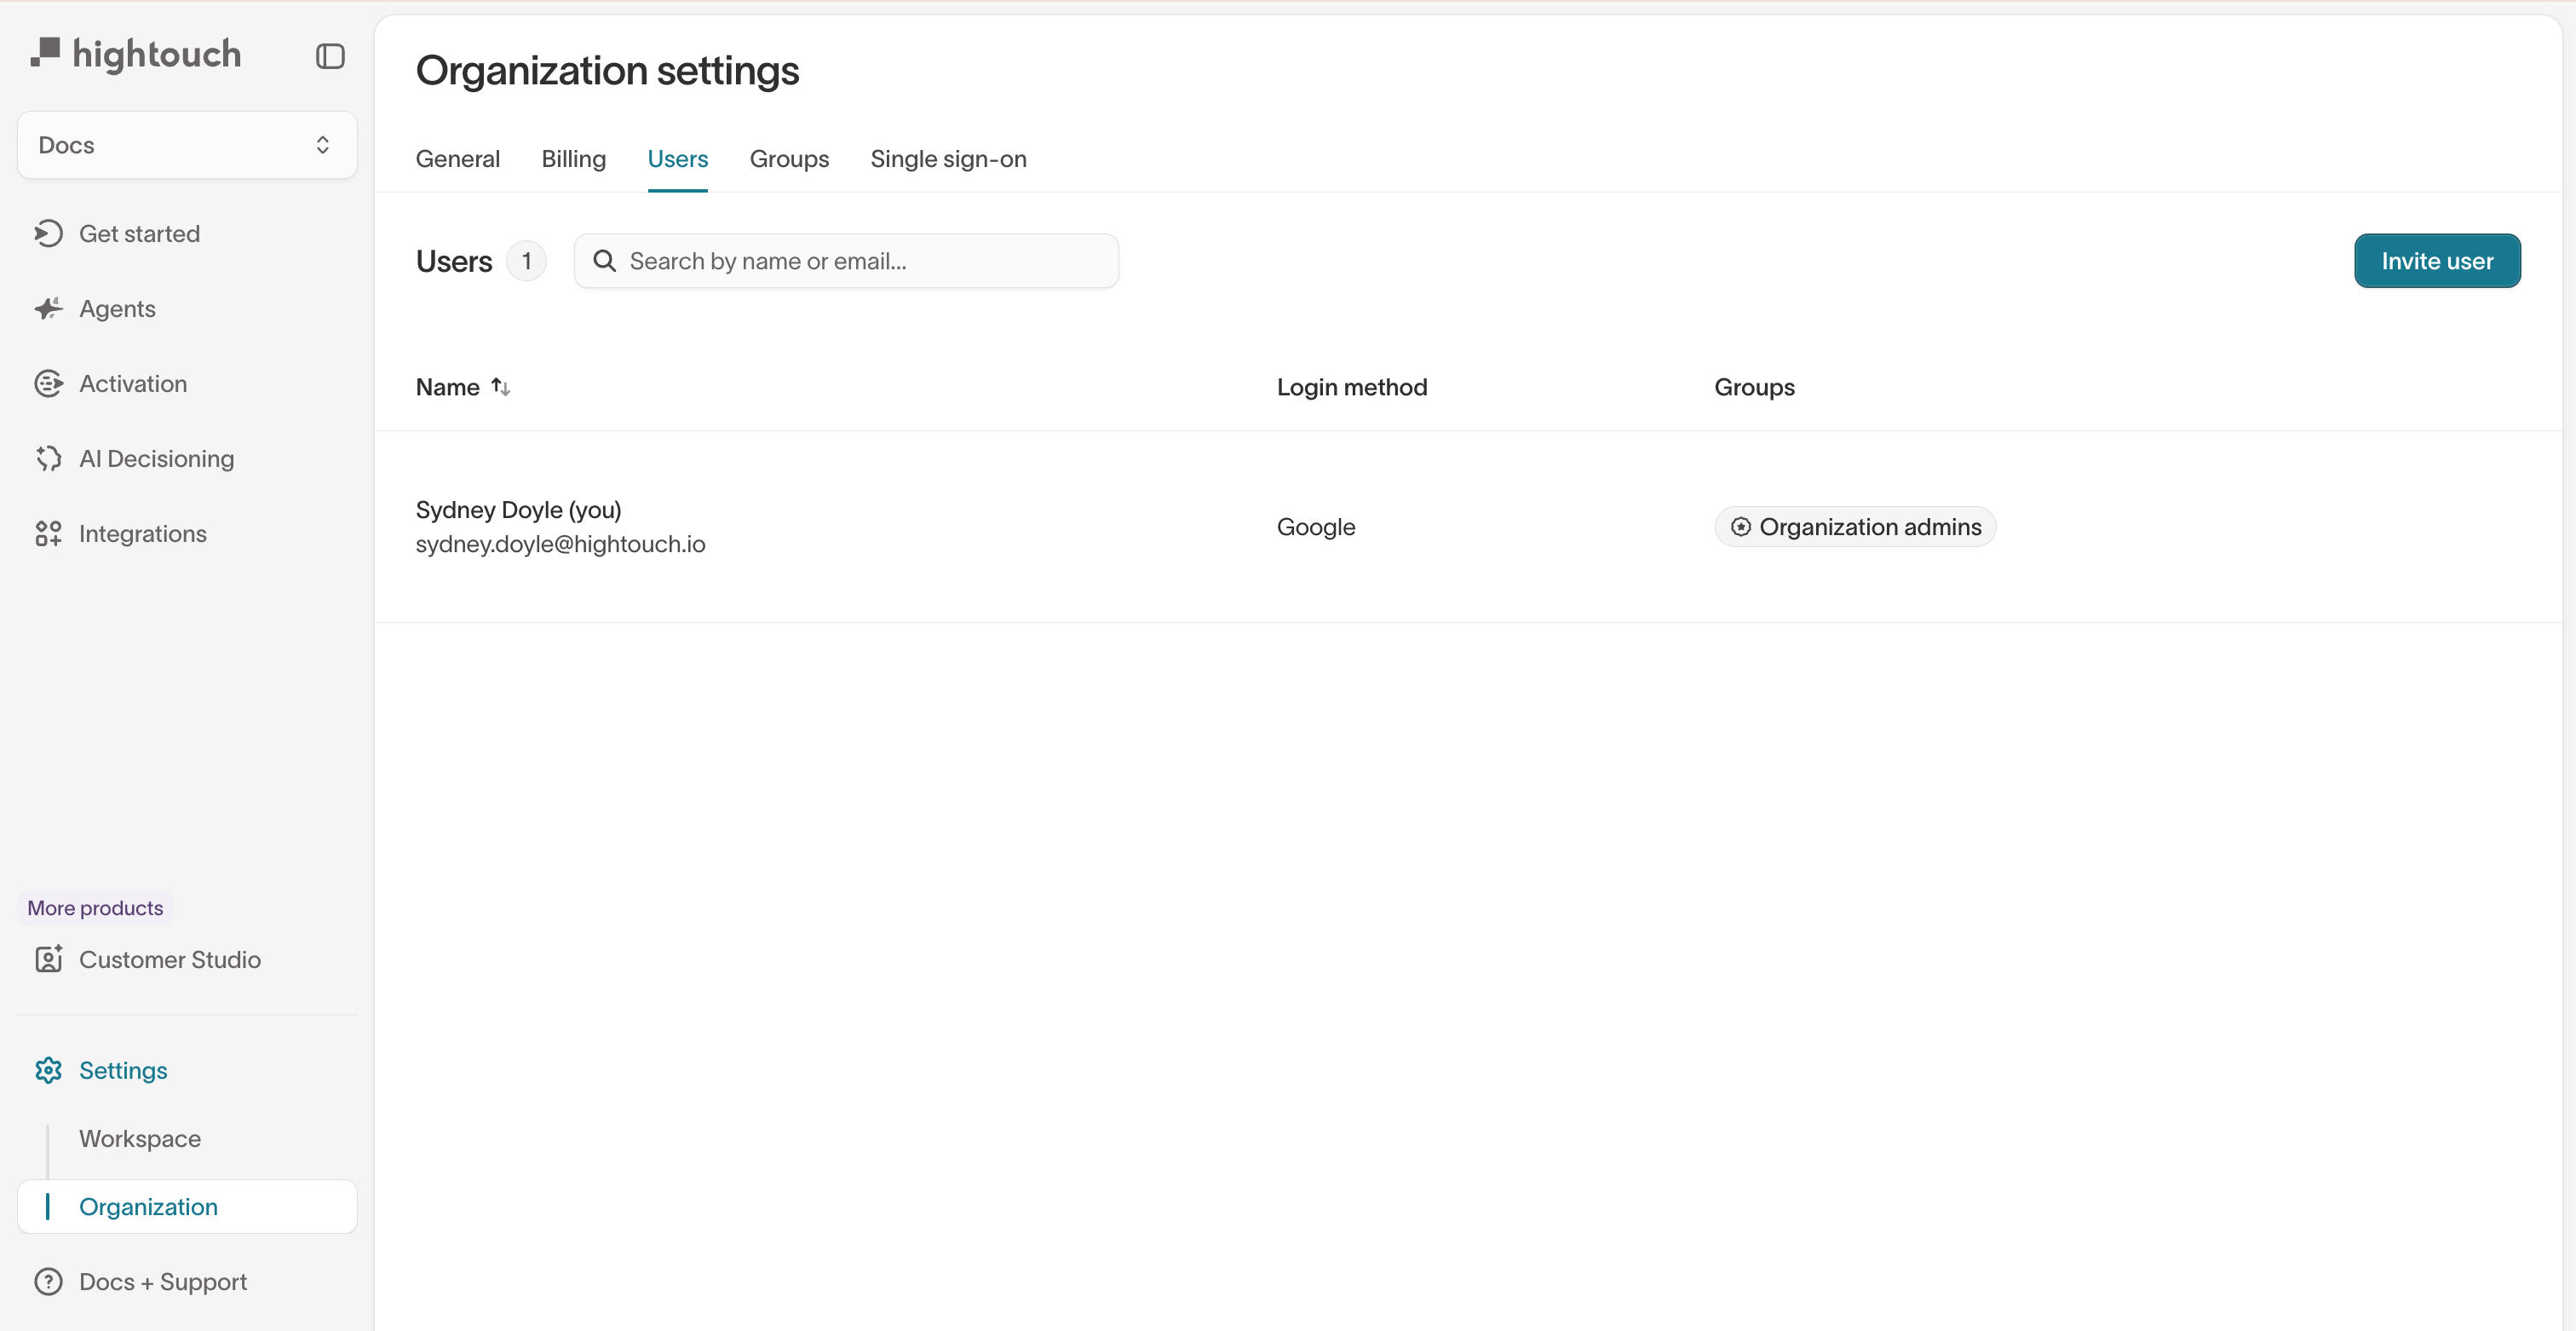
To view a list of users in your organization, navigate to the Organization settings page and select the Users tab. There, you'll find a table of all users in your organization, including their authentication methods and group memberships. You can click on any user in the table to reveal more detailed information.
Inviting users
If your organization is configured to use SSO, there's no need to manually invite users. Instead, go to Organization settings > Single sign-on and copy the Hightouch login URL. Share this link with your teammates so they can log in through your identity provider—no invite required.
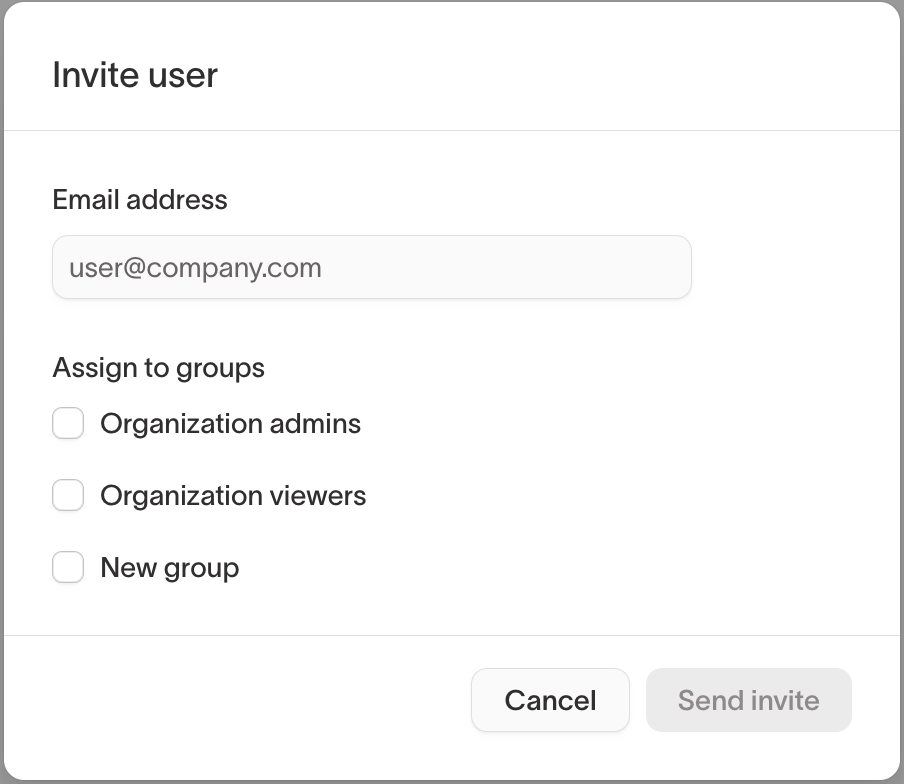
For organizations not using SSO, you can invite others by going to Organization settings > Users and clicking the Invite user button. Only members of the Organization admins group can send invites. Make sure to assign the recipient to at least one user group so they receive workspace access upon their first login.

A list of pending invitations is available at the top of Organization settings > Users, where you can also withdraw invites if necessary. Otherwise, invites will expire automatically after 30 days.
Removing users
Go to Organization settings > Users, select the user you wish to remove, and click Remove user.
Removing a user doesn't prevent them from rejoining your organization in the future if they receive another invite or authenticate through your central identity provider.
Groups
A group is a collection of users. In Hightouch, access control is managed at the group level, making it easy to update permissions for many users at once.
Every Hightouch organization includes two built-in groups that cannot be deleted:
- Organization admins have full access to all workspaces and can manage organization-wide settings such as users, groups, billing, SSO, and more.
- Organization viewers have read-only access to all workspaces, but they do not have any admin privileges whatsoever.
Each organization must always have at least one admin, while the viewers group is optional and exists purely for convenience.
Assigning users to groups
User-to-group mappings are best managed by your identity provider (e.g., Okta). However, if SSO group mappings aren't enabled or you need custom groups, you can manually set up user groups and assign users directly within the Hightouch app.
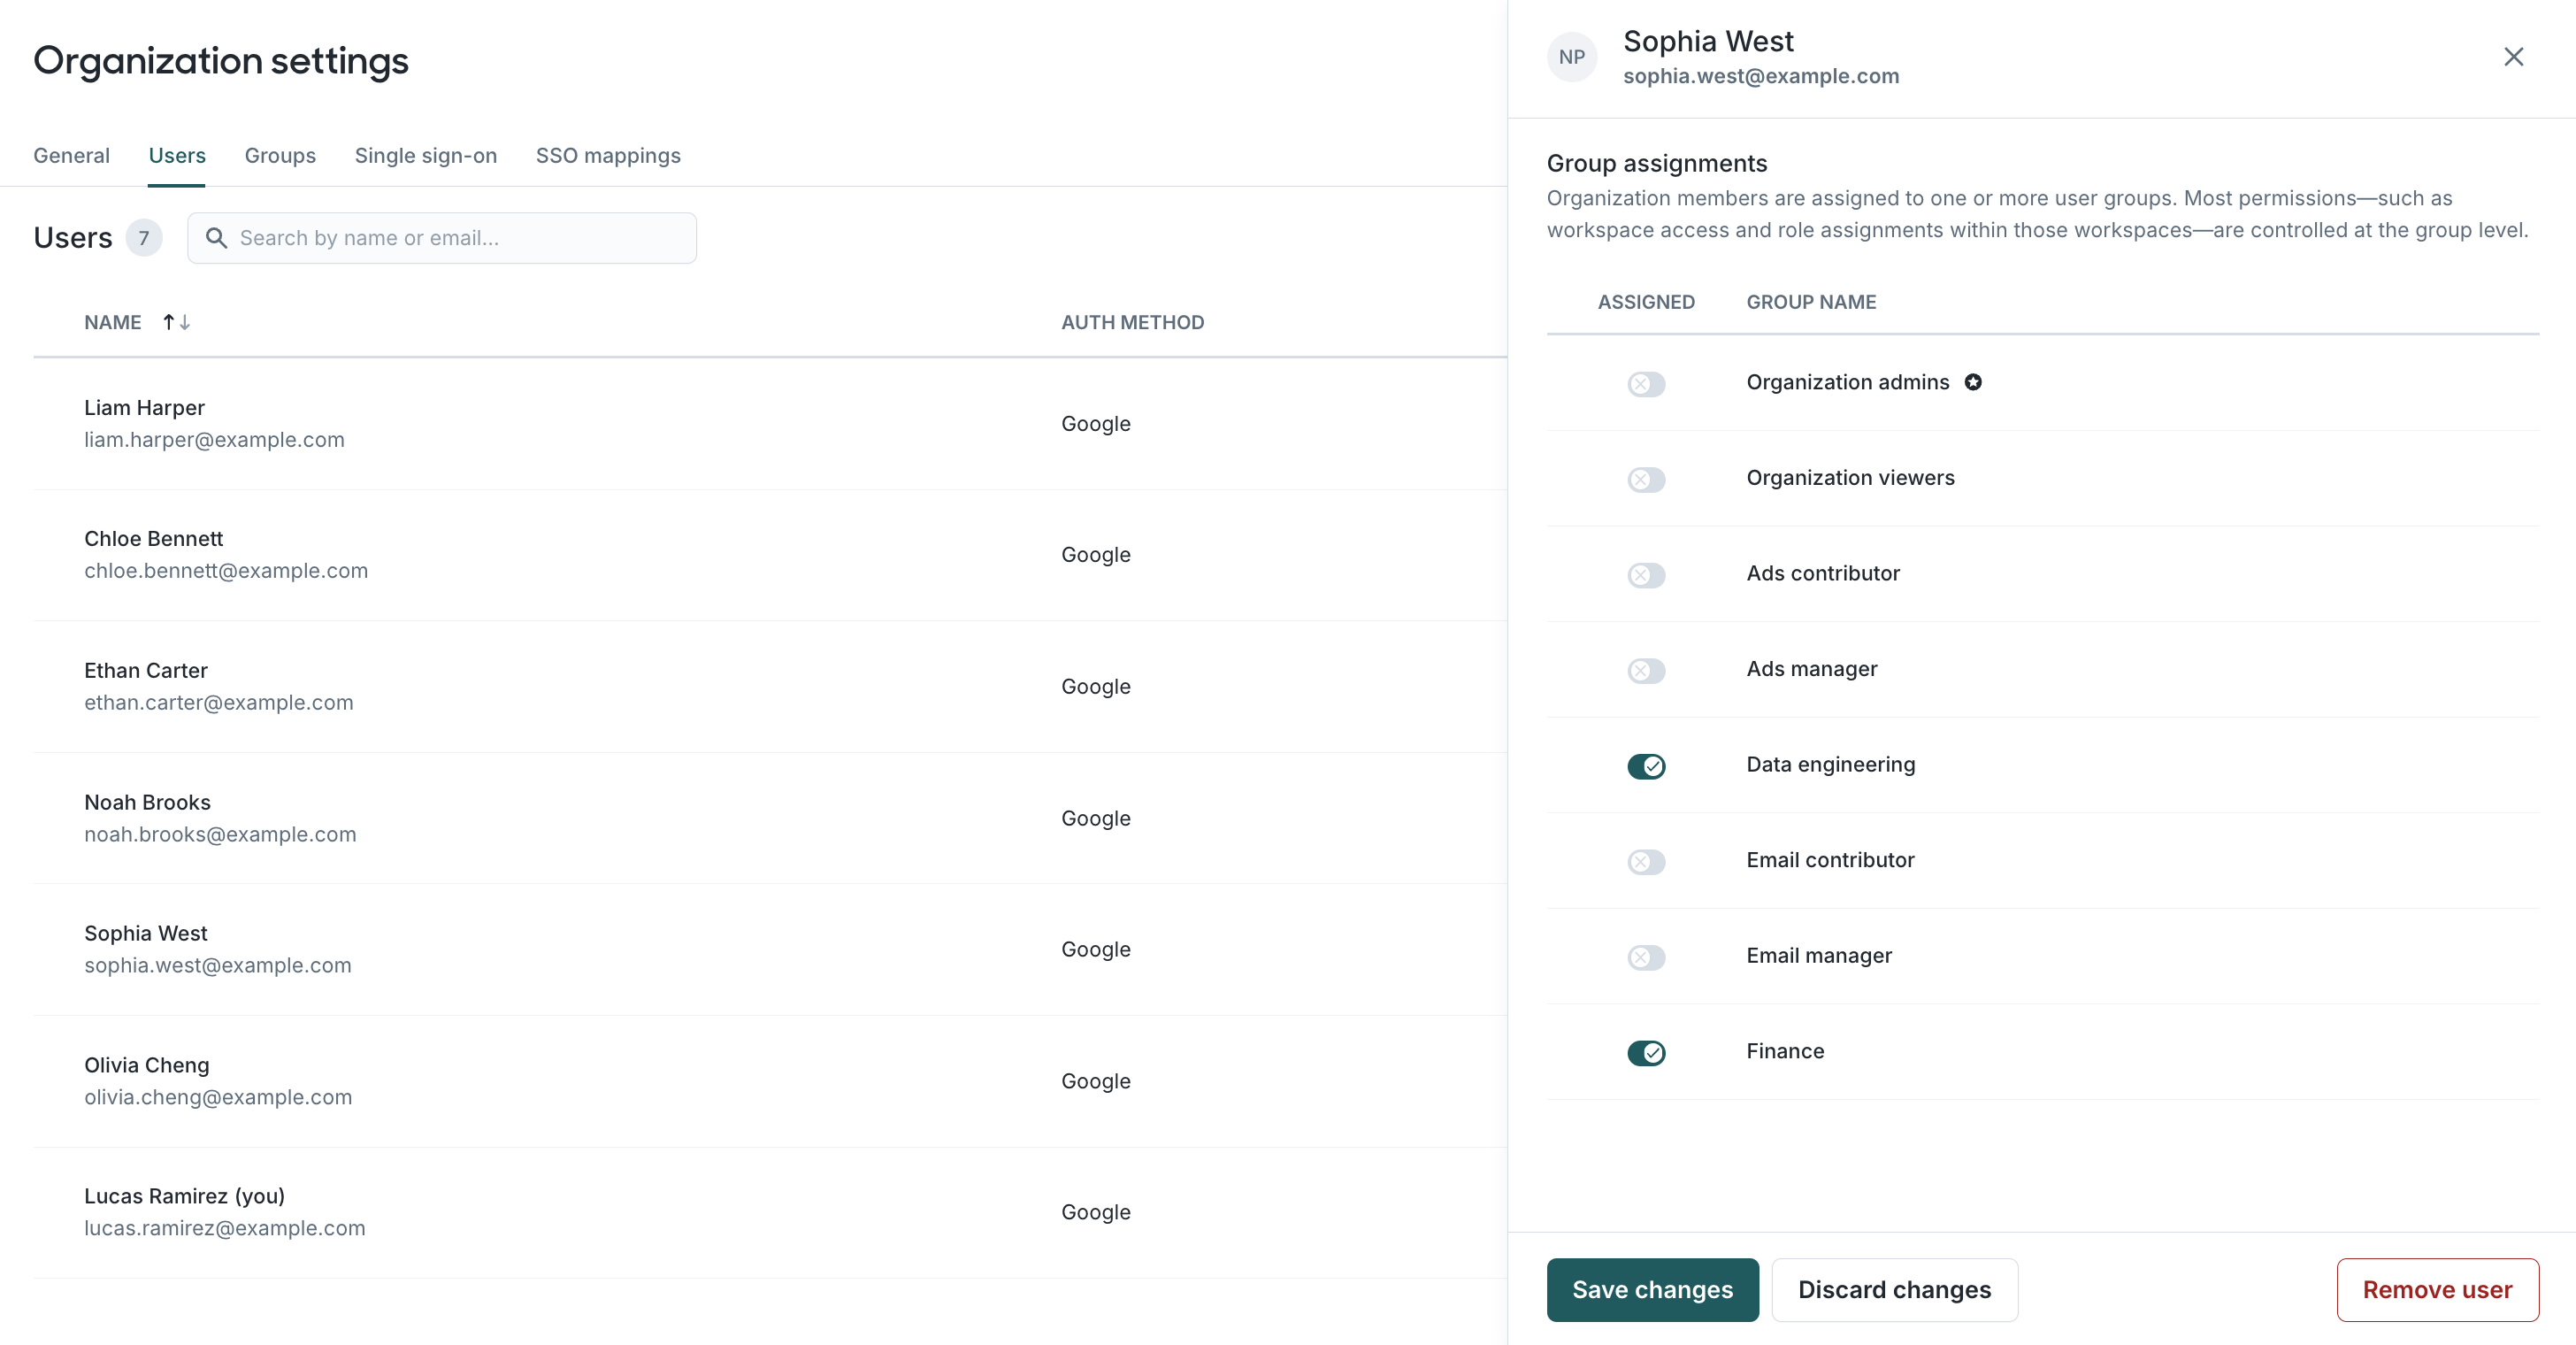
To manage group assignments for a single user, navigate to Organization settings > Users, select a user from the list, and use the Assign toggle for each group to add or remove the user.
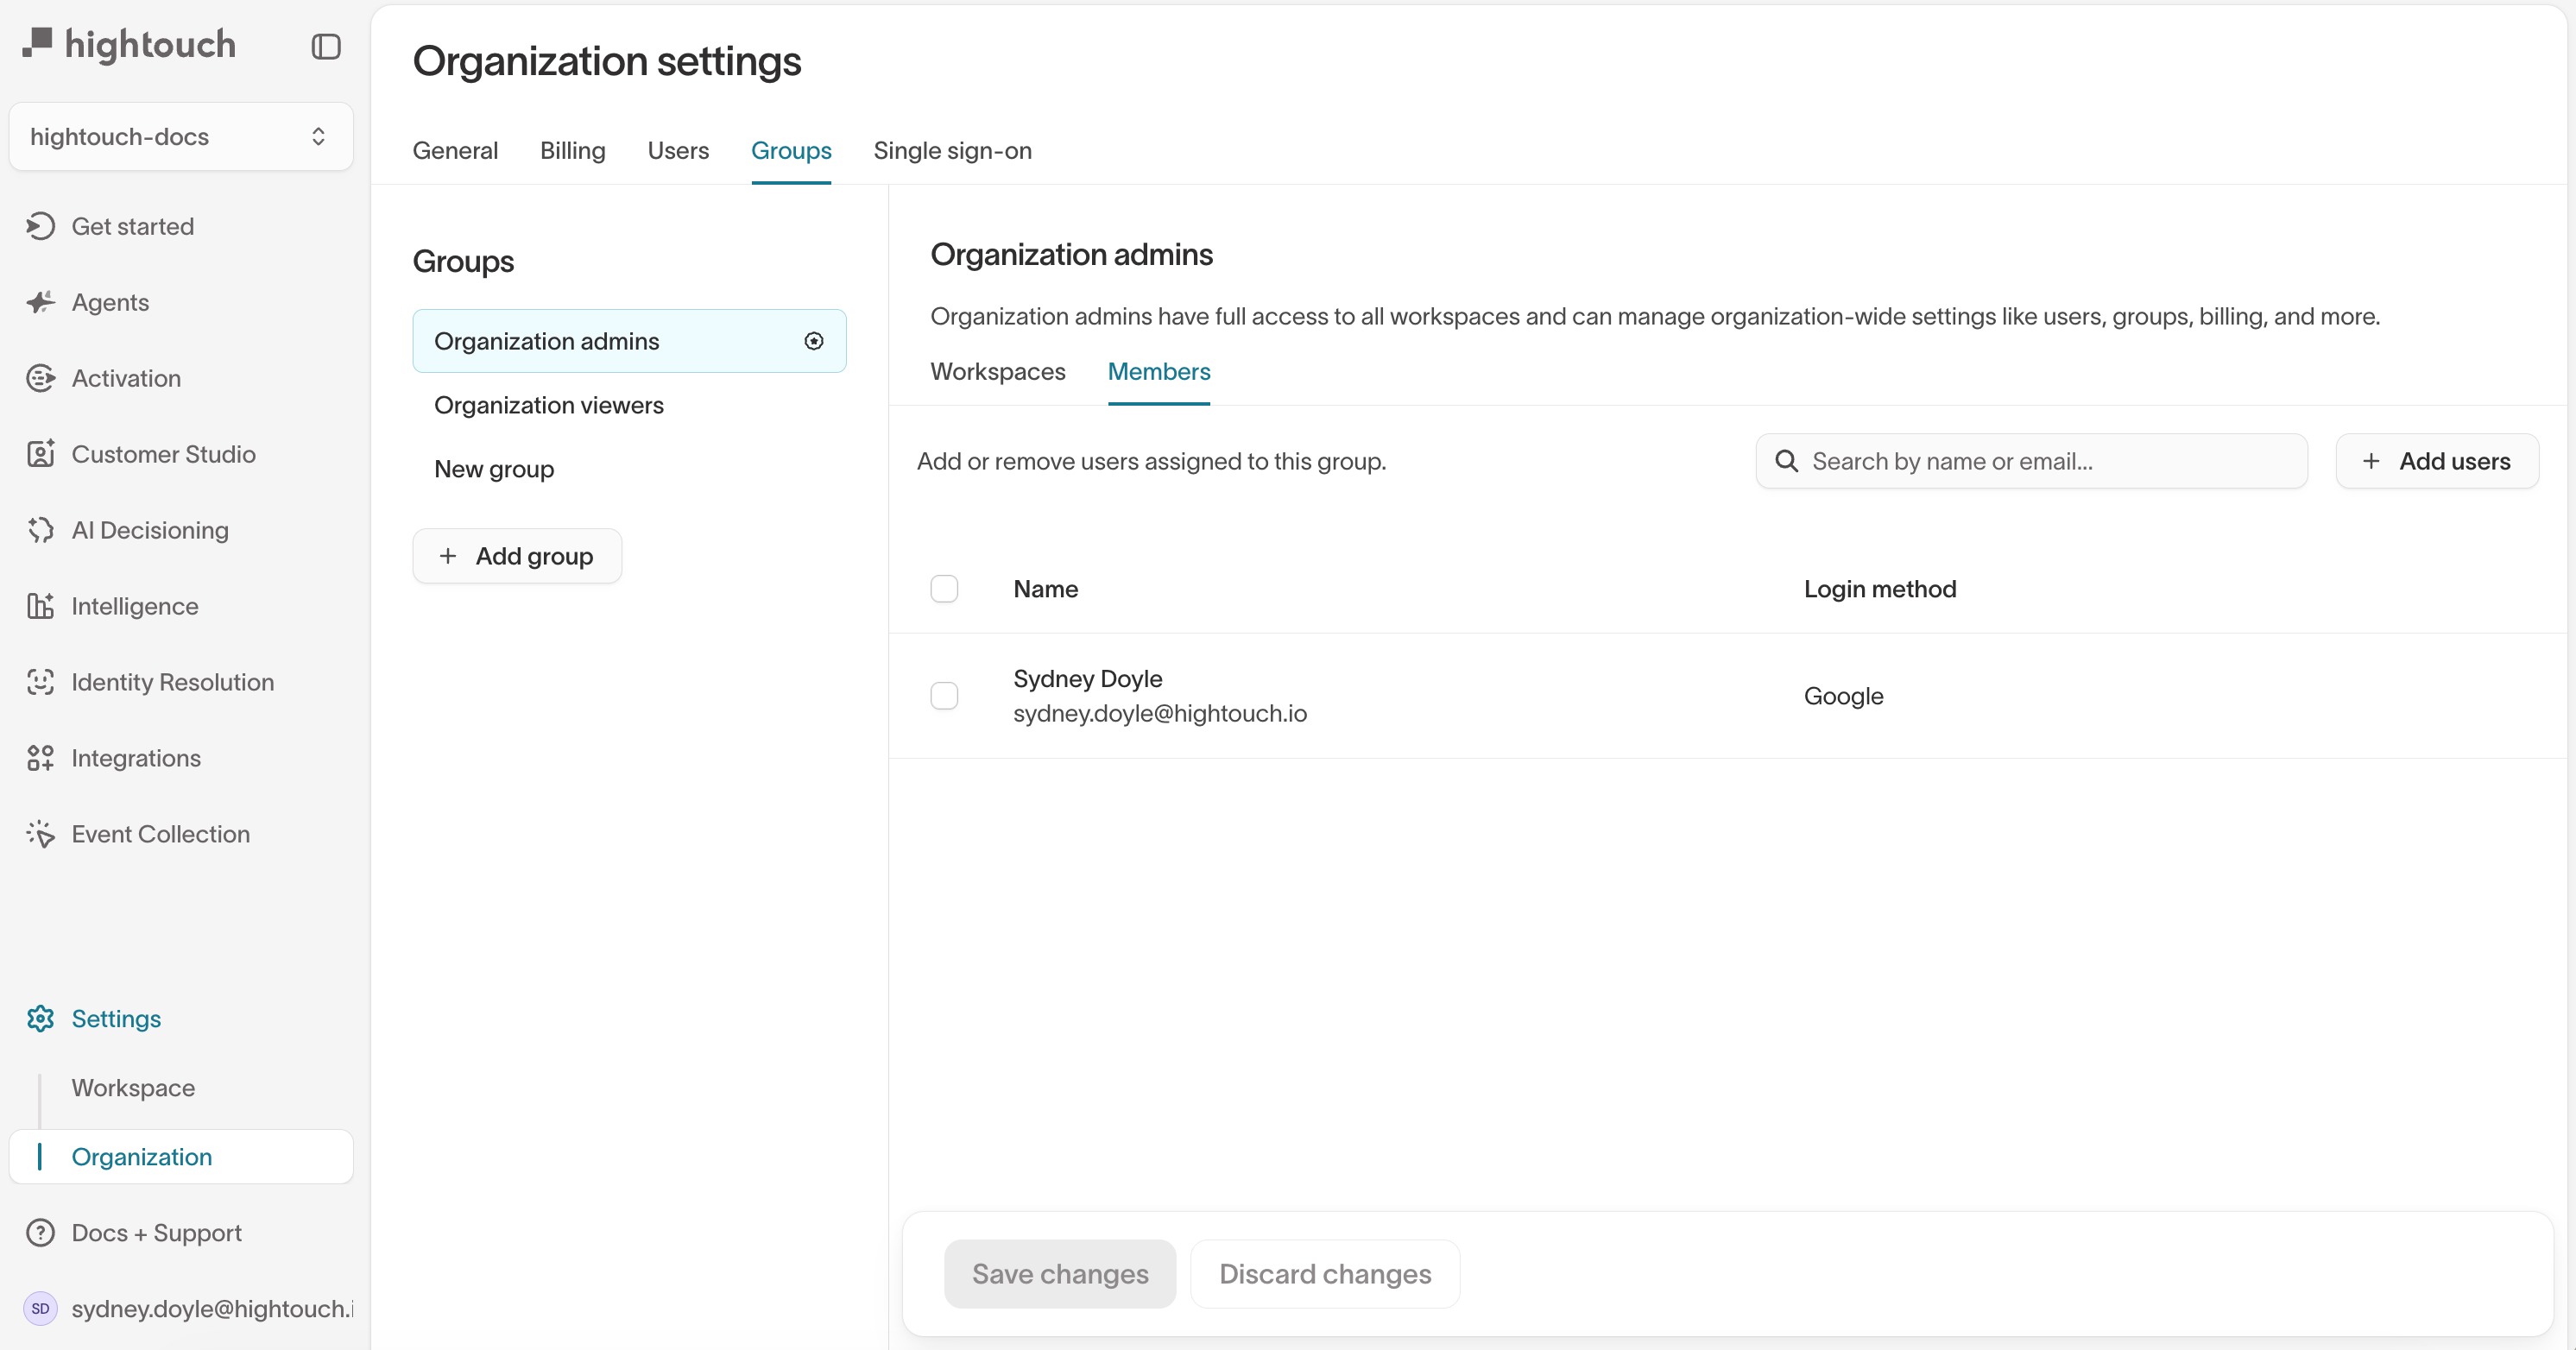
To manage multiple members in a group, go to Organization settings > Groups, choose the group from the sidebar, and select the Members tab.
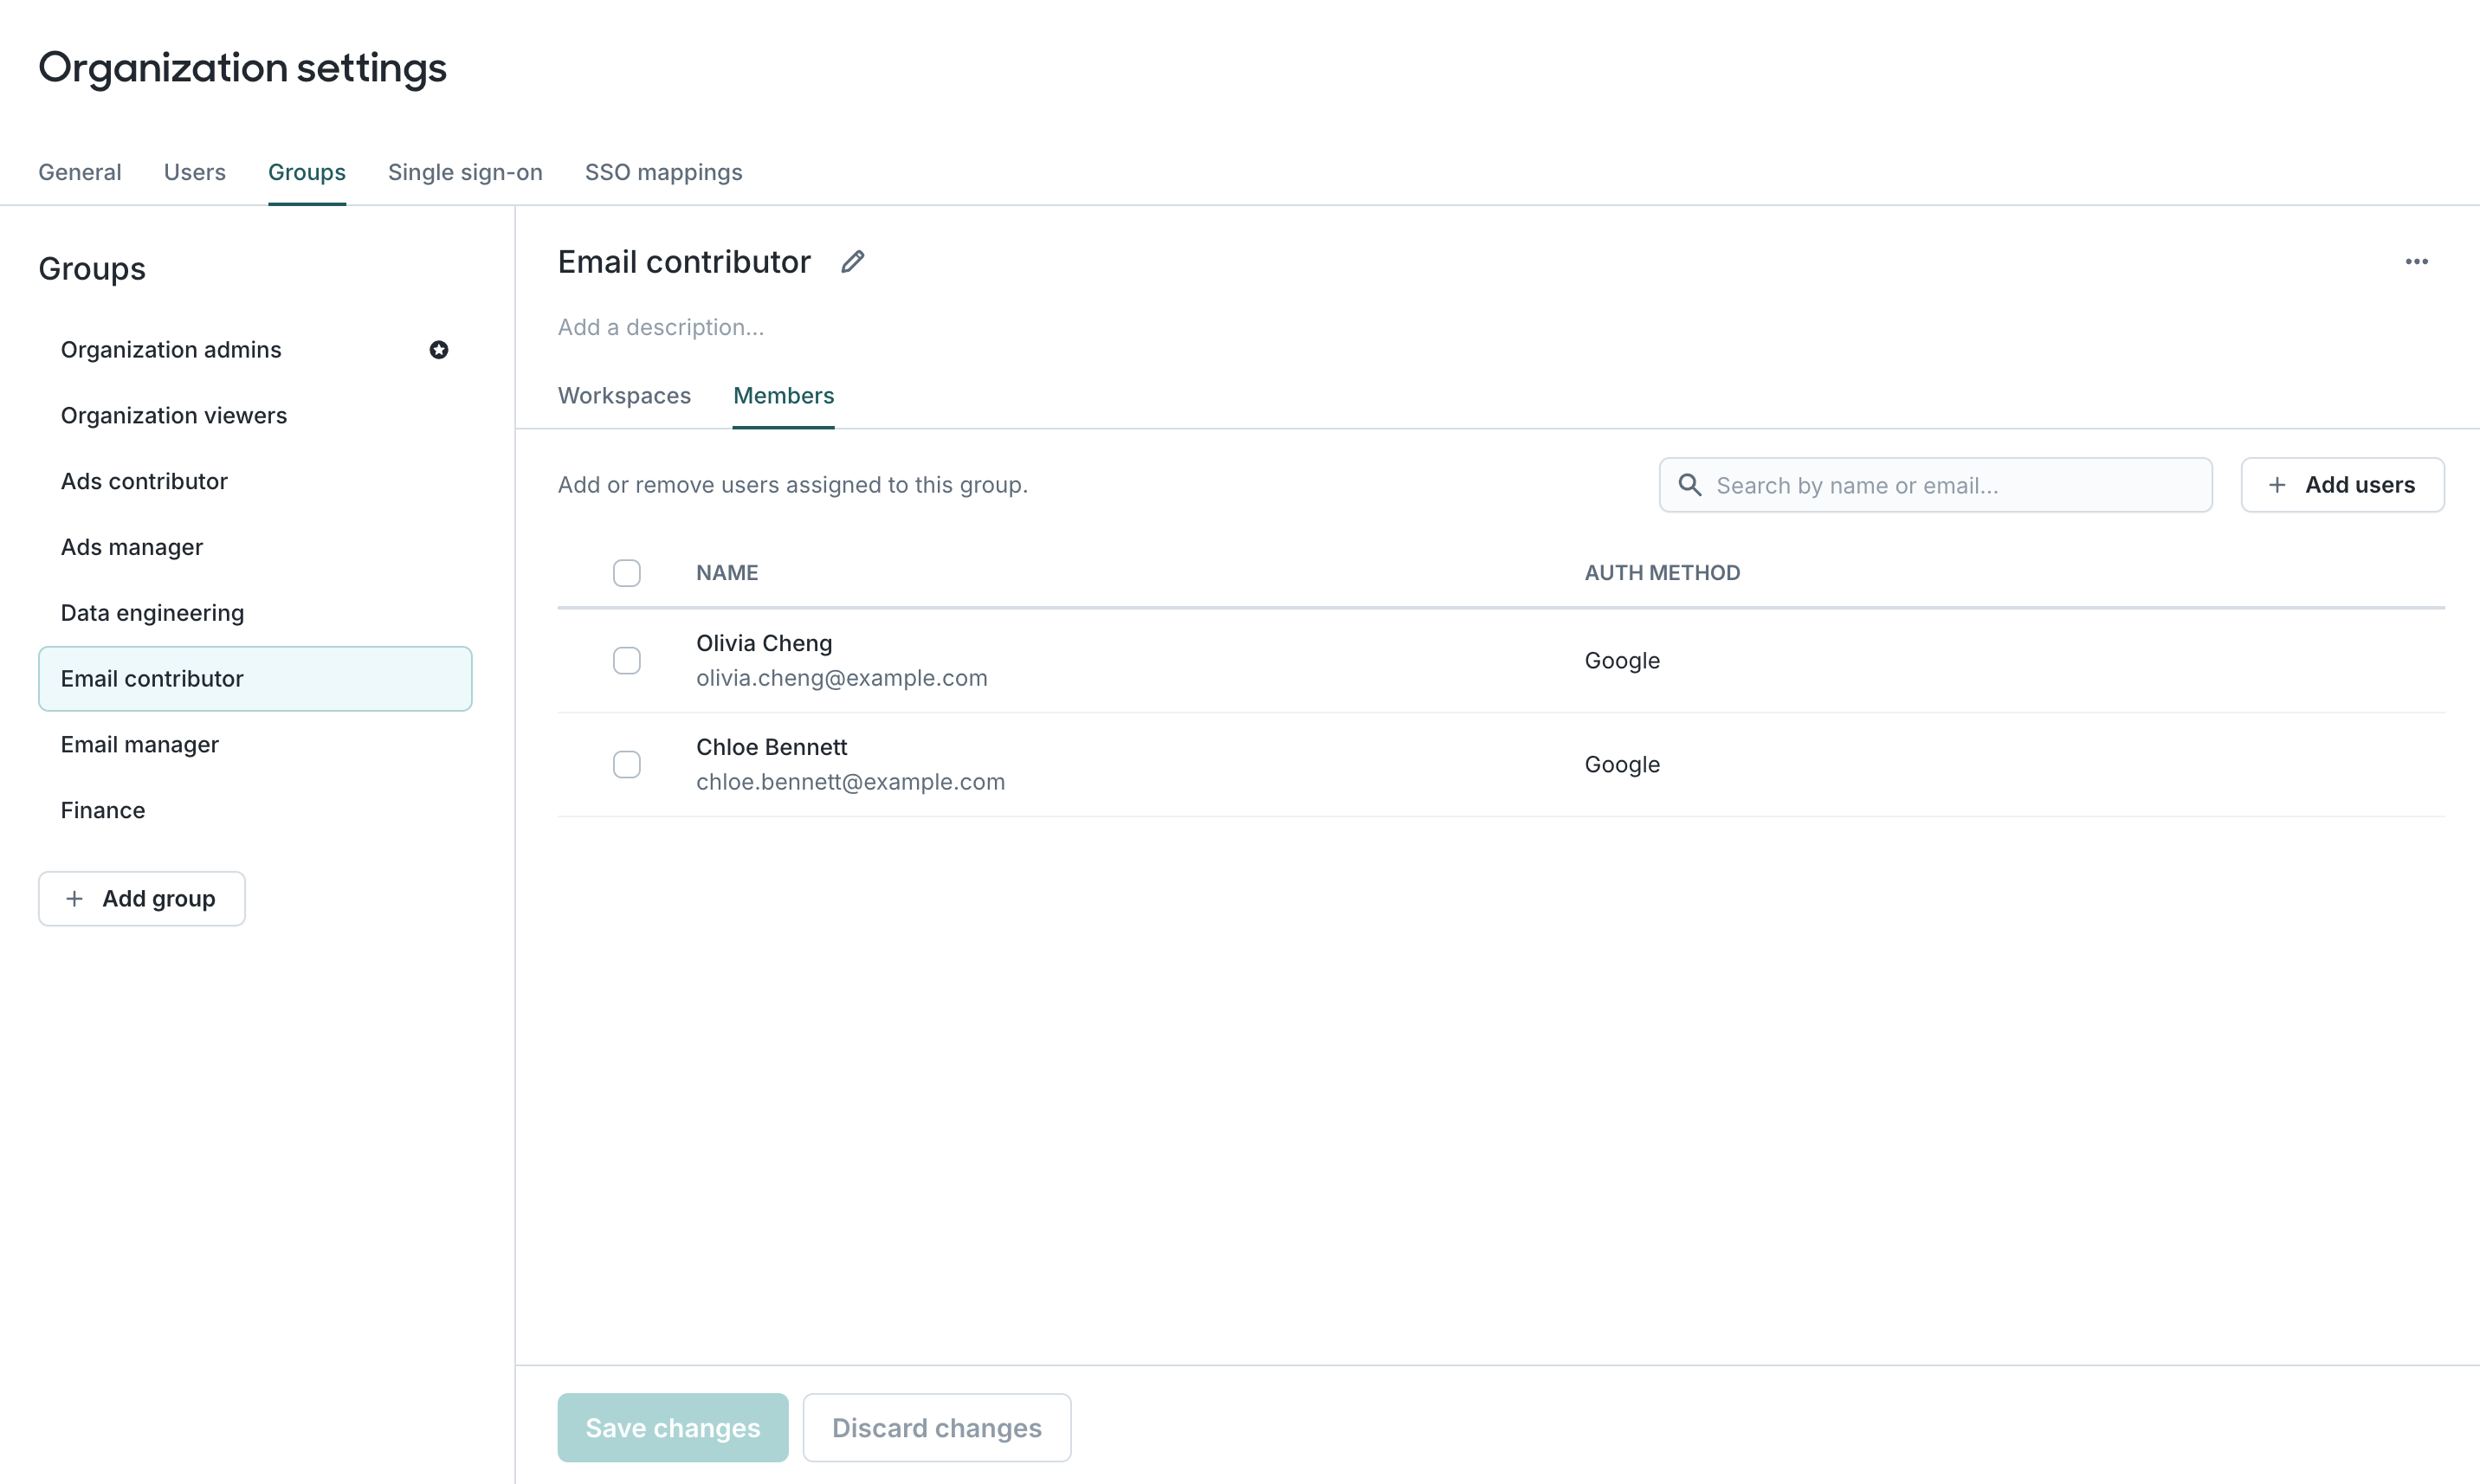
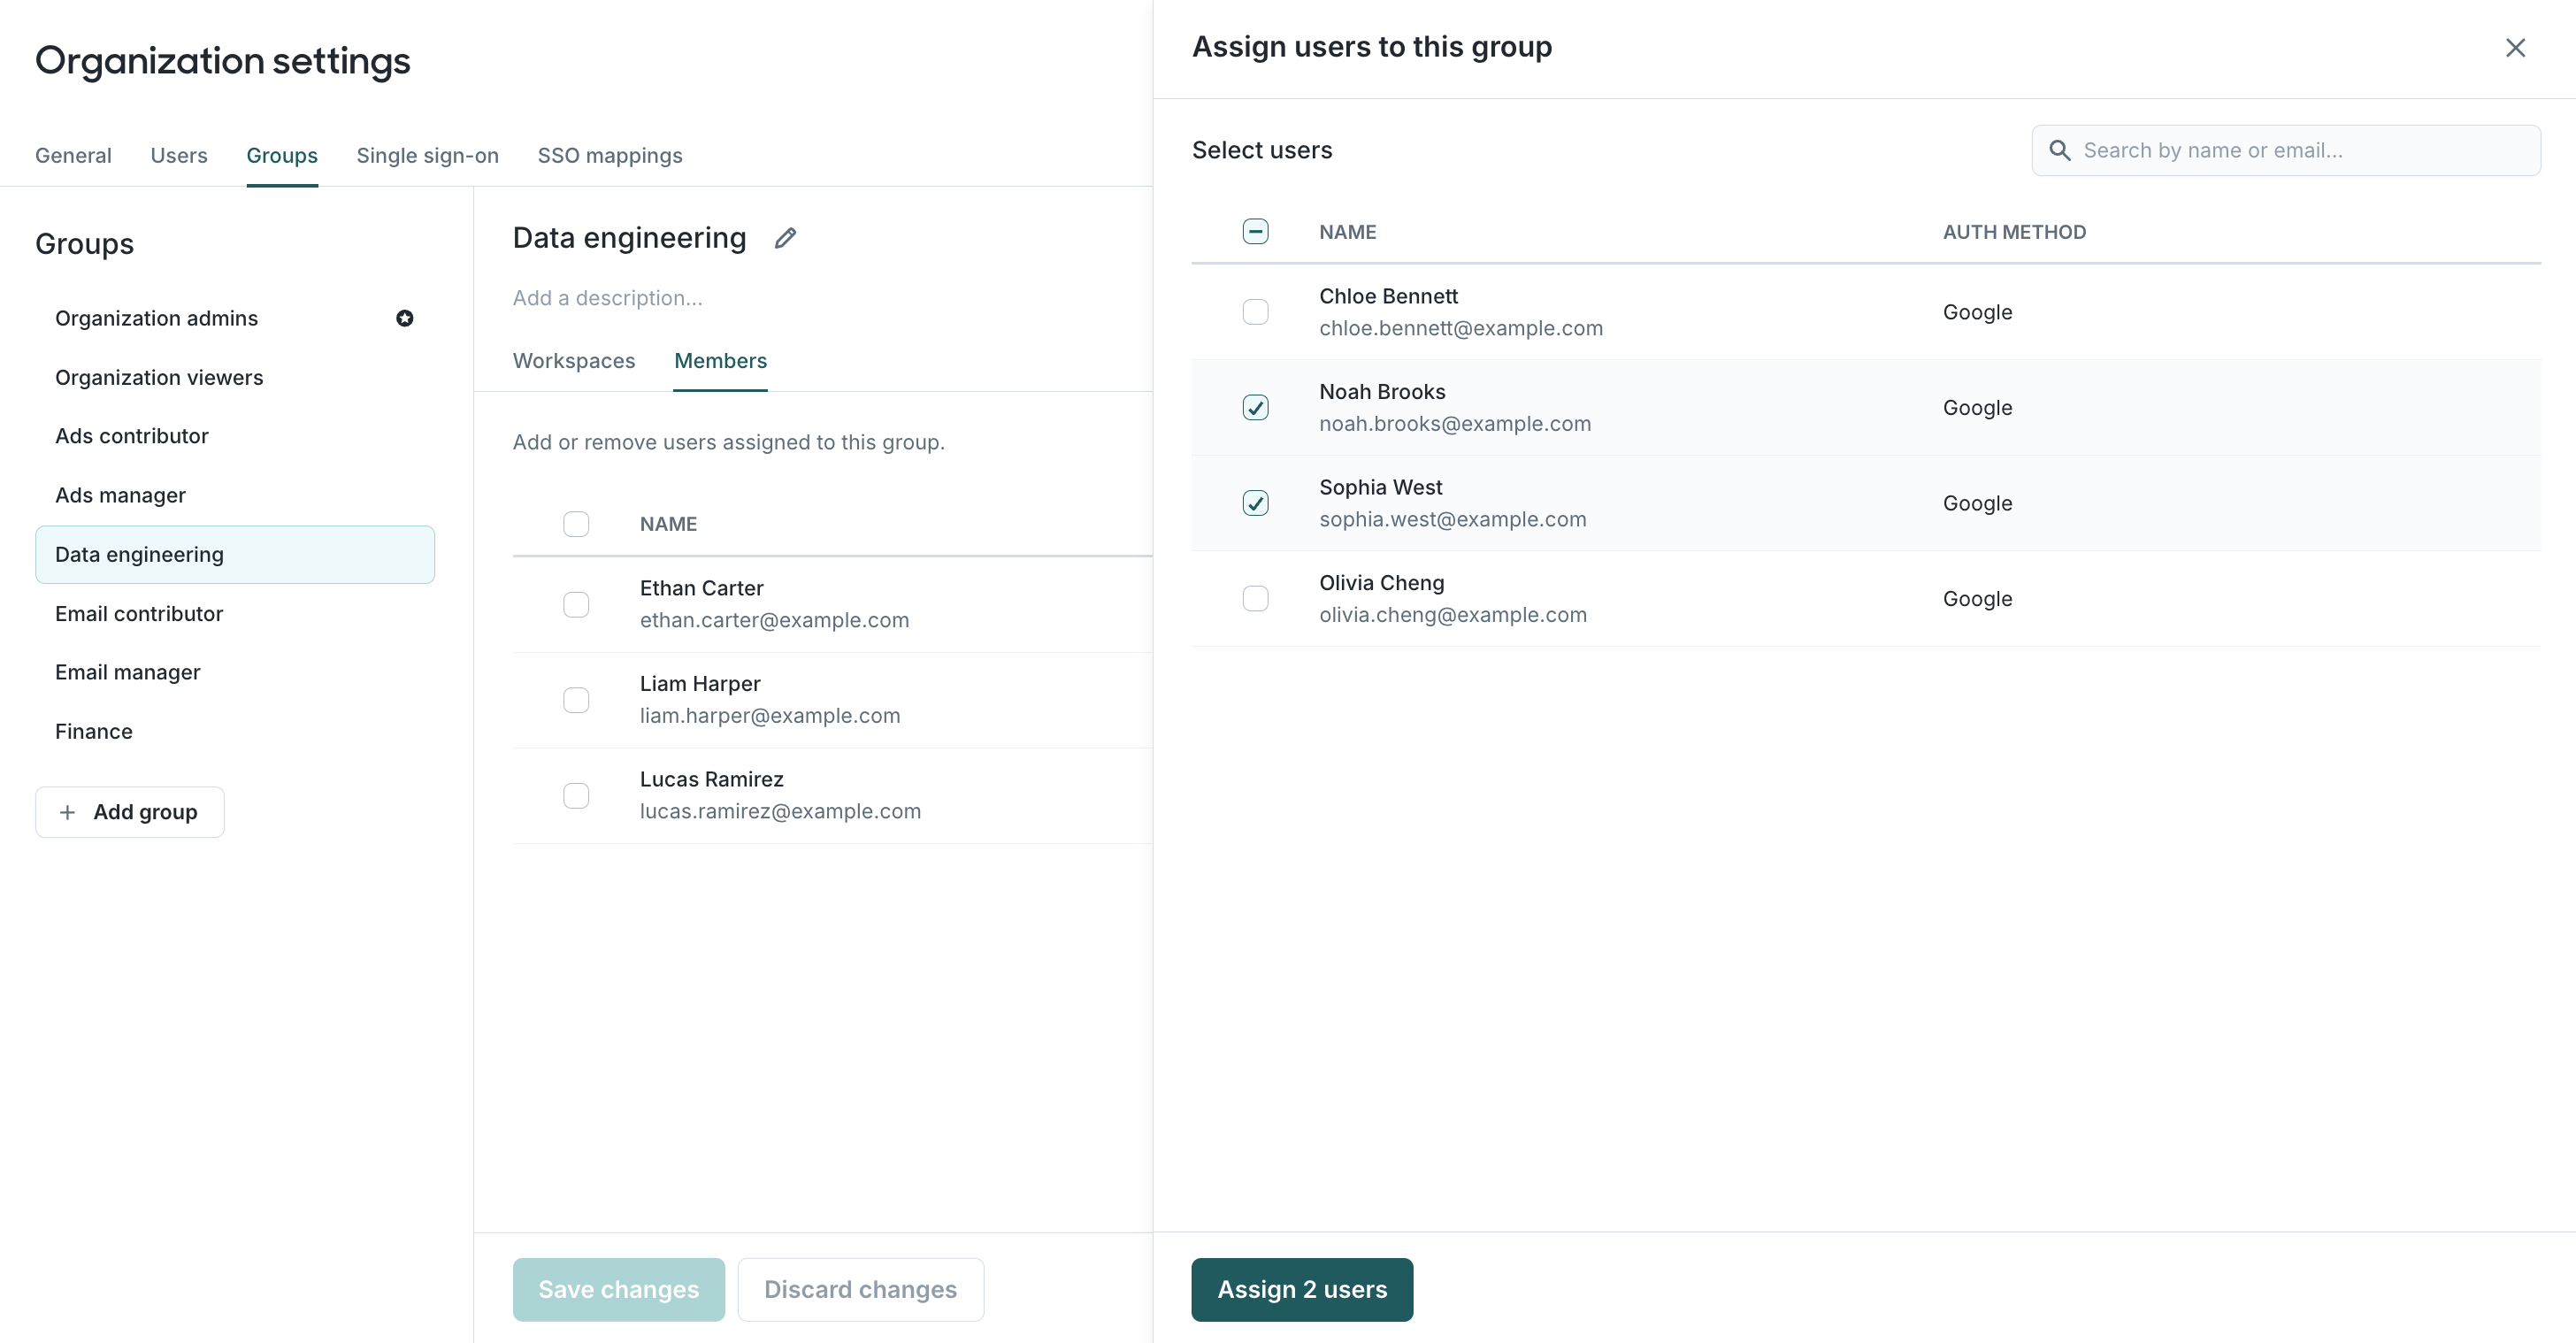
To add more users, click Add users; to remove existing users, check the boxes next to their names and click Remove users.
If group memberships are controlled by your identity provider via SSO group mappings, you cannot override or make subtractive changes (e.g., removing users from groups). However, you can make additive changes, such as assigning additional members to an existing group.
Creating a new group
Each group should represent a set of users with similar access to workspaces and their associated resources. For instance, you might create one group for “Data Science” and another for “Growth Marketing”. Groups can also be used to reflect different teams, regions, brands, or any other organizational structure that impacts permissions.
To simplify your onboarding, it's recommended to keep the number of groups to a minimum. Remember, users can belong to multiple groups at the same time, inheriting combined permissions from all their assigned groups. This can help reduce the total number of groups needed in your organization. For example, instead of creating a separate group for “Growth Marketing Analysts”, you might instead assign those users to both the “Data Science” and “Growth Marketing” groups.
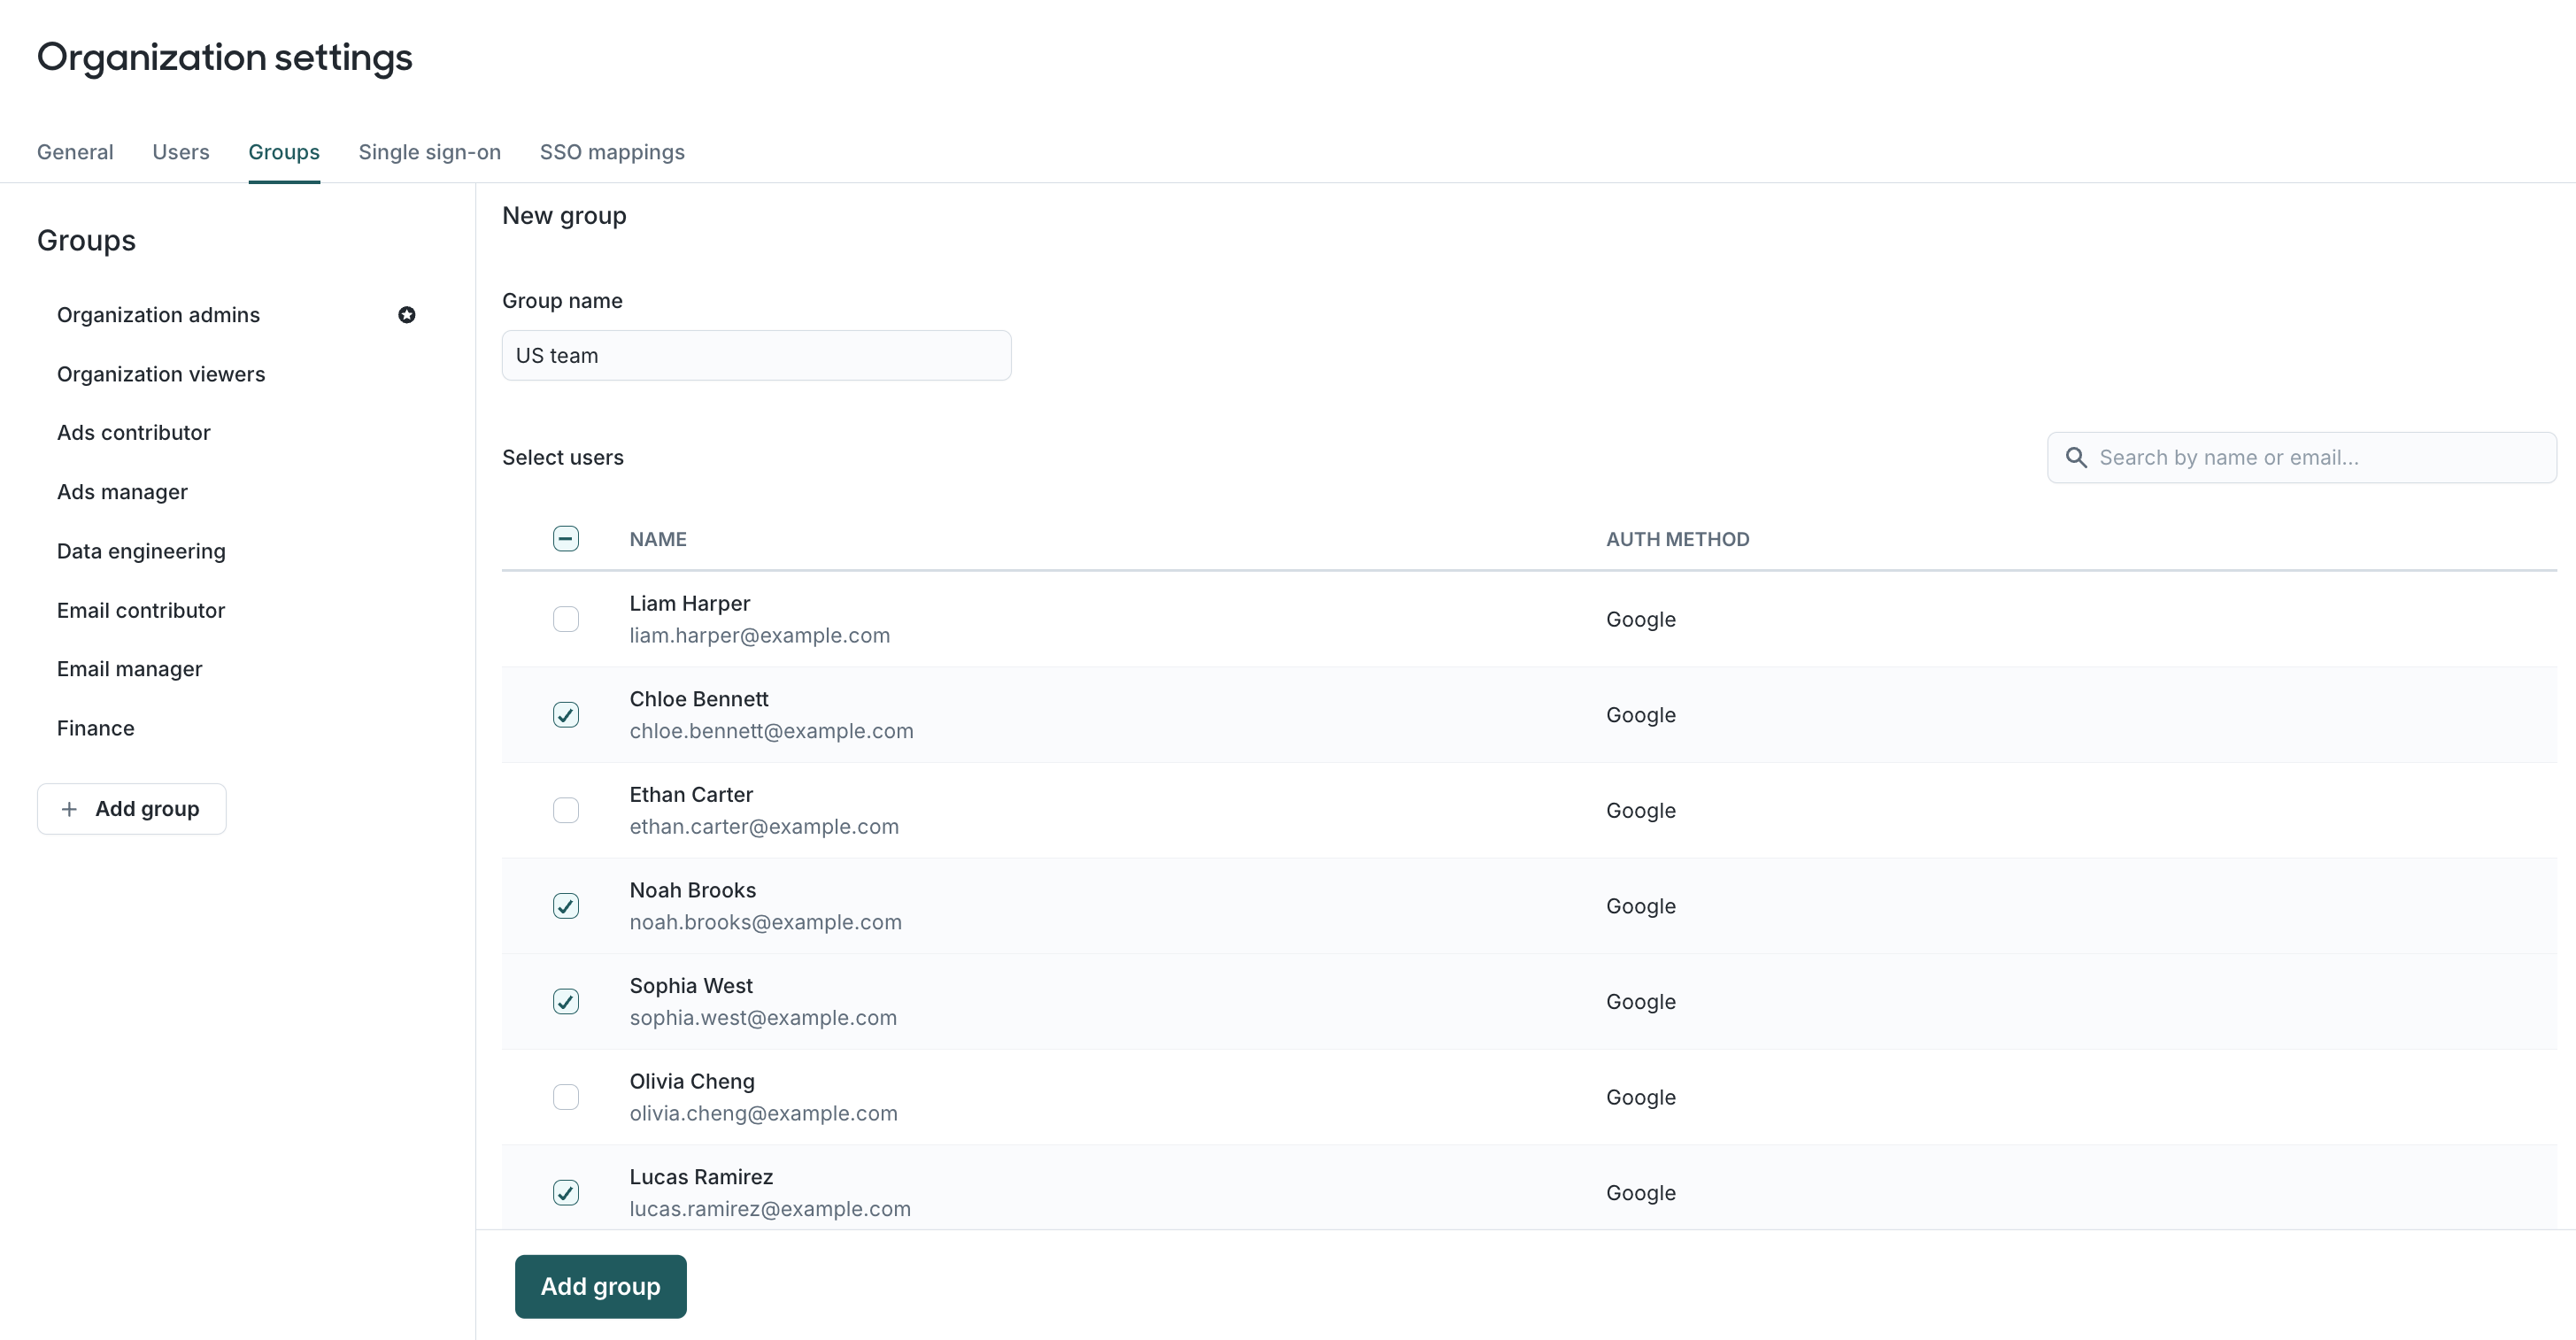
To create a new group, go to Organization settings > Groups and click Add group. Name the group and select the members to include.
Granting a group access to a workspace
By default, new groups don't have access to any workspaces. To grant access, navigate to Organization settings > Groups, select the group from the sidebar, and open the Workspaces tab. Use the Role dropdown to assign the appropriate access level for each workspace.
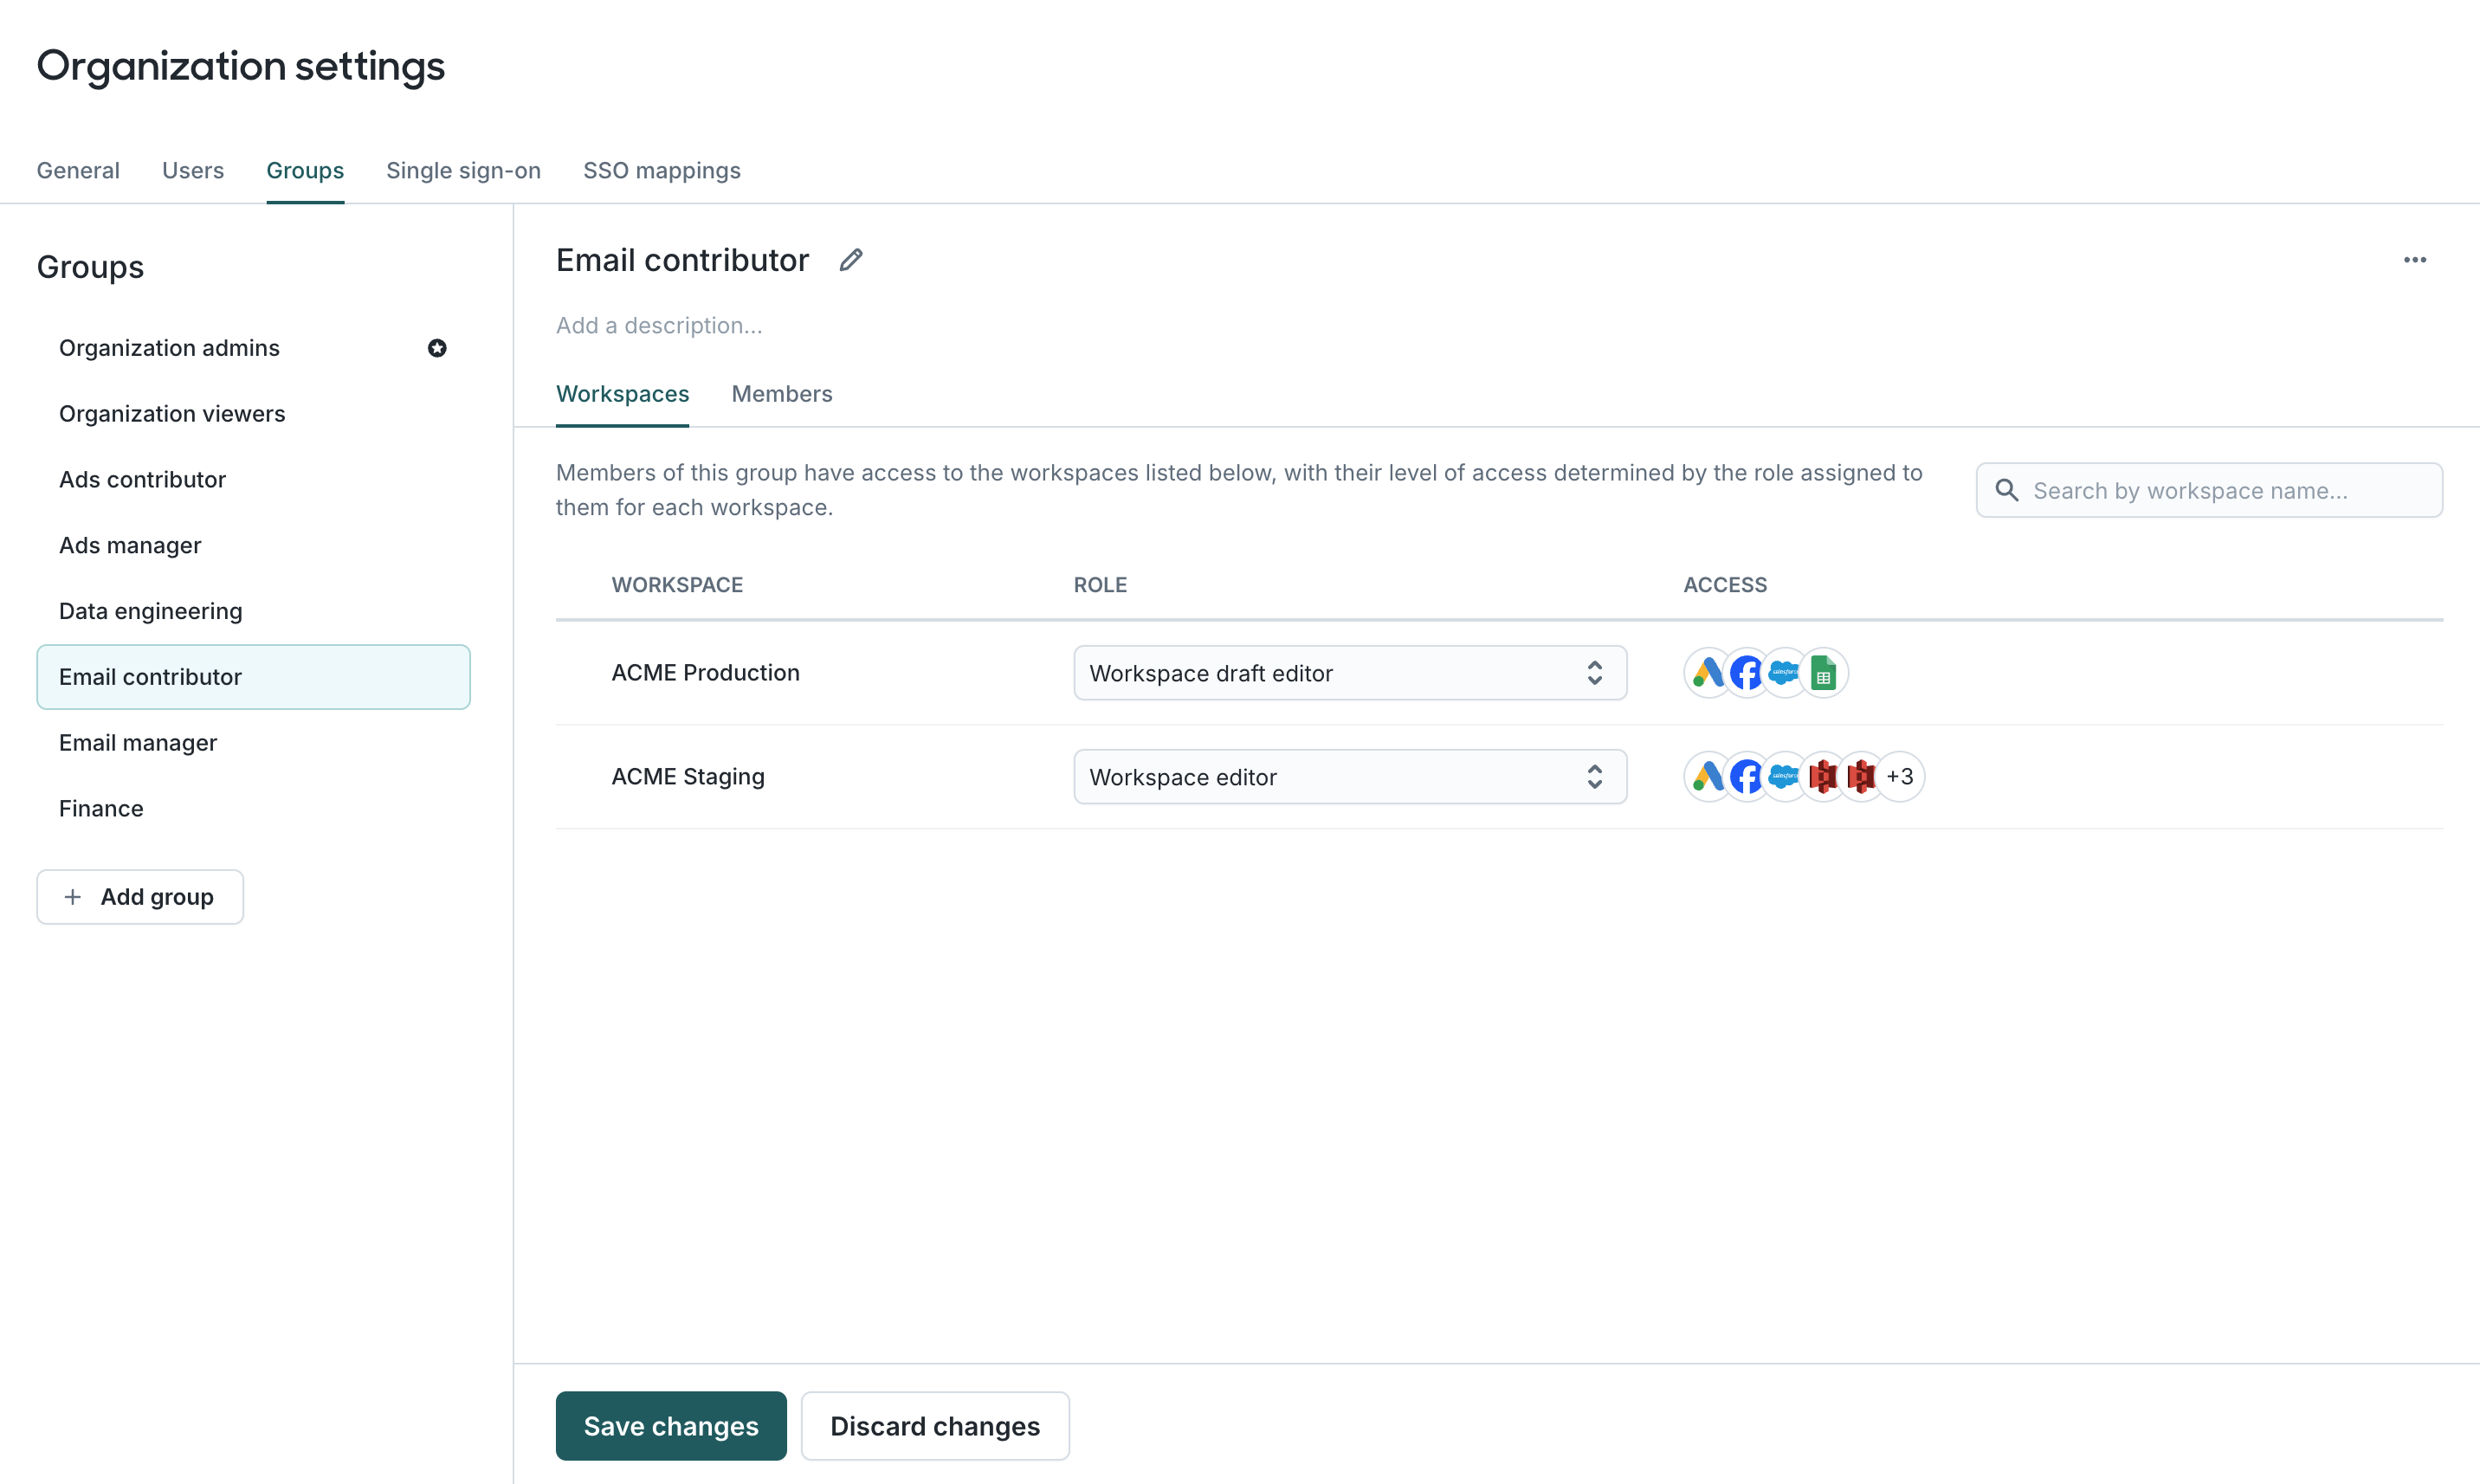
Roles determine the actions a group can perform within a workspace. You can select from built-in roles (e.g., “Workspace viewer”) or create a custom role for more fine-tuned control. For more information, refer to the documentation for roles.
The Access column provides an overview of the group's permissions for each workspace, showing the actions they can take for each destination. While it gives a helpful summary, it doesn't display every possible grant or cover permissions related to other resource types.
Transferring organization admin access
As people join, change roles, or leave your company, you may need to transfer organization admin privileges. Organization admins control organization-wide settings including SSO/SCIM configuration, billing, user management, and group permissions.
Best practice: Keep at least two active organization admins at all times. This prevents lockout situations if one admin leaves unexpectedly.
Self-serve transfer
If at least one current org admin still has access to Hightouch, the transfer is fully self-serve.
To add a new organization admin:
- If the new admin doesn't have a Hightouch account yet, go to Organization settings > Users and click Invite user to send them an invitation. Check Organization admins under "Assign to groups" to grant admin access immediately.
- Go to Organization settings > Groups and select the Organization admins group.
- In the Members tab, click + Add users and add the new admin.
- Click Save changes.
The new user now has full organization admin access.
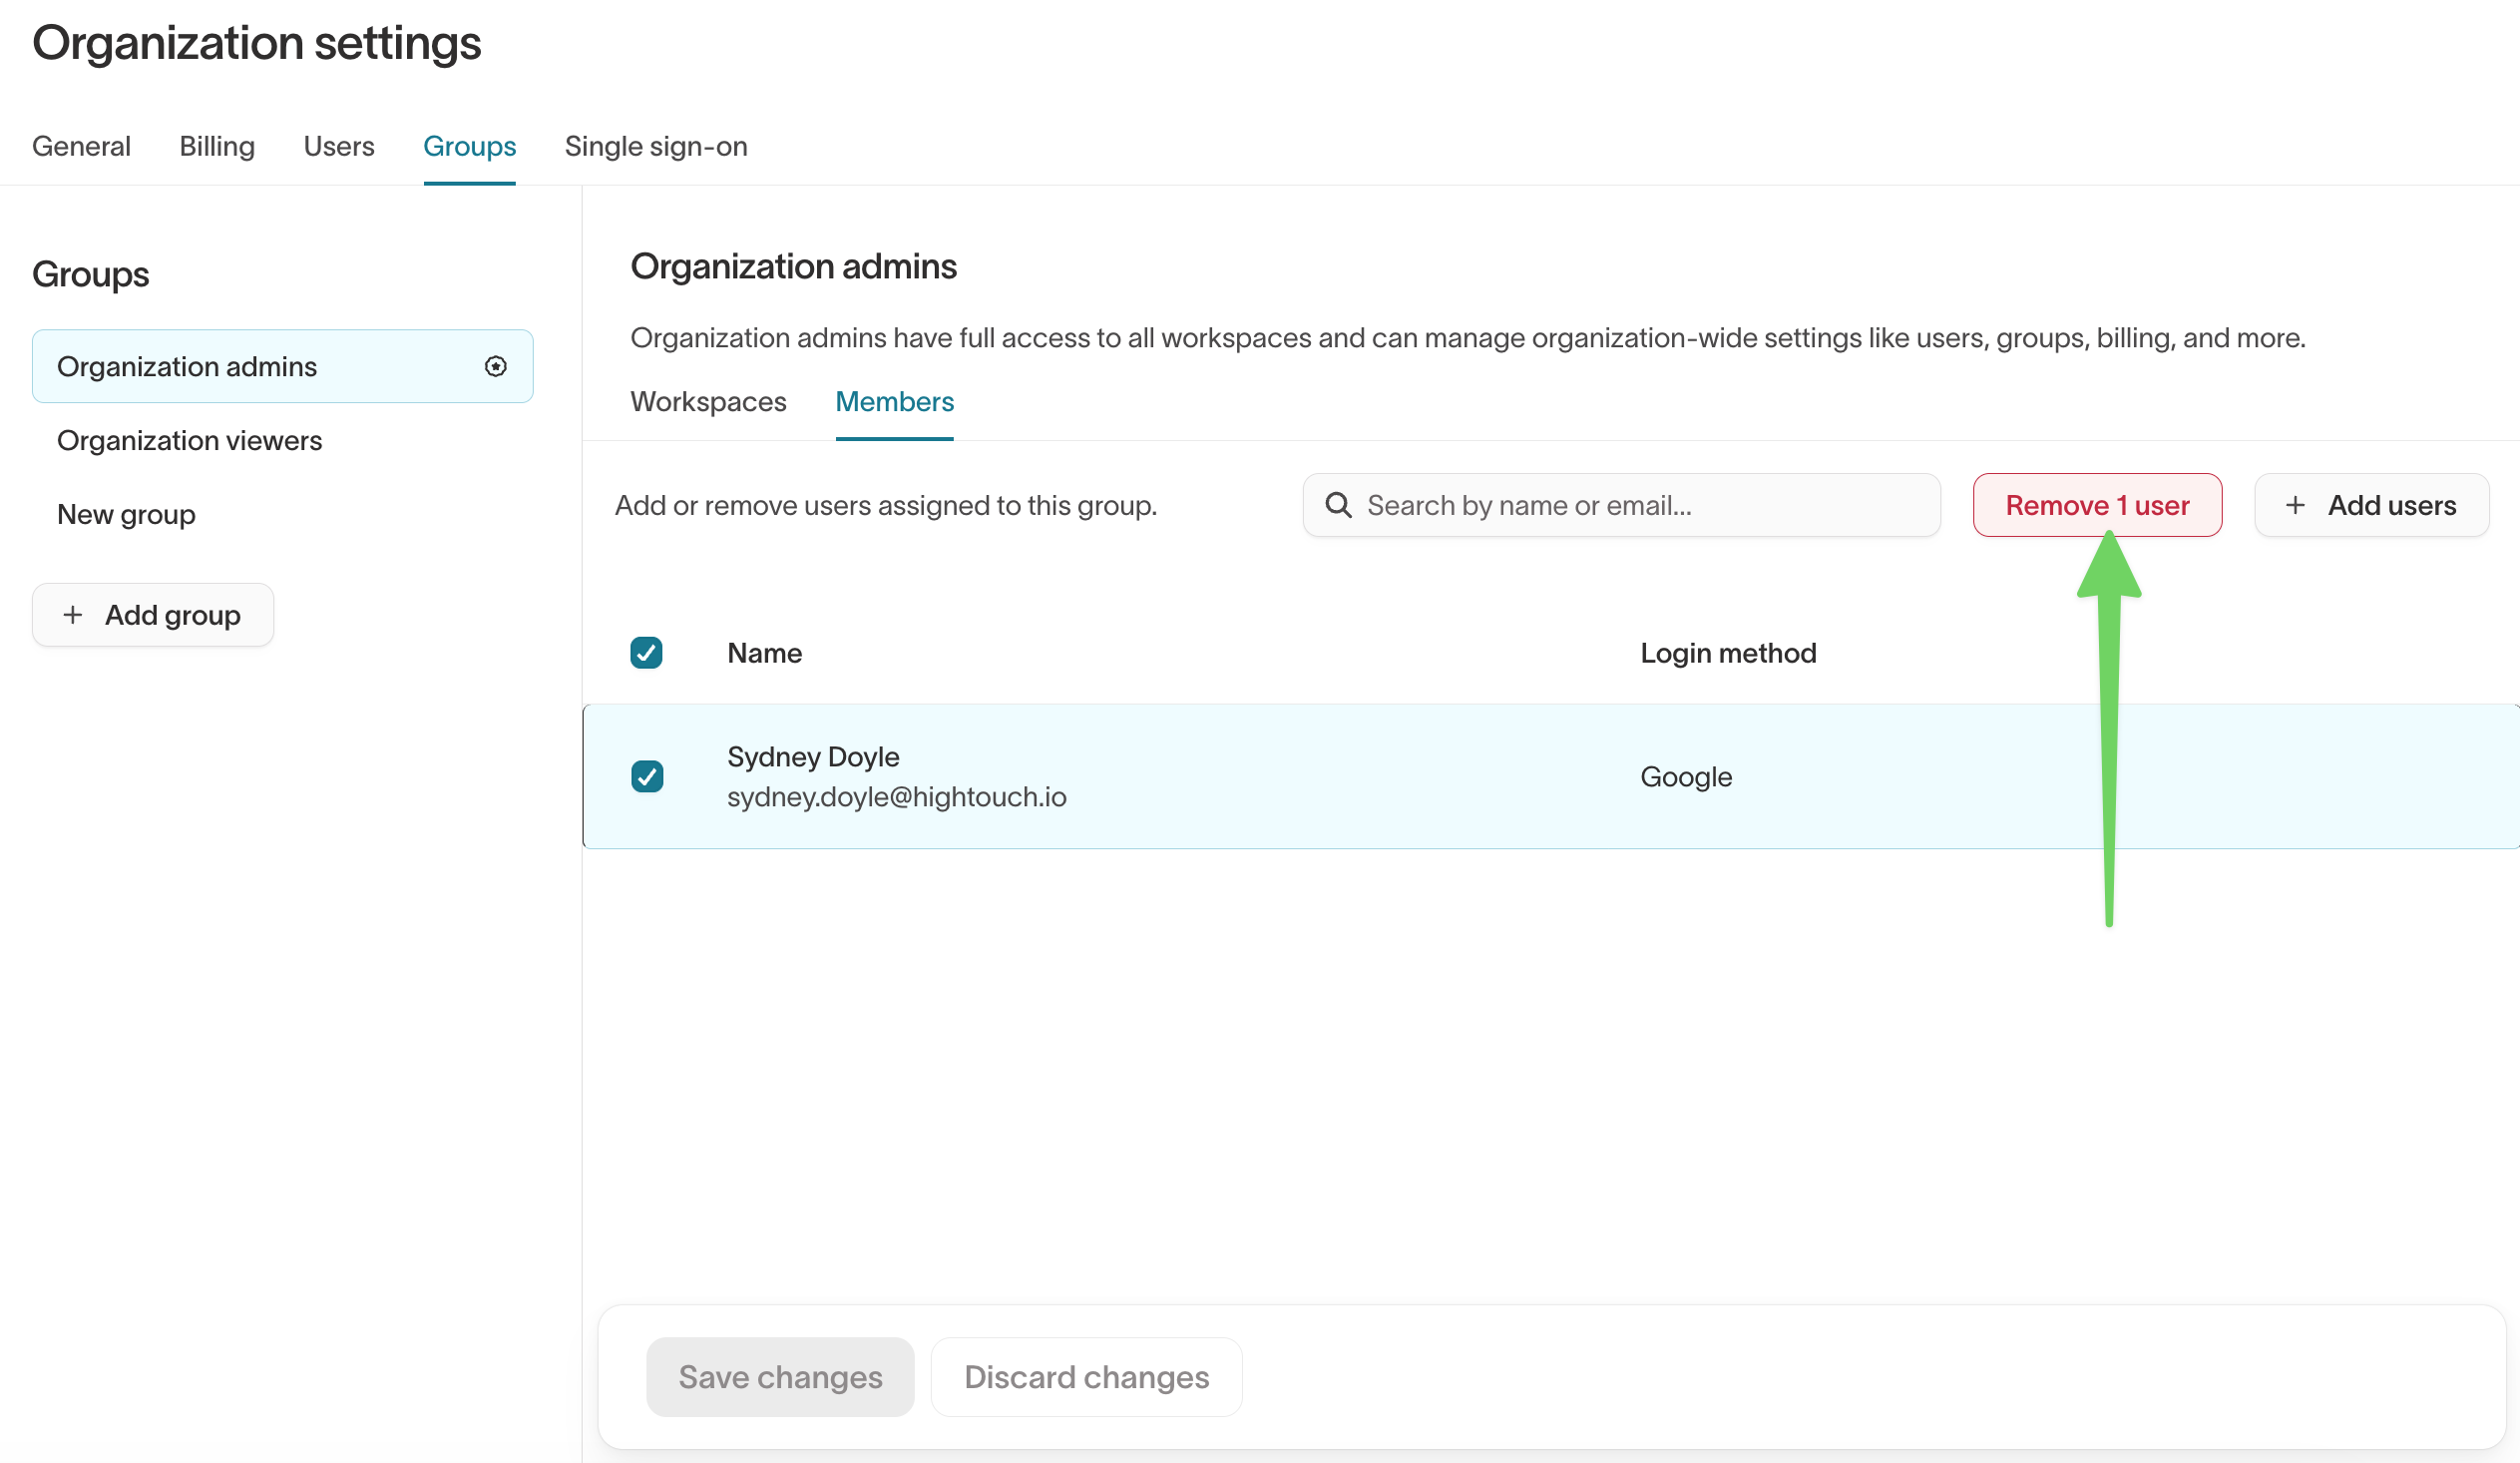
To remove a departing admin:
- In the Organization admins group, check the box next to the departing admin's name and click Remove users.
- Click Save changes.
Hightouch requires at least one organization admin at all times. If you attempt to remove the last remaining admin, the operation will be blocked. Add a replacement admin first, then remove the departing one.
Transfer via SSO/SCIM
If your organization uses SSO with SCIM provisioning, manage org admin membership through your identity provider instead of directly in Hightouch:
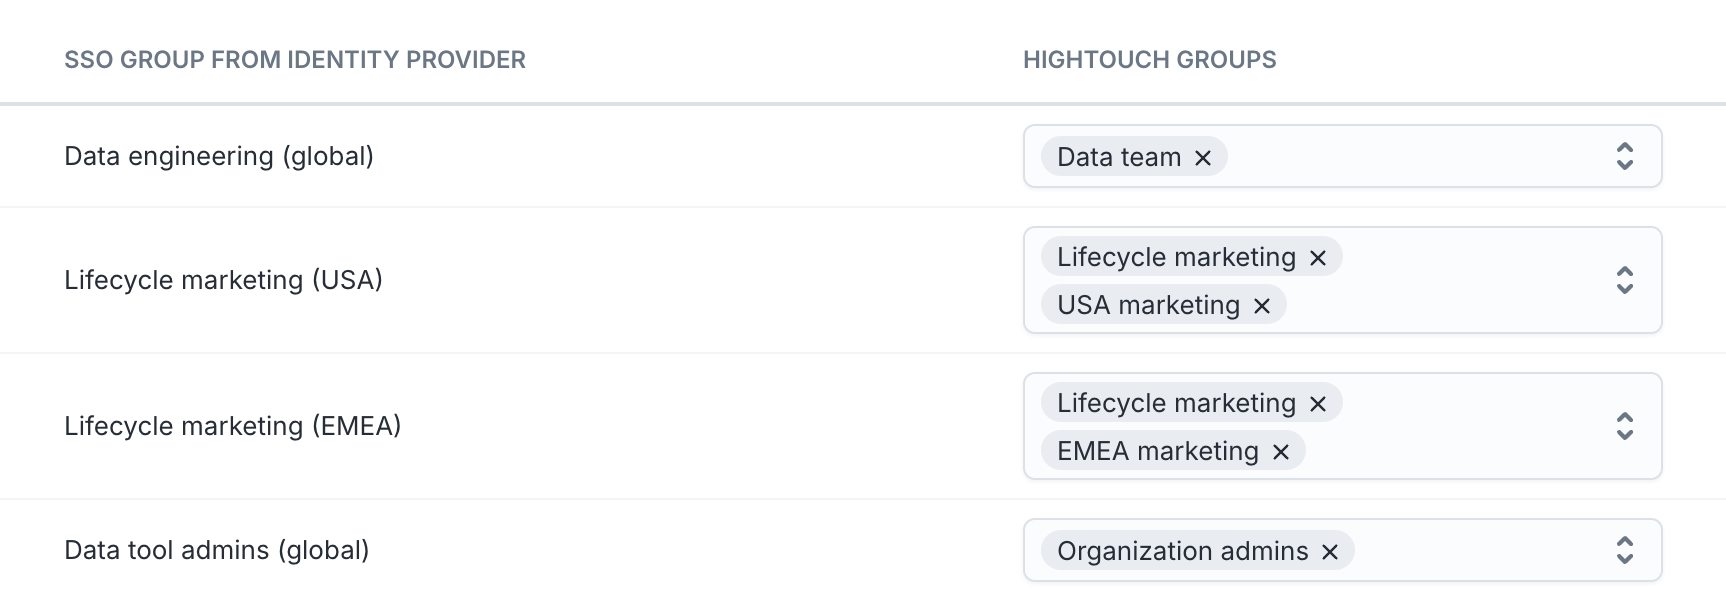
- In your identity provider (for example, Okta or Entra ID), confirm you have a group mapped to Hightouch's Organization admins group.
- Add the new admin to that IdP group and remove the departing admin.
- SCIM will automatically sync the membership changes to Hightouch.
This approach keeps your identity provider as the single source of truth for admin access.
When all admins have left
If no one in your company has organization admin access — for example, because all previous admins have left — you won't be able to make this change self-serve. In that case:
- Do not create a new organization. Your existing organization, workspaces, and configuration are still intact.
- Have someone from your company from a verified company email address.
- In the request, include:
- Your company name and Hightouch organization name or workspace URL
- The name and email of the person who should become the new organization admin
- Any relevant context, such as when the previous admins departed
Because organization admins control billing and security settings, Hightouch may require additional verification — such as confirmation from an existing commercial or security contact on file — before assigning a new admin.