| Audience | Marketing teams, creative teams, platform admins |
| Prerequisites | The Configure Agents grant. A product data source connected to Hightouch for the product catalog. |
Configure what Ad Studio and Lifecycle Studio use when they generate content: your brands, visual styles, product data, copy examples, email rules, and image guardrails.
What you'll learn
- Set up brands with a brand kit, logos, colors, and fonts
- Save reusable visual styles
- Connect a product catalog for product-focused content
- Teach agents your brand voice with copy examples
- Set how agents render email
- Control what agents can change in images
Define your brands
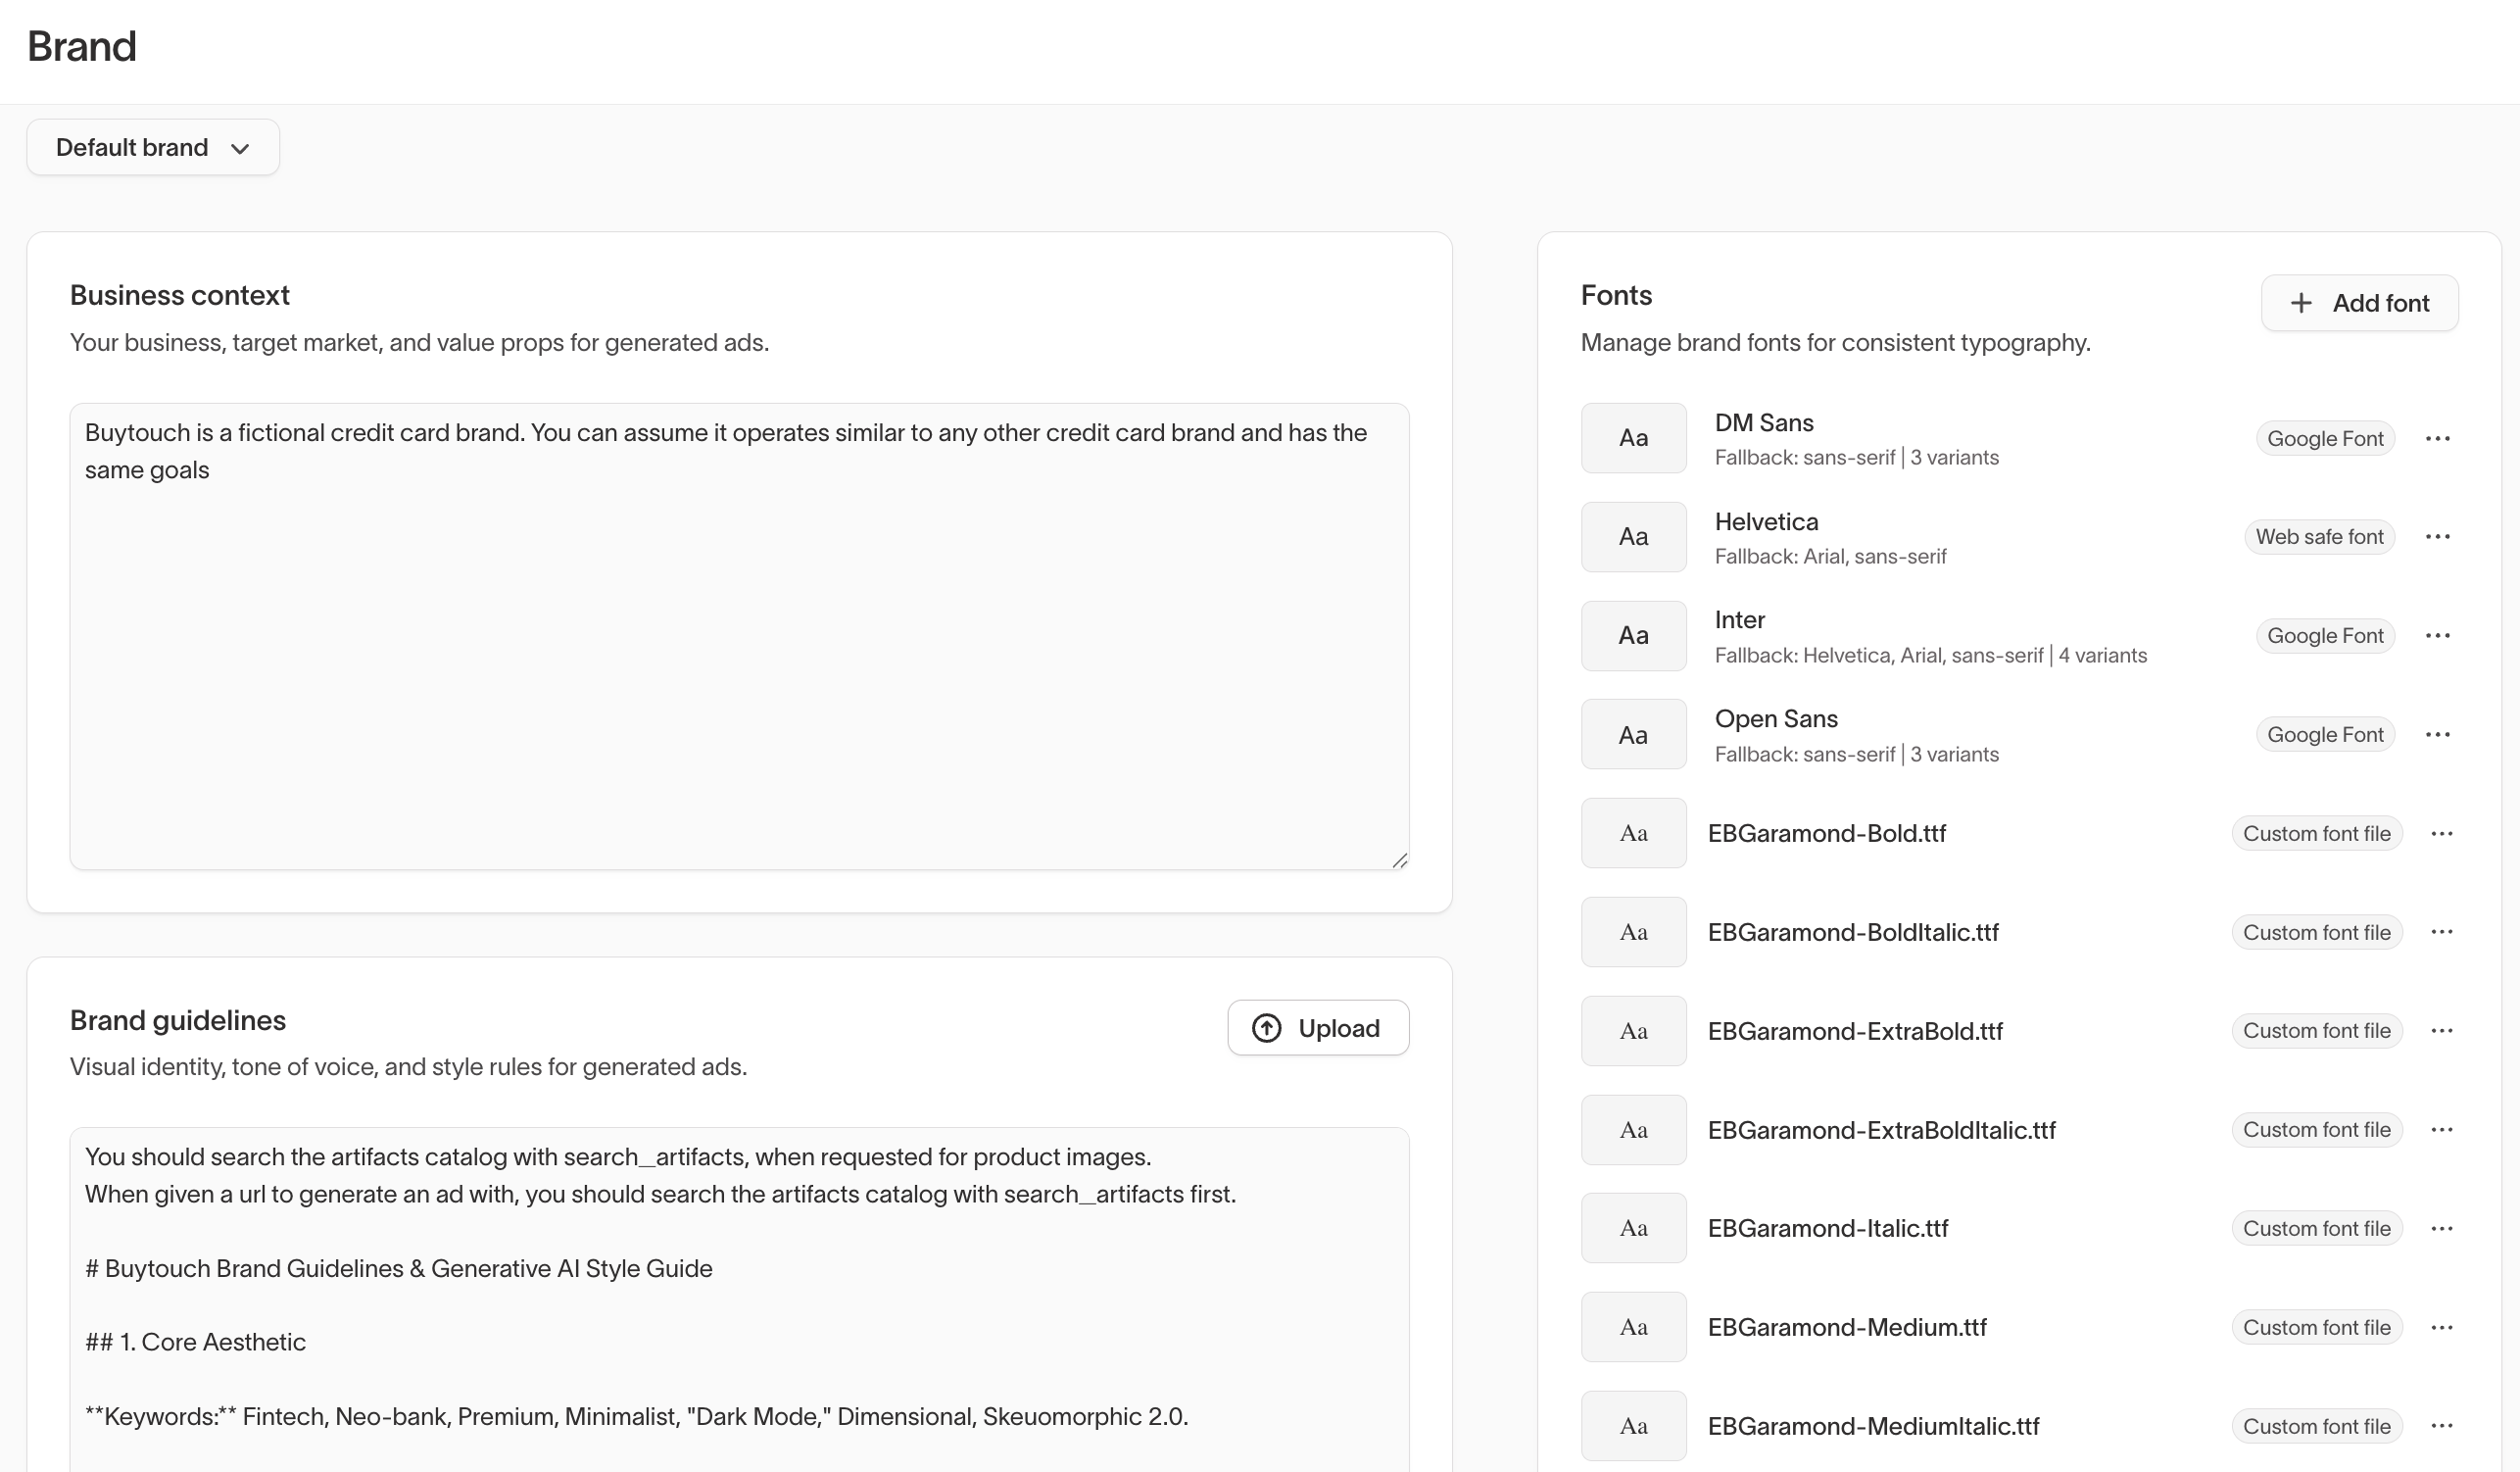
Create a brand profile for each brand you want agents to generate content for. Each profile keeps that brand's logos, colors, fonts, and creative rules separate from the others. Manage them under Context Hub → Brands, and use Switch profile at the top of the page to move between profiles. Logos, colors, and fonts are shared across Ad Studio and Lifecycle Studio.
Generate a brand kit
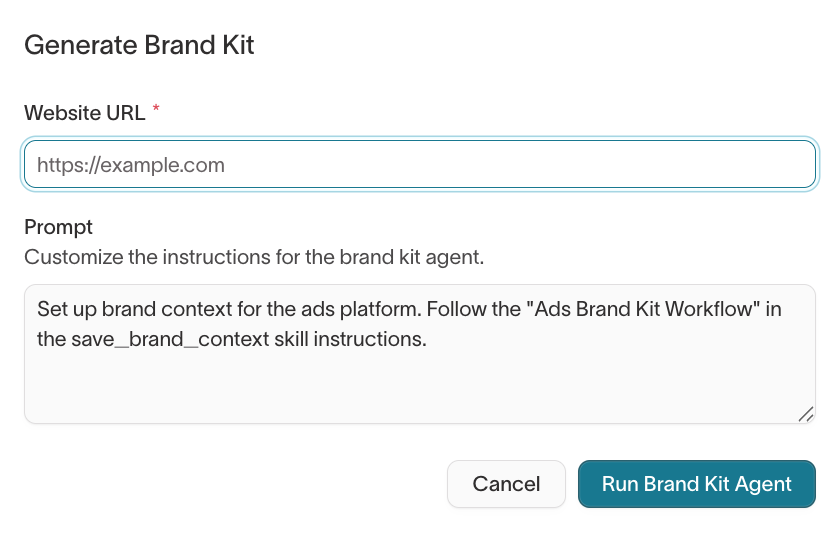
The fastest way to set up a brand is to let an agent populate it from your website. Select Generate Brand Kit, enter your Website URL, and select Run Brand Kit Agent. The agent reads your site and fills in the brand's logos, colors, and fonts for you to review and edit. Add an optional Prompt to steer what it sets up.
Logo files
Upload the logo files agents use in generated ads and emails from the Logo files card. Files can be PNG, JPEG, WebP, HEIC, HEIF, or SVG, and you can add up to 10.
Brand colors
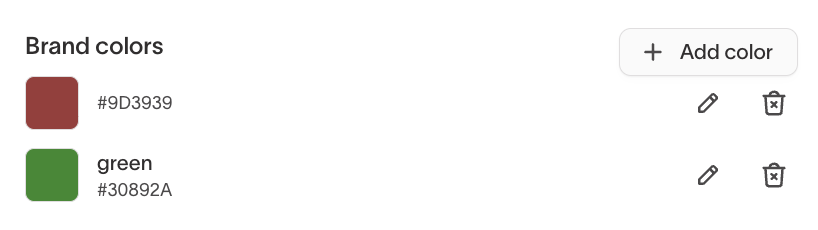
Add your brand's colors so generated content stays on-palette. Select Add color, then enter a hex value and an optional name. Use the icons next to a color to edit or remove it.
Fonts
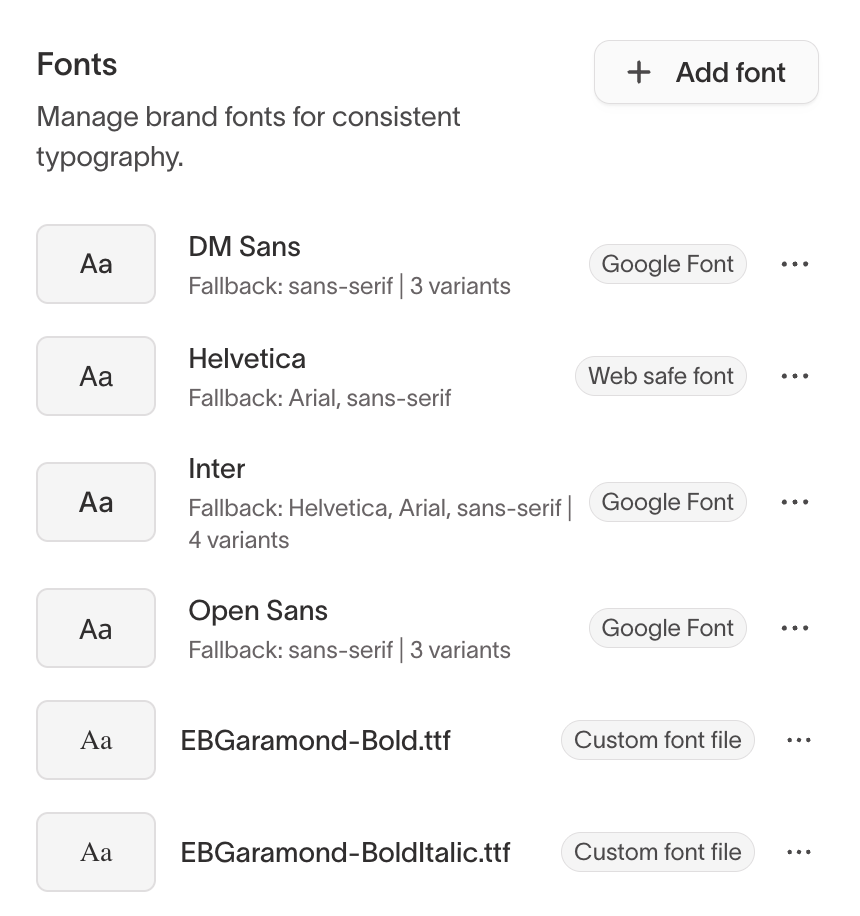
Select Add font to add a font. You can add one of four types:
- Web safe fonts — Standard fonts available on most devices, such as Helvetica and Arial.
- Google Fonts — Fonts loaded from Google Fonts, such as Inter and DM Sans.
- Custom font URL — A URL-hosted custom font.
- Custom font files — Uploaded font files (.ttf, .otf, .woff, .woff2).
Control whether agents generate images for this brand
Turn on Don't generate or edit images with AI for a brand whose imagery can't be modified, such as licensed photos. With it on, agents use your approved assets, layout, and copy only — they don't create or alter images.

Set AI disclosure defaults
Set the default disclosure options applied when downloading or launching ads for this brand. Anyone can still adjust them per export.
Save visual styles
Create a style when you want generated images and ads to share the same visual direction. Instead of describing the look in every prompt, save it once and reuse it across future generations.
To create a style:
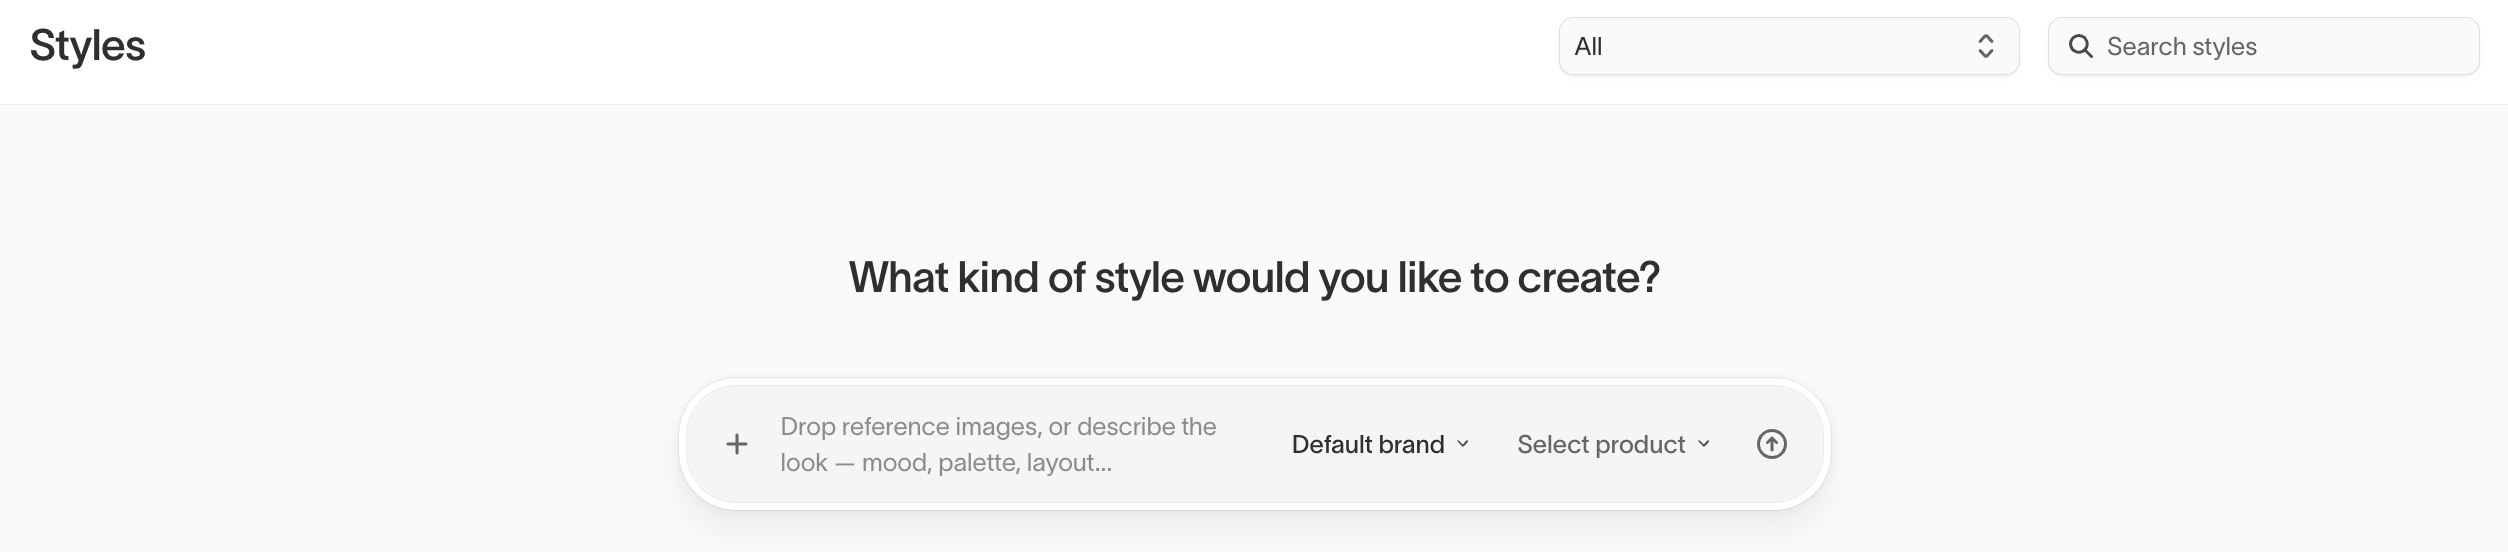
- Go to Context Hub → Styles.
- Describe the look you want, or drop in reference images for the agent to match.
- Choose a brand profile and a product surface: Ad Studio or Lifecycle Studio.
- Send the prompt to generate the style.
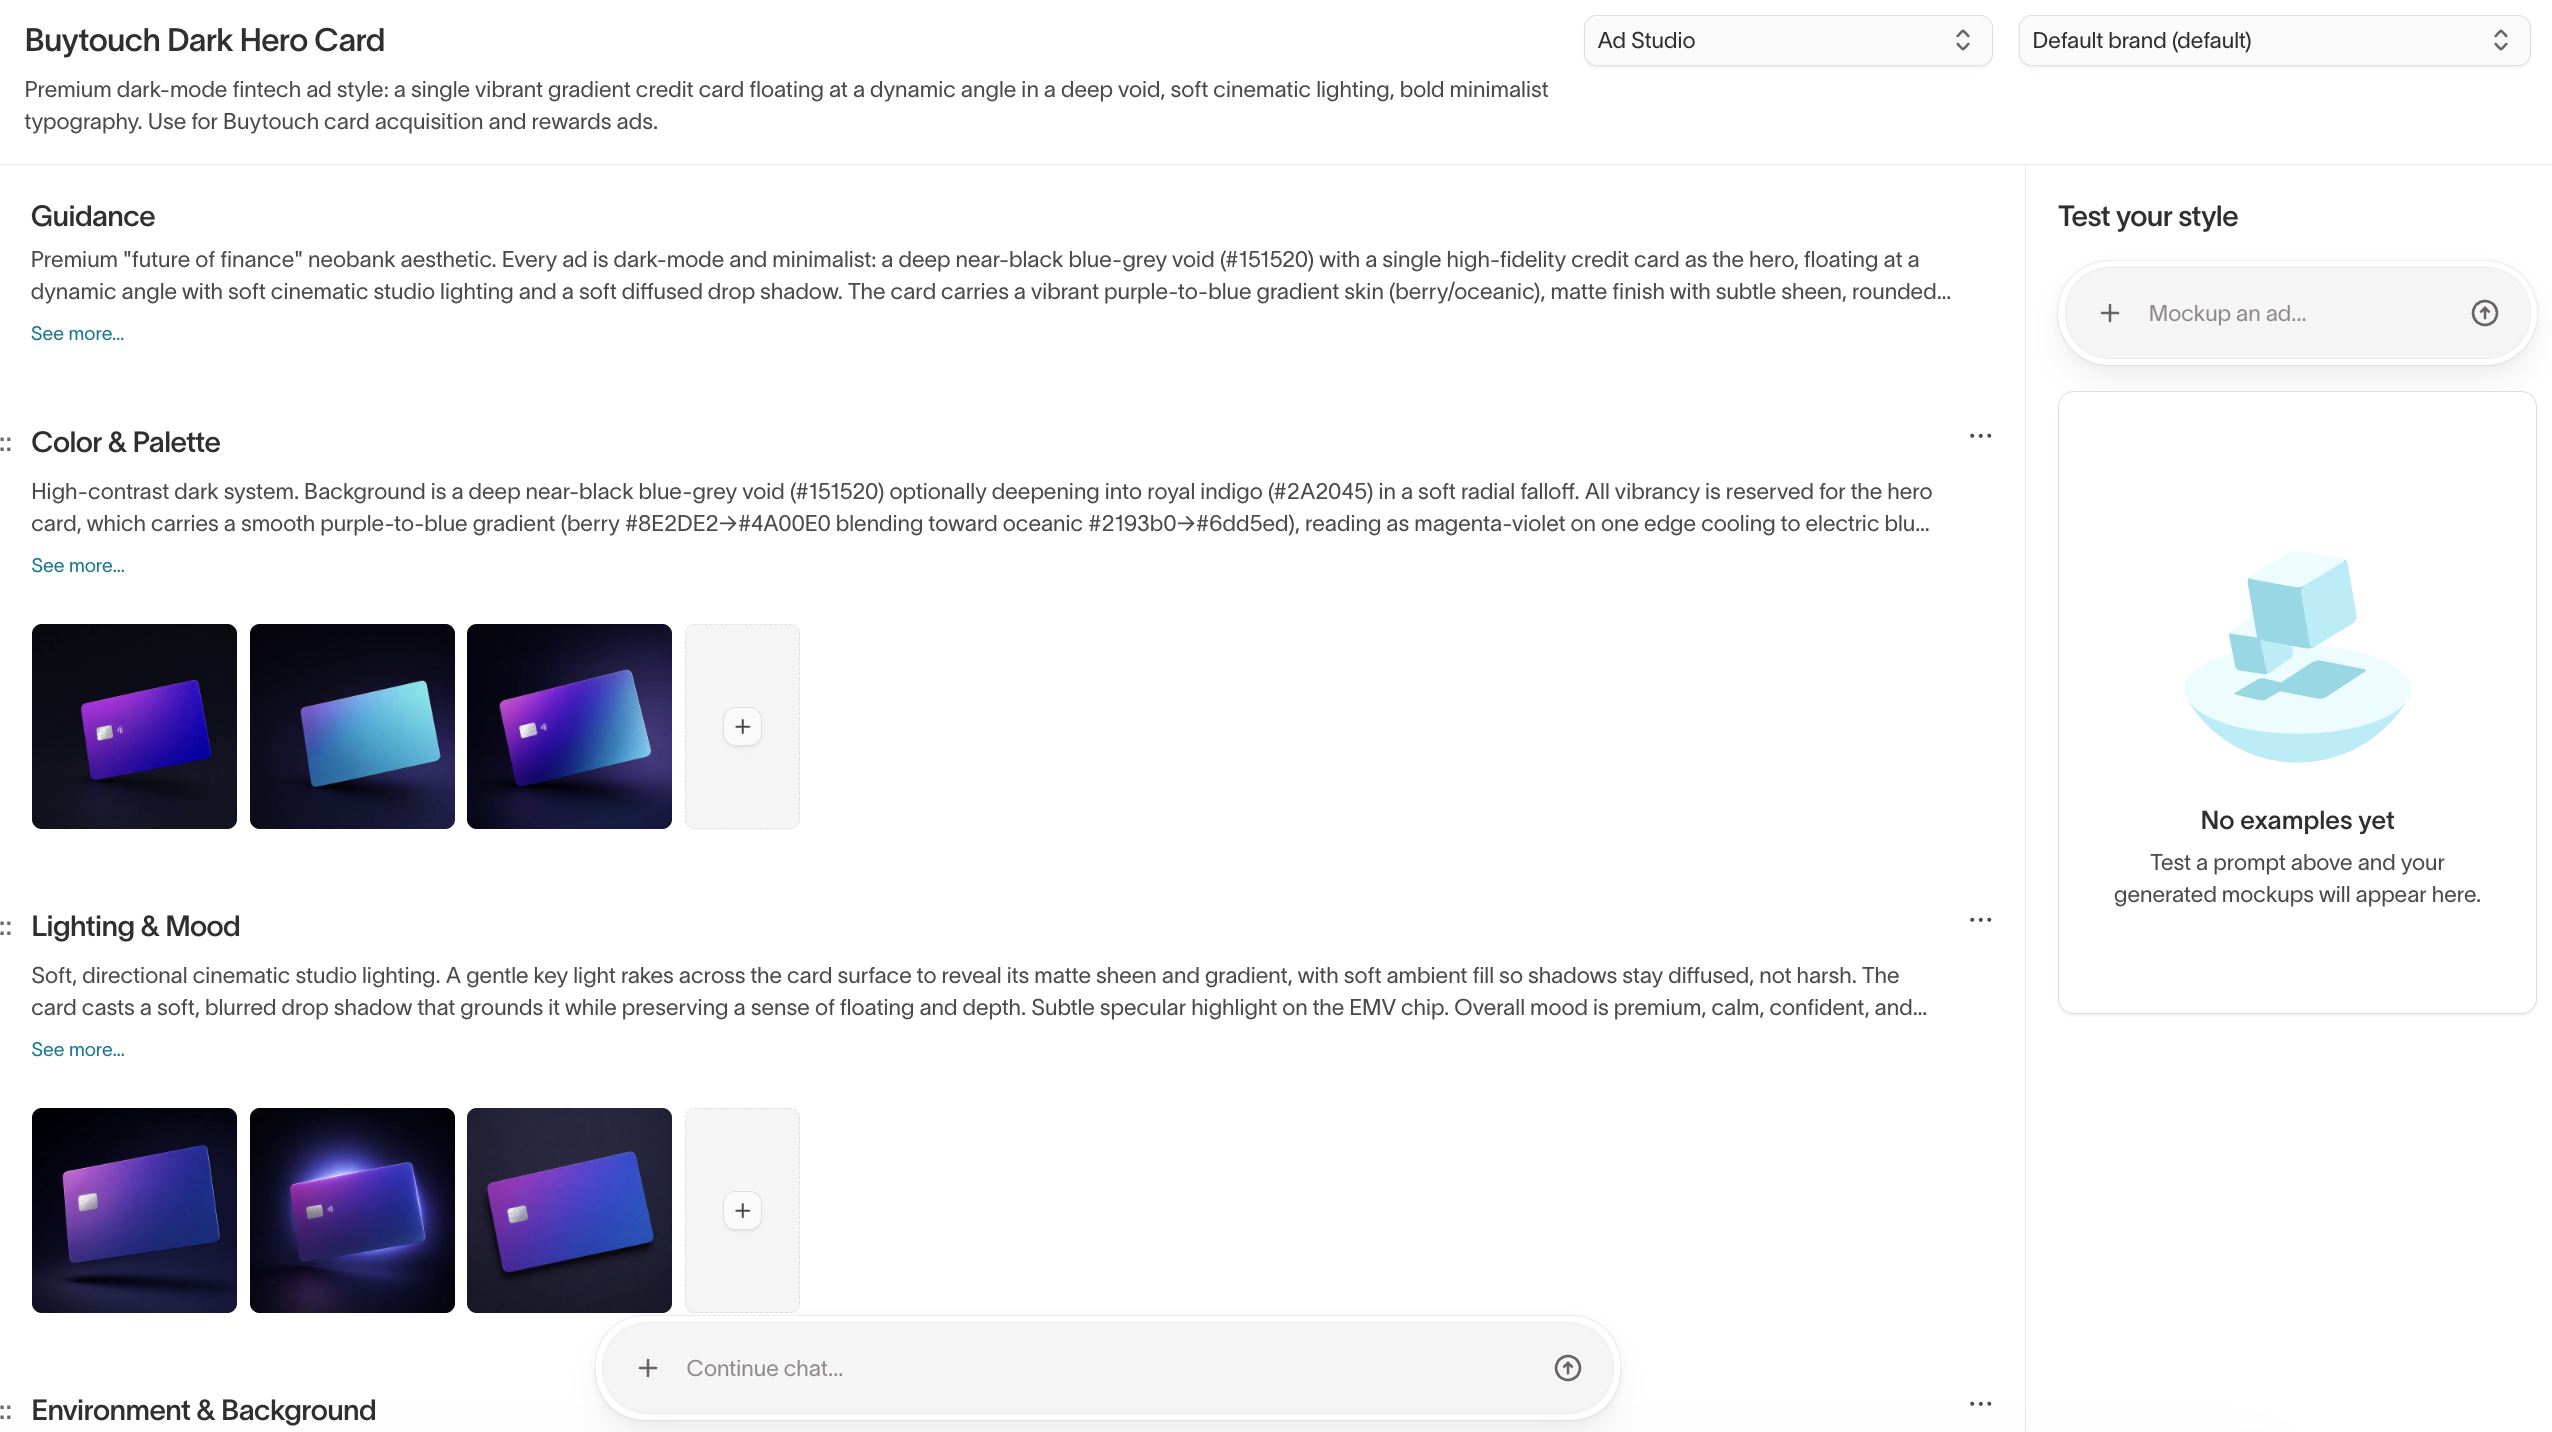
Open a style to refine both the overall creative direction and specific parts of the look, such as lighting, color palette, or environment:
- Guidance — The overall creative direction for the whole style.
- Dimensions — Named facets of the look, each with its own art direction and reference images, such as color and palette, lighting and mood, or environment.
Add reference images to the guidance or to any dimension so the agent has concrete examples to match. Use the Test your style panel to generate a preview before you rely on it, and the context menu on any style to duplicate or delete it.
A style shows as Published when it's available to Ad Studio or Lifecycle Studio. Select Unpublish to take it out of use without deleting it.
Connect a product catalog
Connect a product catalog if you want agents to generate product-specific ads and emails. The catalog gives agents access to product names, descriptions, images, and other details during generation.
The catalog is optional. If your team creates brand or campaign-level content rather than product-specific content, you can skip it.
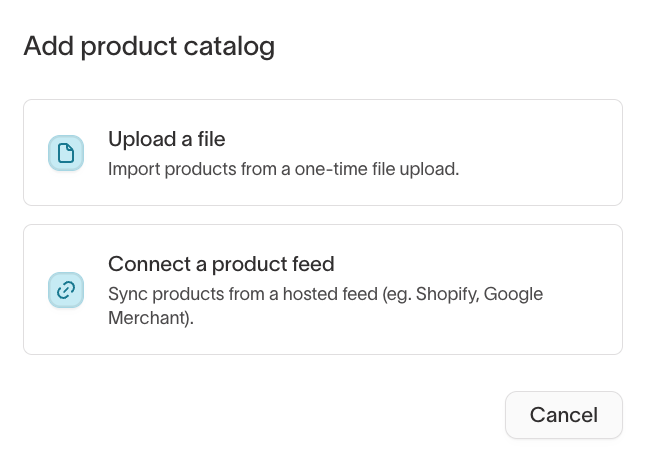
Go to Context Hub → Product catalog and, on the Products tab, select Add products. Choose how to add the catalog:
- Upload a file — Import products from a one-time CSV, XML, or JSONL file, then map your columns to the catalog fields.
- Connect a product feed — Sync products from a hosted feed, such as Shopify or Google Merchant.
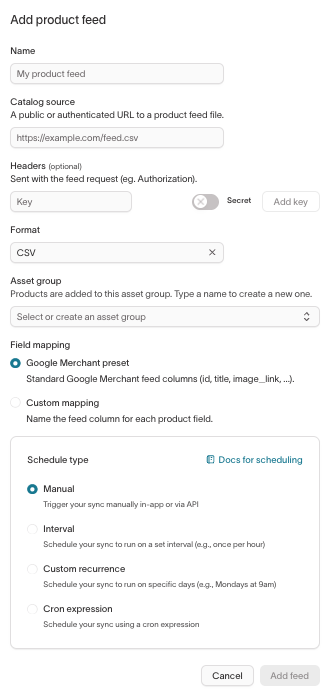
For a feed, enter a name and the feed URL, pick a format, and choose an Asset group to add the products to. Map the columns with the Google Merchant preset or Custom mapping, then set a Schedule type: manual, interval, custom recurrence, or a cron expression.
The catalog fields are:
| Field | Required | How the agent uses it |
|---|---|---|
| Record ID column | Yes | Unique identifier for each product (source_row_key) |
| Title column | Yes | Product name in headlines and copy |
| Primary image column | Yes | Main product image used in generated content |
| Description column | No | Product details that inform copy |
| Additional image columns | No | Extra product images for variety |
The more complete your product data, the more accurate and varied the generated content. You can map columns beyond these fields, and the agent uses any mapped metadata during generation.
For how products flow into generated content, see Ads and Lifecycle Studio campaigns.
Give agents copy examples
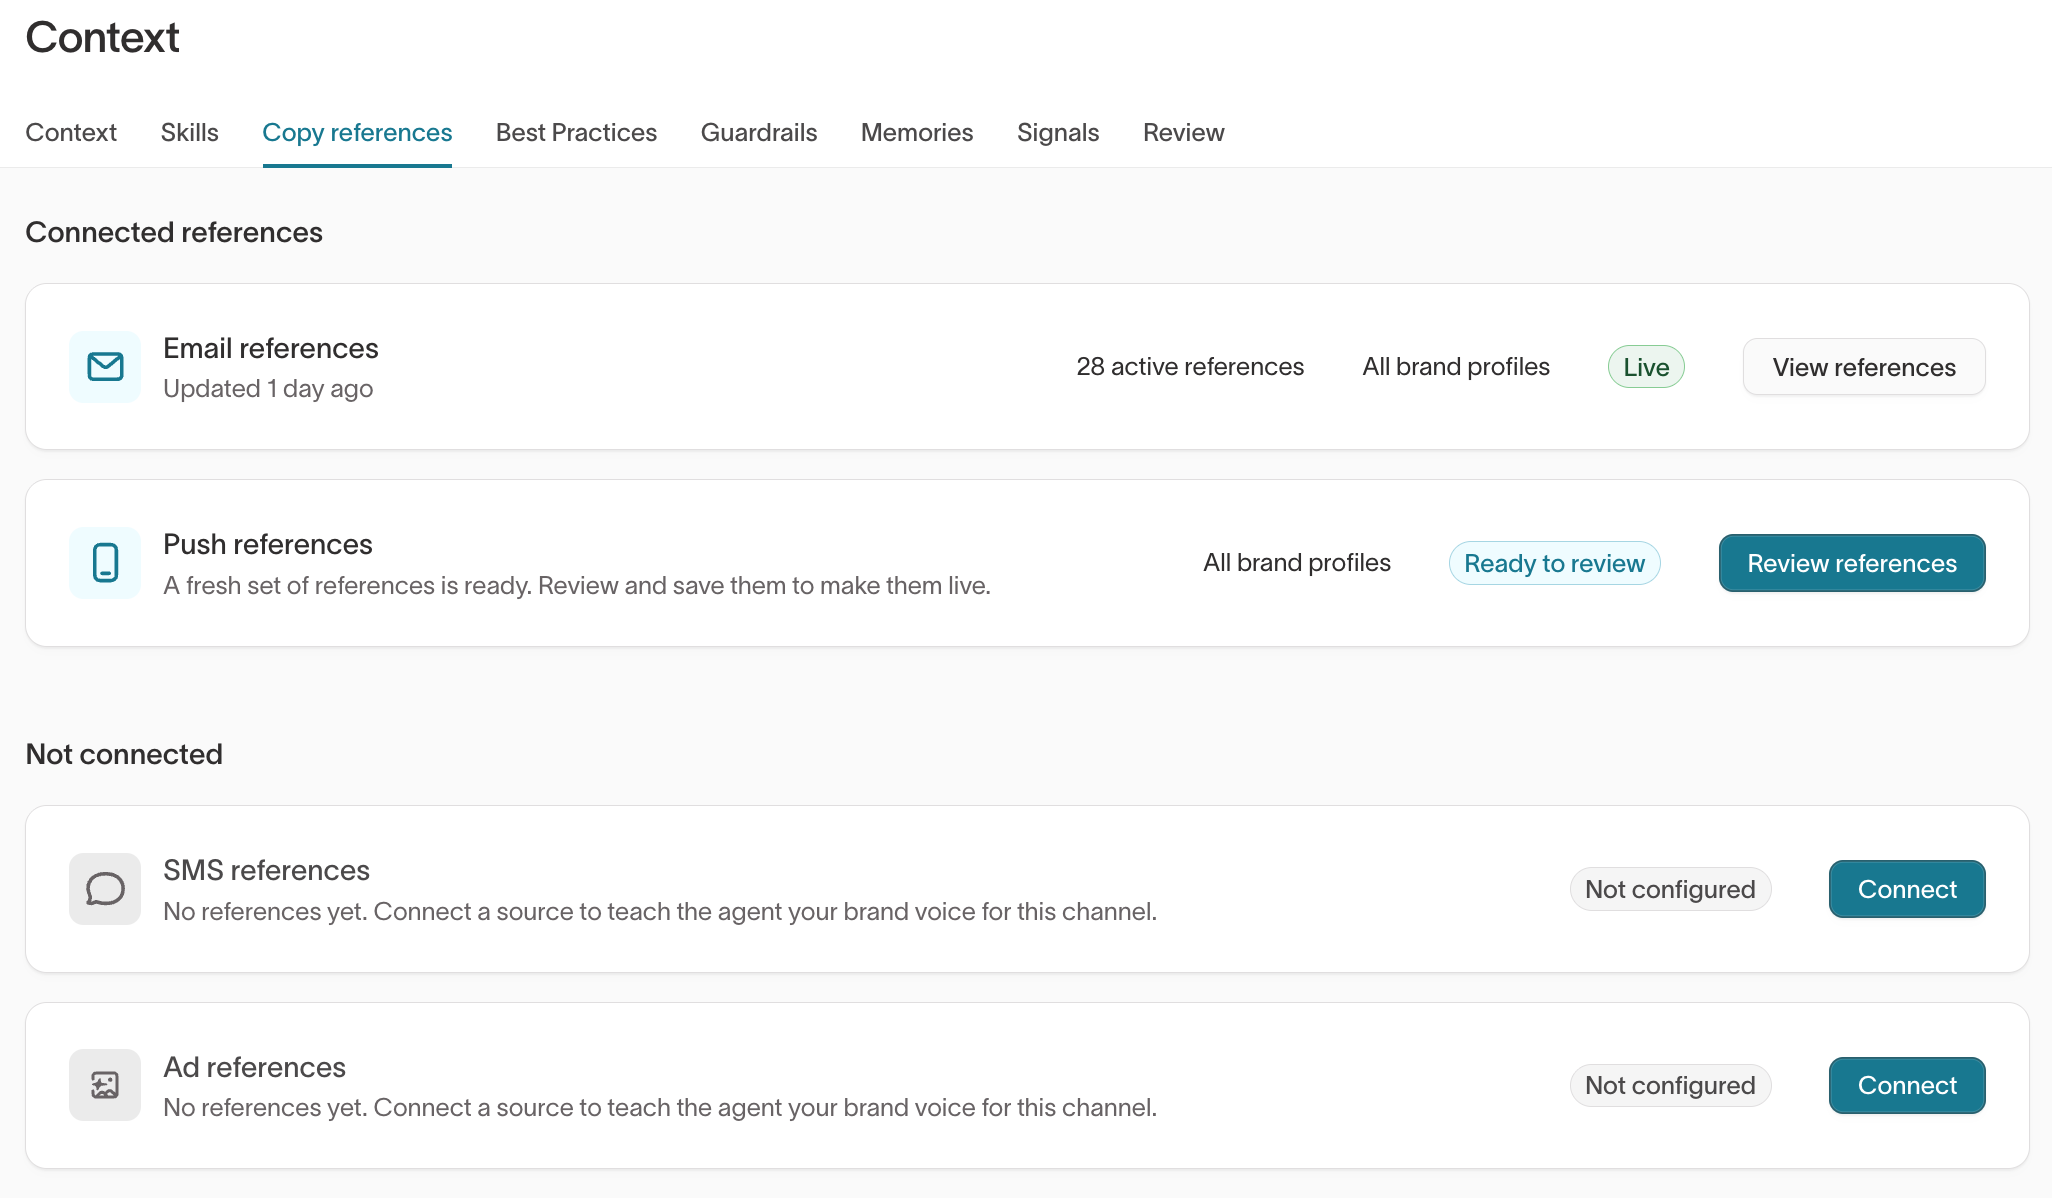
Teach agents how your brand writes by giving them examples of real emails, SMS messages, push notifications, and ads. Ad Studio and Lifecycle Studio use these when they generate copy, so the results sound like you instead of generic.
Go to Context Hub → Context → Copy references. You add examples per channel — Email, SMS, Push, and Ad — and each channel pulls from one of three sources:
- Your ESP — Sync recent sends from a connected ESP, such as the last 90 days.
- A warehouse table — Read sample copy from a table in a connected source.
- Paste or upload — Add examples by hand, or upload a file.
Synced examples arrive as a set for you to review before agents use them. A channel shows Ready to review until you approve it, and Live once you have. Open the set, select the examples to keep, and select Approve — or Reject to discard them. You can add an example by hand with its subject, preheader, body, and CTA, and exclude any example you don't want the agent to learn from.
Assign copy examples to a brand profile when the voice differs by brand, or leave them on all profiles.
Set email rendering rules
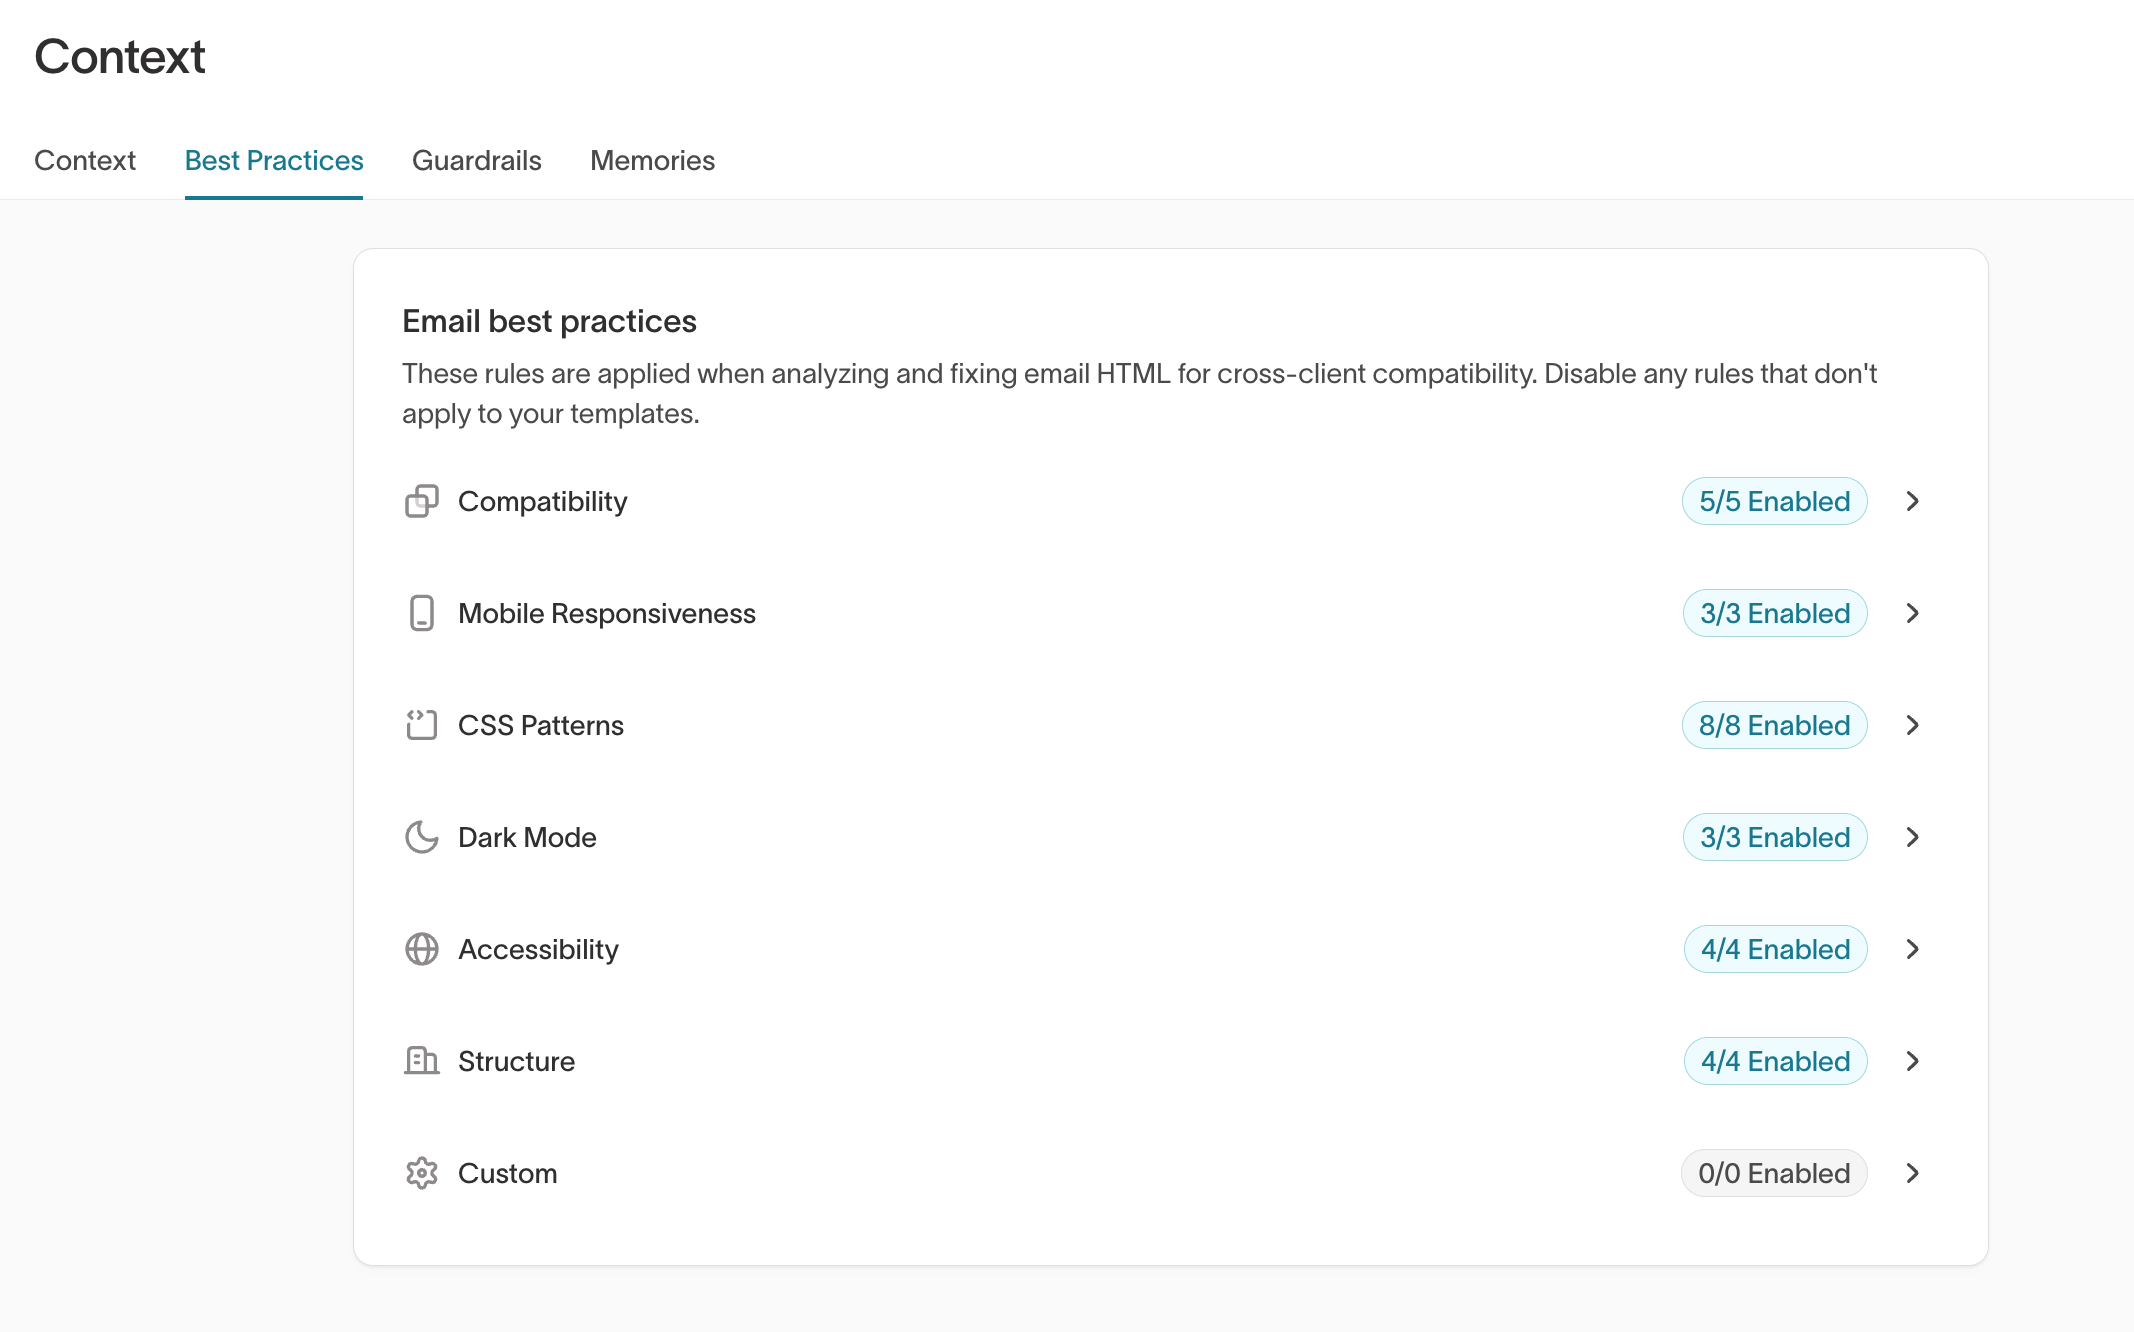
Configure how Lifecycle Studio generates and fixes email HTML so it renders correctly across email clients, under Context Hub → Context → Best Practices. You control two things:
- How email is laid out — In Email styles, set the Content width (the maximum width of the centered content, which shrinks to fit on narrower screens) and the Mobile breakpoint (the width at or below which emails switch to a stacked mobile layout).
- Which HTML rules the agent applies — Email best practices are grouped into categories you turn on or off: Compatibility, Mobile Responsiveness, CSS Patterns, Dark Mode, Accessibility, Structure, and Custom. Open a category to toggle individual rules, disable any that don't apply to your templates, and add your own under Custom.
Control what agents can change in images
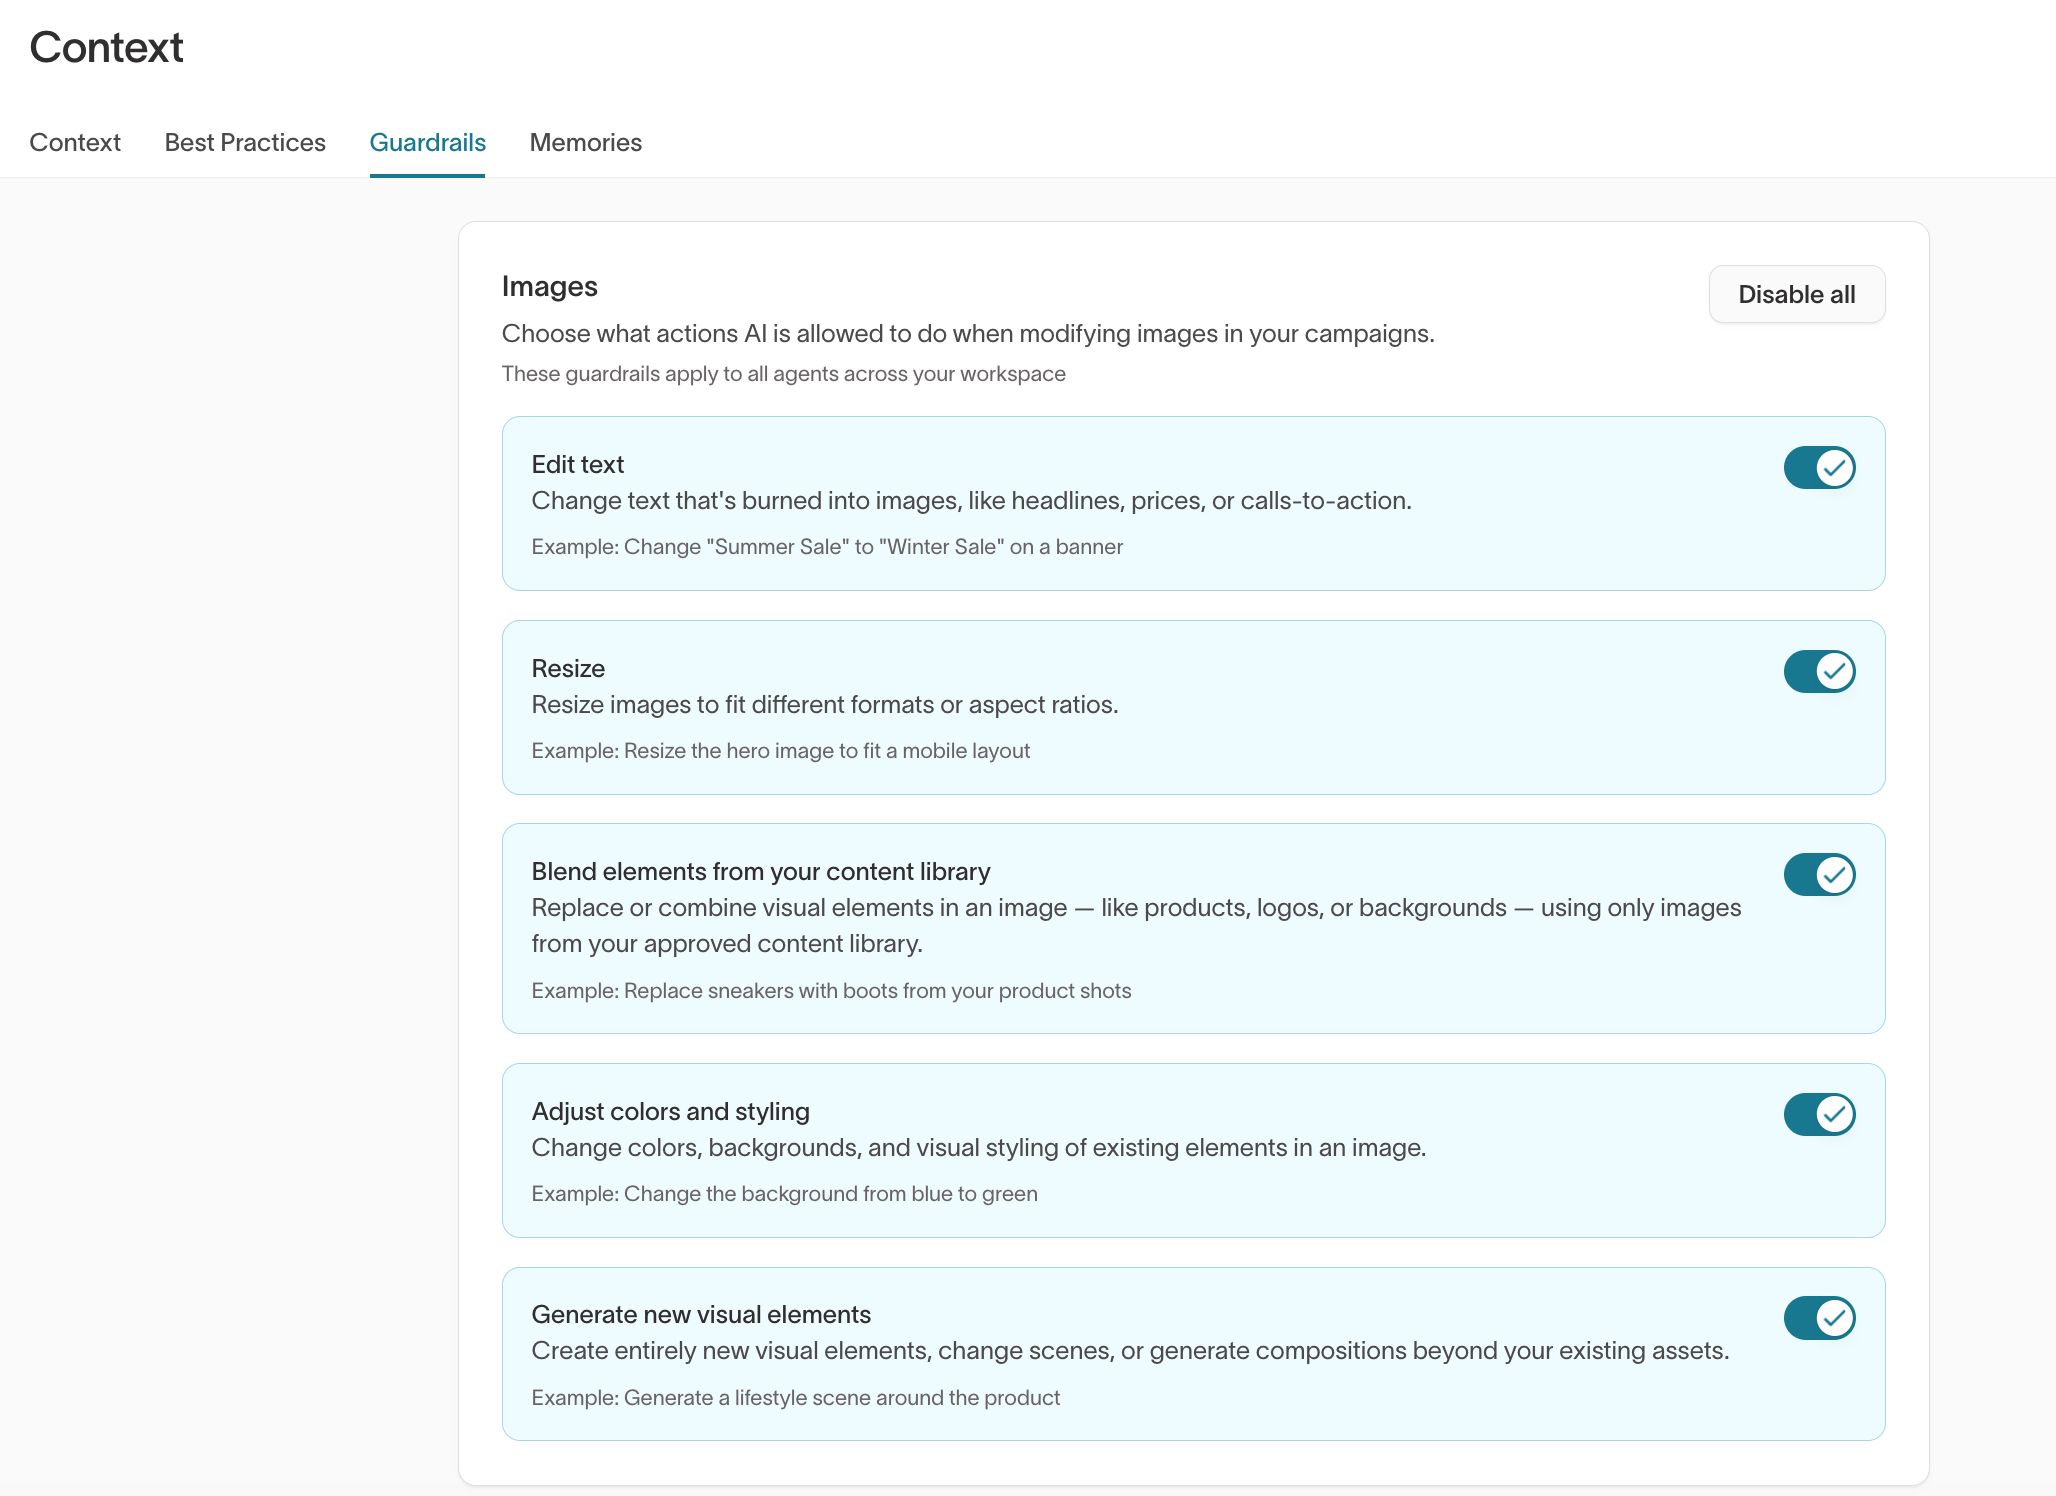
Decide what Lifecycle Studio's agent may change when it edits images in your campaigns, under Context Hub → Context → Guardrails. Turn on only the changes you want it to make:
- Edit text — Change text burned into images, such as headlines, prices, or calls to action.
- Resize — Resize images to fit different formats or aspect ratios.
- Blend elements from your content library — Replace or combine visual elements using only images from your approved content library.
- Adjust colors and styling — Change colors, backgrounds, and the styling of existing elements.
- Generate new visual elements — Create new objects, change scenes, or generate compositions beyond your existing assets.
Select Disable all to turn off every image modification at once.
Next steps
- Create ads in Ad Studio using your brands, styles, and catalog.
- Create lifecycle messages with your brand voice and rules.
- Set up your context for your first workflow.