| Audience | How you’ll use this article |
|---|---|
| Data teams | Configure models, identifiers, and rules to build a deterministic identity graph. |
| Platform admins | Create and run identity graphs safely using the Hightouch UI. |
Overview
An identity graph connects related records in your data to create unified identities.
For example, it can link a customer’s website activity, email address, and CRM record into a single identity using exact-match rules (such as matching the same email or user ID).
Each identity graph represents one matching strategy for one type of entity—like people, accounts, or households. If you need to resolve different entity types or use different matching rules, you can create multiple identity graphs.
The identity graph determines:
- Which records belong to the same identity
- Which identifiers (like email or user ID) are connected
- A stable internal ID (
ht_id) for each resolved identity
This article walks through the full setup process—from choosing the data to include, to running the graph and reviewing the results.
Before you begin
Before starting, make sure:
- You have a Lightning-enabled warehouse source connected (Snowflake, Databricks, or BigQuery).
Identity graphs are warehouse-specific and write outputs back to your warehouse (typically in thehightouch_plannerschema or a configured internal schema). - The tables you want to use already exist as models in Hightouch.
- Each model has:
- A primary key (unique per row).
- A timestamp column for incremental processing.
- You understand which identifiers exist in your data (for example,
email,user_id,anonymous_id) and how they should link records across models.
Identity Resolution does not clean or standardize identifier values. Before setup, confirm that identifiers like email, user_id, or anonymous_id are consistently formatted across models.
For planning guidance, see Prepare your data.
Open the Add identity graph flow
-
In Hightouch, go to Identity Resolution.
-
Click
Add identity graph.
Each identity graph represents a distinct set of rules for grouping records into resolved identities. You can create multiple graphs to support different entity types (for example, people vs. accounts) or different match strategies.
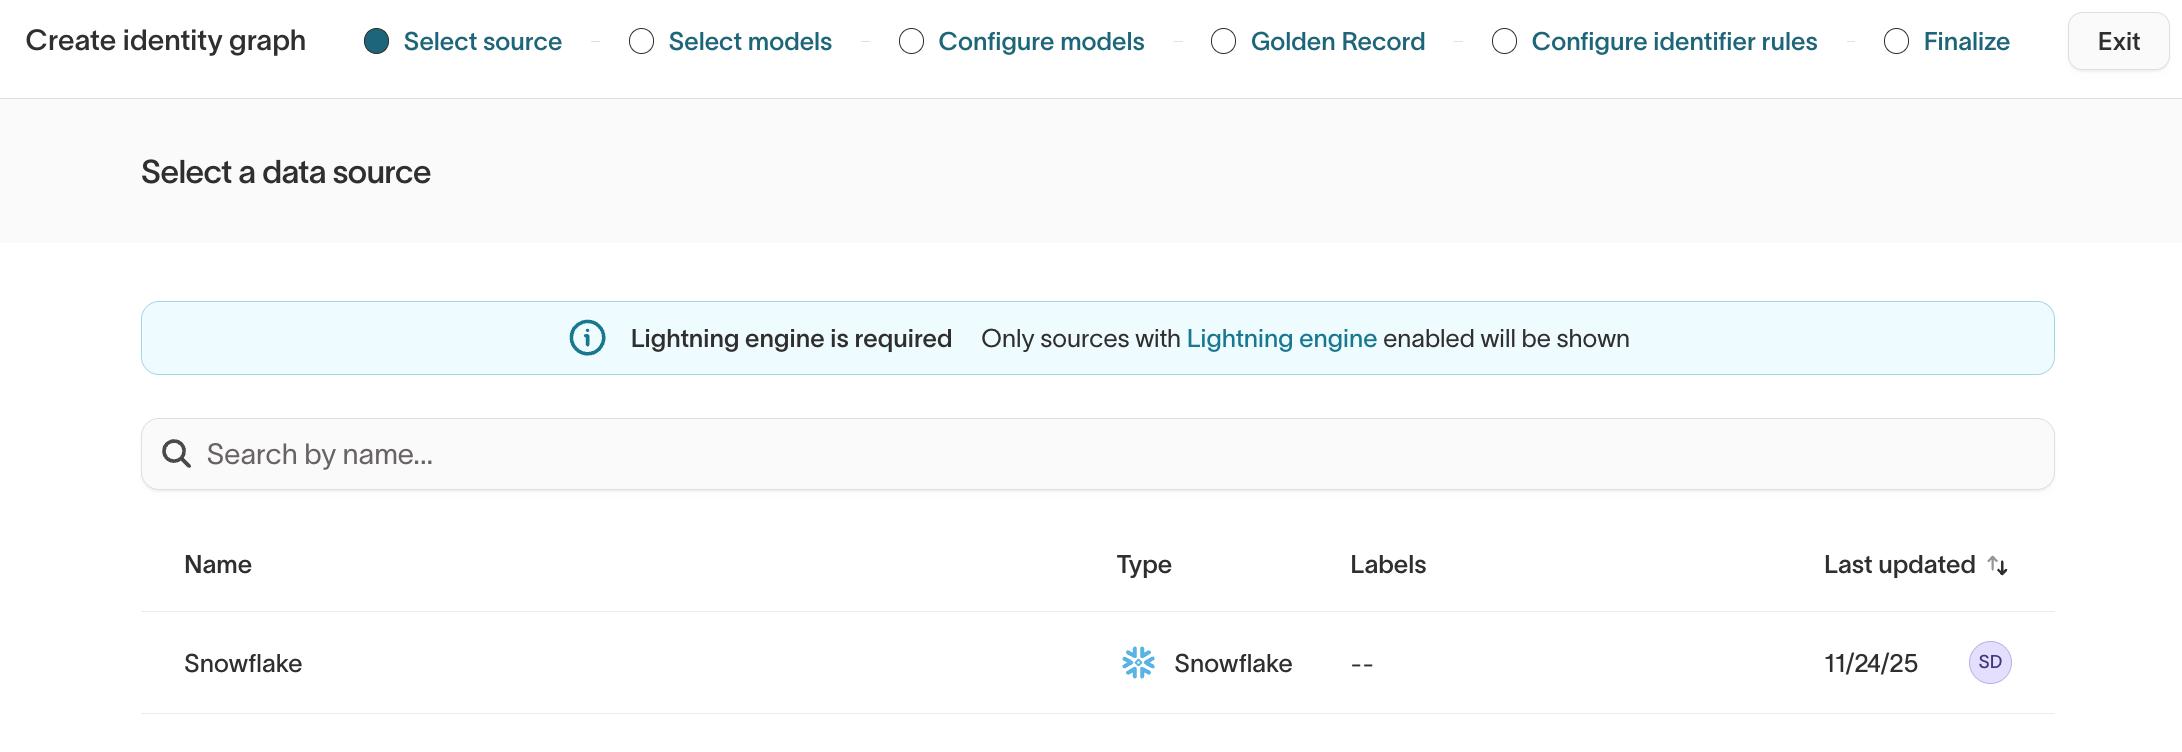
Step 1: Select source
Choose the source that contains the models you want to use for identity resolution.
- The source must be Lightning-enabled.
- Each identity graph is tied to a single source.
To resolve identities across multiple warehouses, create one identity graph per source and combine results downstream in your warehouse or BI tools.
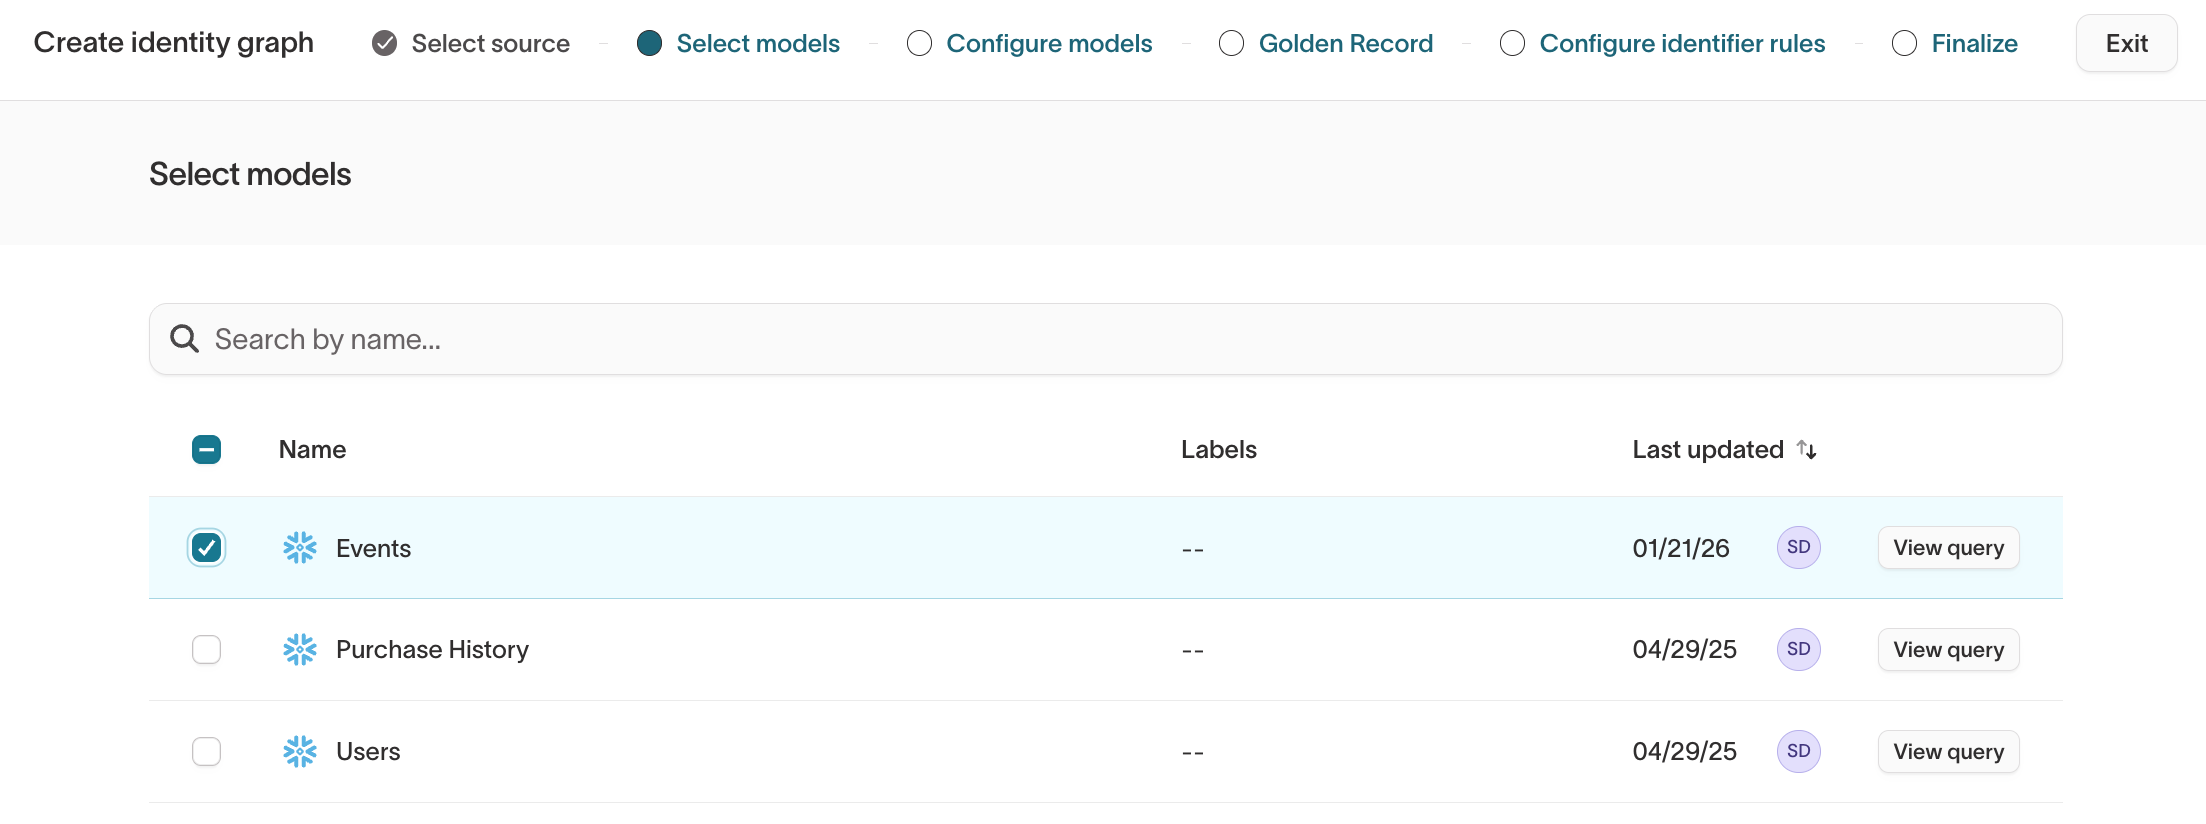
Step 2: Select models
Select the models that should participate in identity resolution. All selected models contribute records that can be grouped into resolved identities.
All models must include a timestamp column.
- Event models should use the event timestamp.
- Object models should use an
updated_ator equivalent column. - If no such timestamp column exists, you can add one using a SQL query to define the model and appending a
CURRENT_TIMESTAMPcolumn. Identity resolution uses the timestamp to efficiently processes only net-new or updated rows on incremental IDR runs. This is useful for models that are not updated frequently, such as reference tables or lookup tables.
Timestamps allow Identity Resolution to process only new or updated rows during incremental runs.
Step 3: Configure models
In this step, you define how Identity Resolution interprets each model.
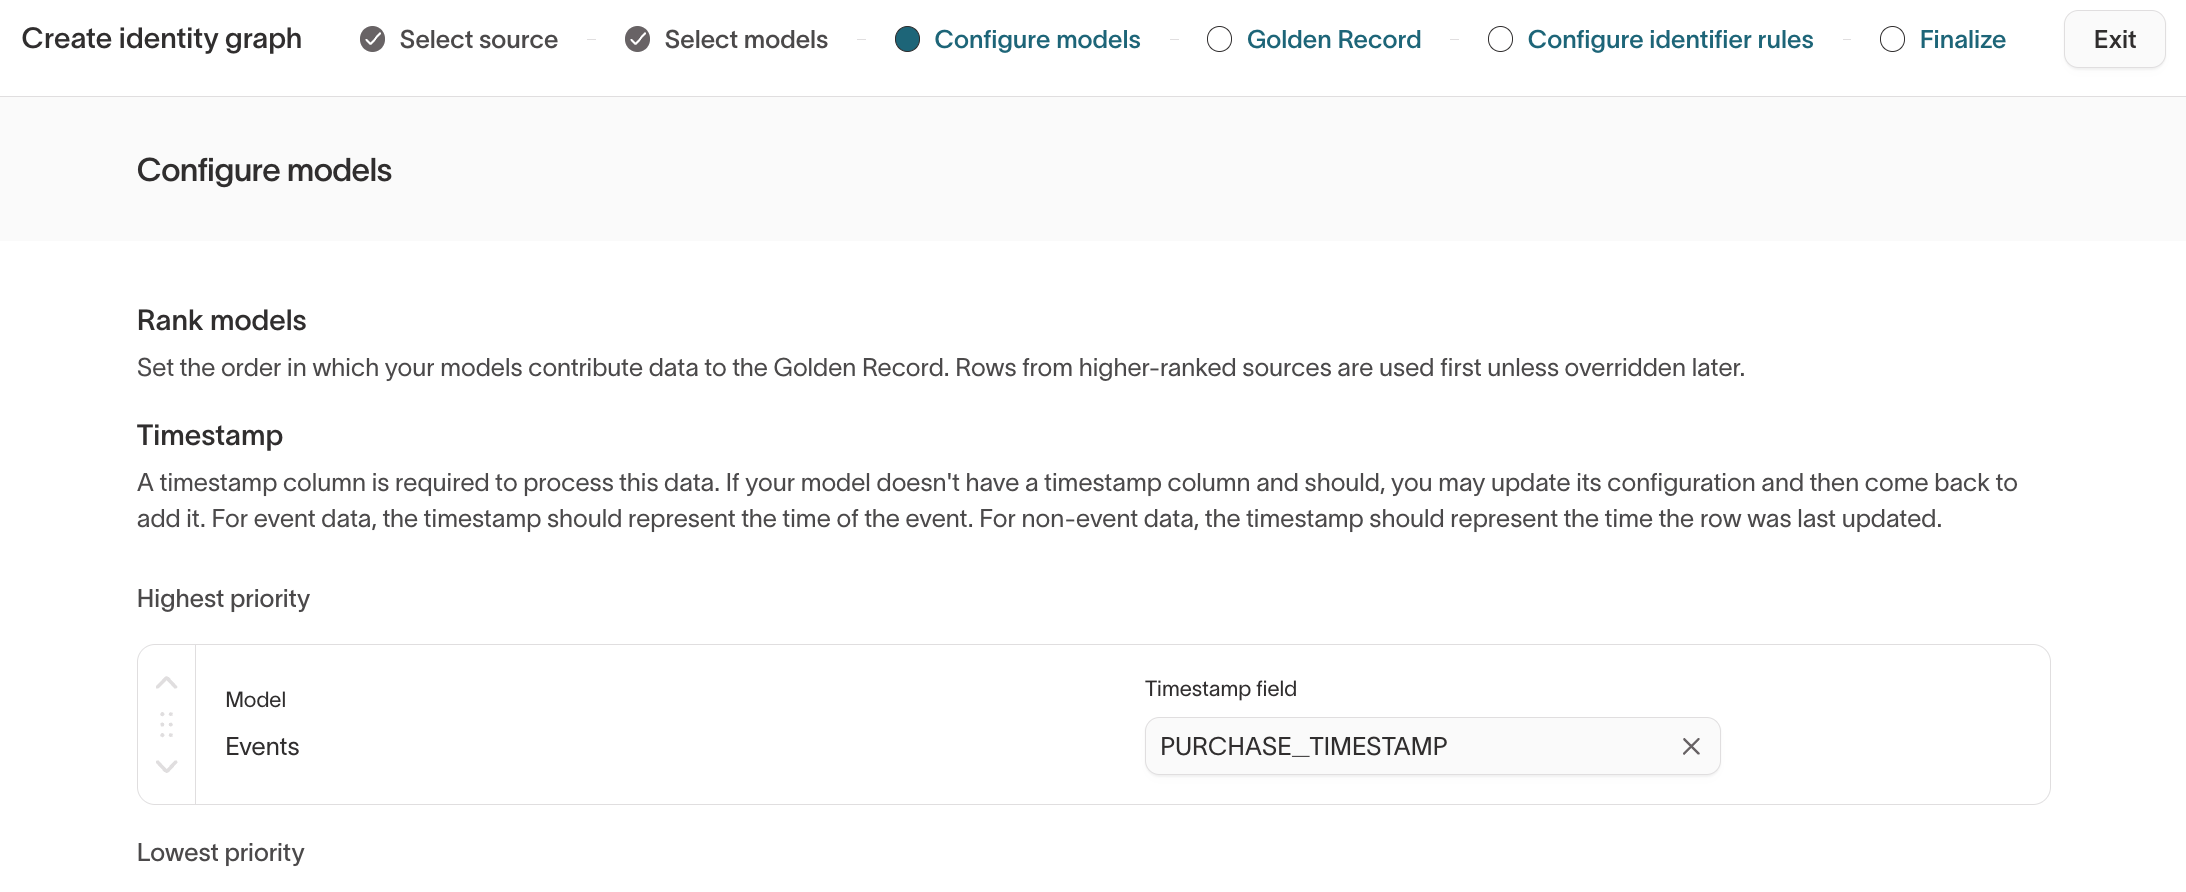
Rank models
Model ranking determines which input model's data takes precedence when Golden Record selects values for fields that appear in multiple models.
- Higher-ranked models are preferred when selecting field values.
- Rankings have no effect on identity matching — they only affect Golden Record output configured in the next step.
![]()
Confirm timestamp fields
For each model, confirm the timestamp column:
- Event models → event time
- Object models → last updated time
Identity Resolution uses timestamps for recency-based logic and incremental processing.

Assign identifiers and Golden Record fields
For each model:
-
Assign identifiers only to columns that represent identity (for example,
user_id,email). -
Select which additional columns should be included in the Golden Record output (configured in the next step).
-
If a model can contain multiple rows for the same real-world entity, choose how duplicates should be handled:
- Use the newest record – keeps the row with the most recent timestamp.
- Use the oldest record – keeps the earliest row by timestamp.
This setting applies to Golden Record output configured in Step 4. It does not affect how records are matched.
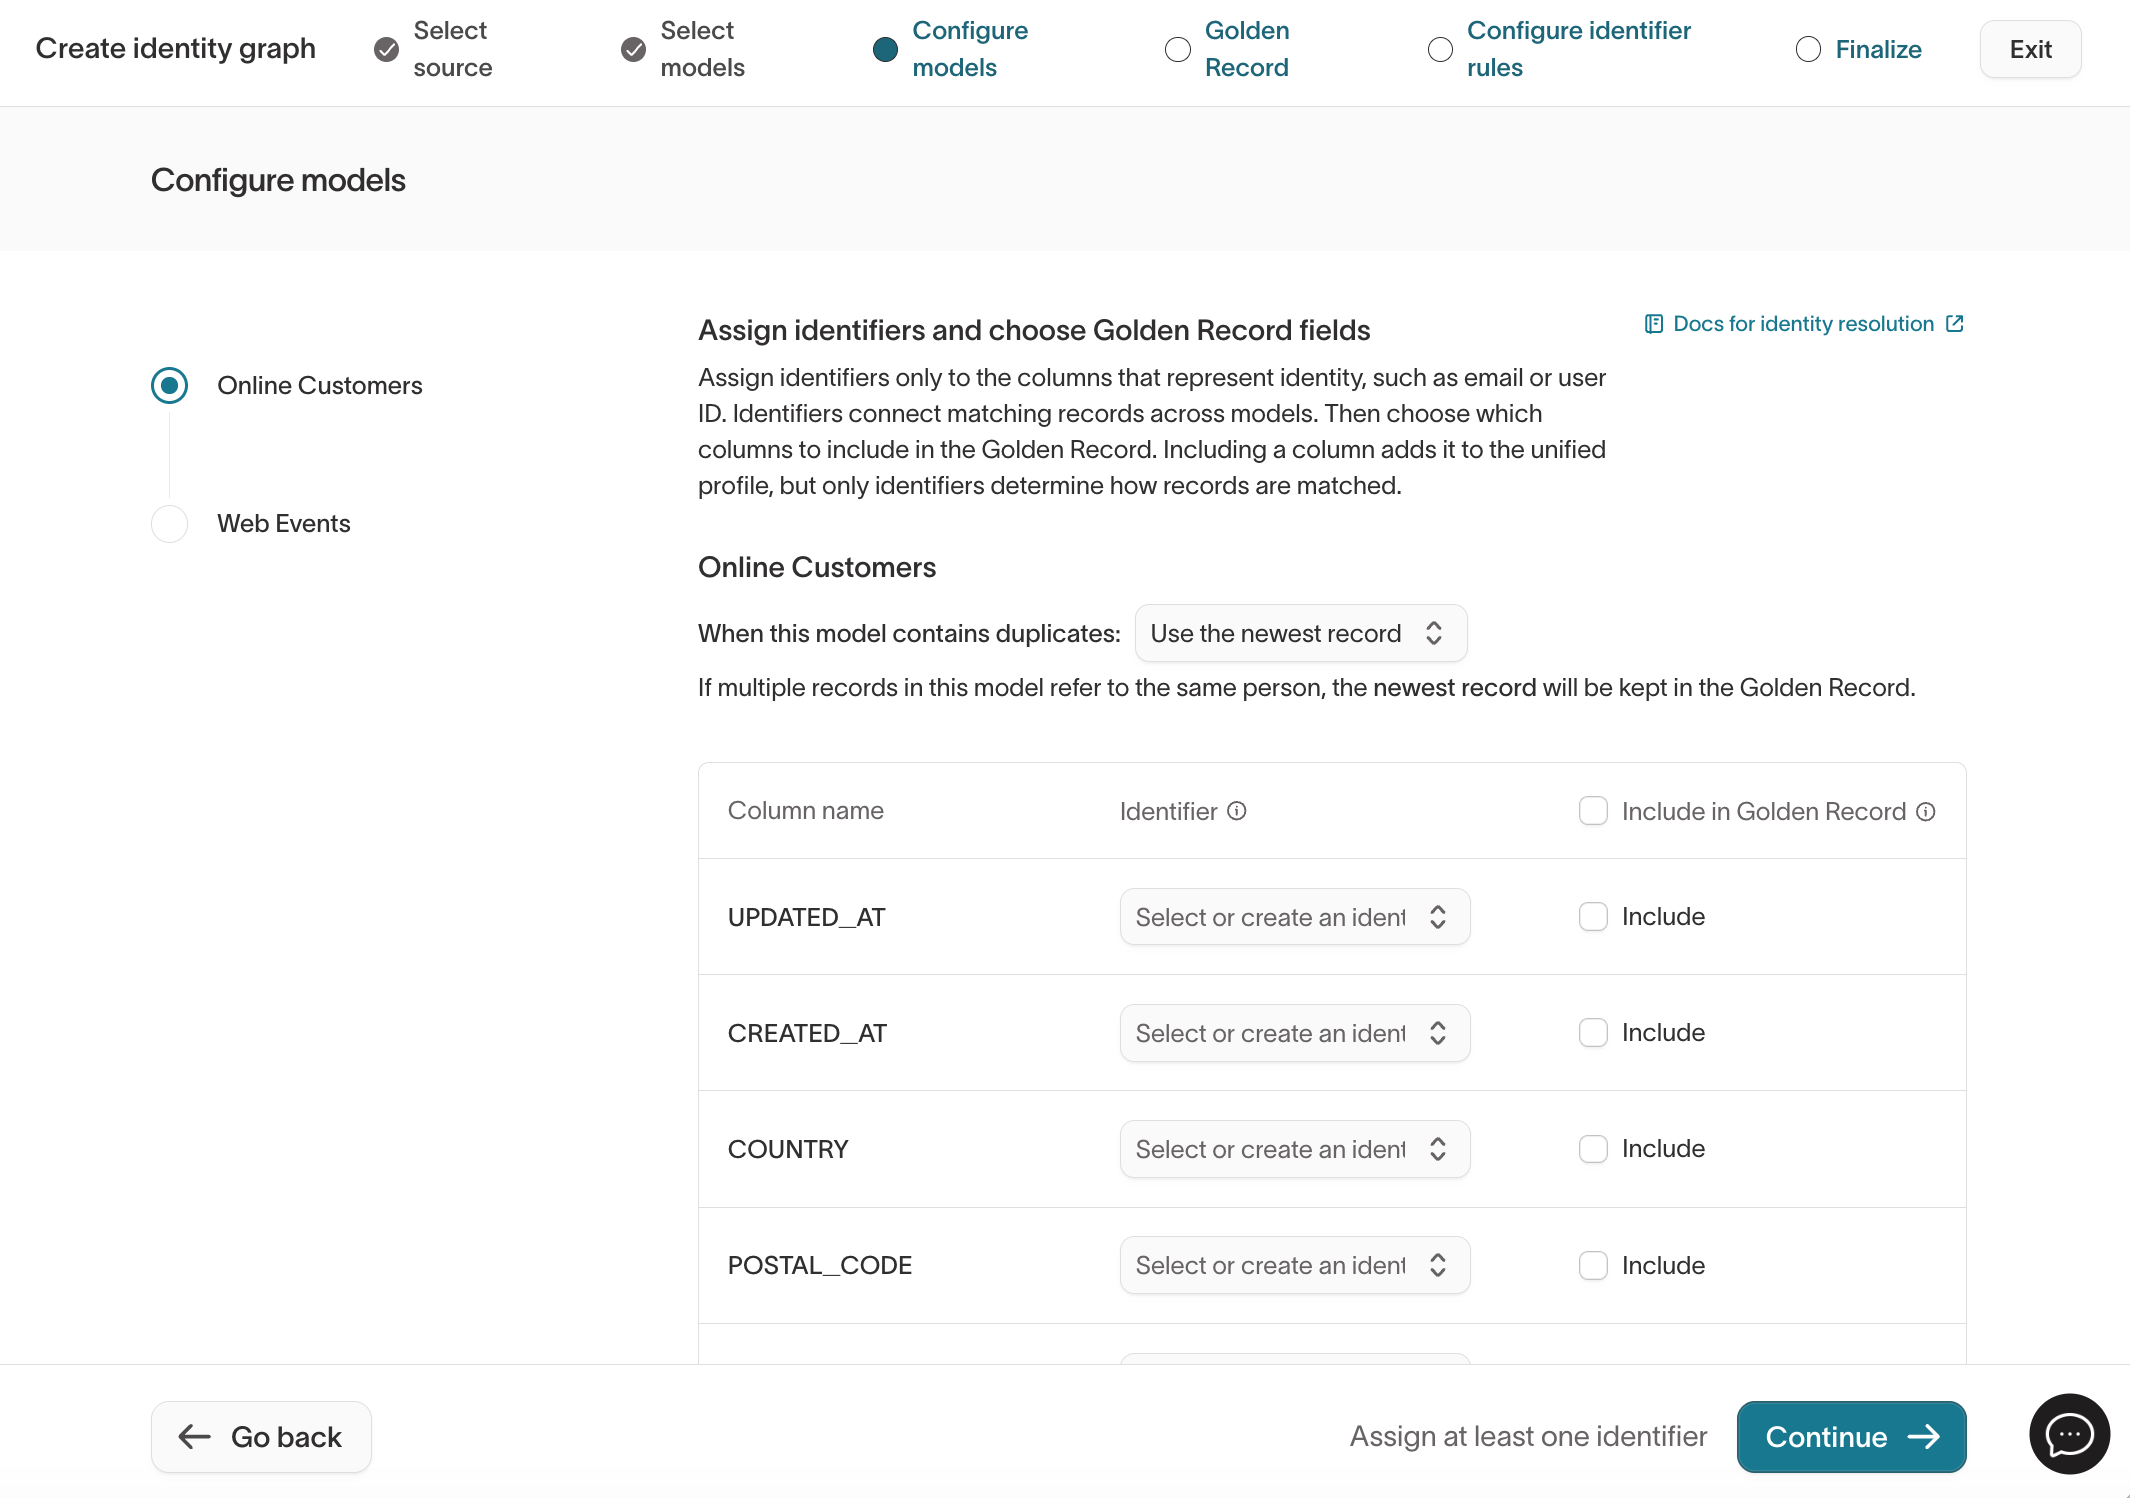
You must assign at least one identifier across your selected models to create an identity graph.
Once identifiers are assigned, they become available in the Rules tab of your identity graph for setting priority and limits. For behavior details, see Identifier rules.
Step 4: Configure Golden Record
Golden Record produces a fourth output table in your warehouse (<output_prefix>_golden_records) and automatically generates a parent model in Customer Studio, giving marketers a clean, ready-to-use starting point for building audiences.
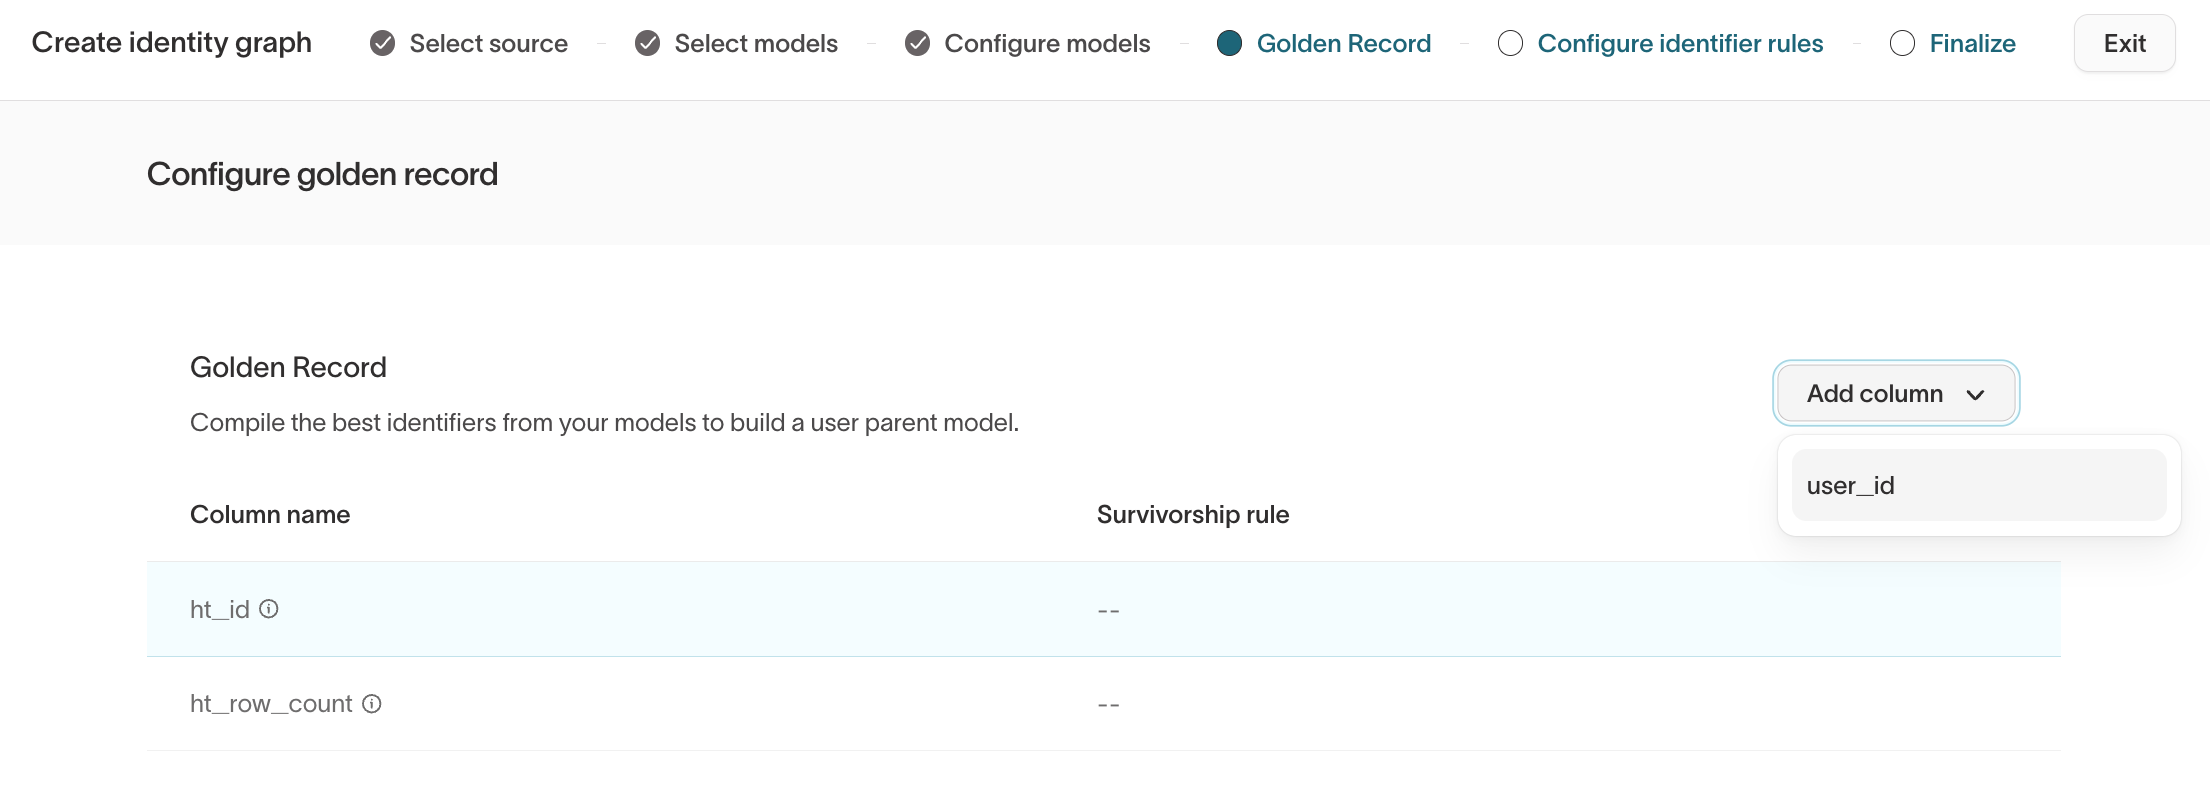
Golden Record allows you to:
- Select which fields appear in the unified profile.
- Define survivorship rules for each field.
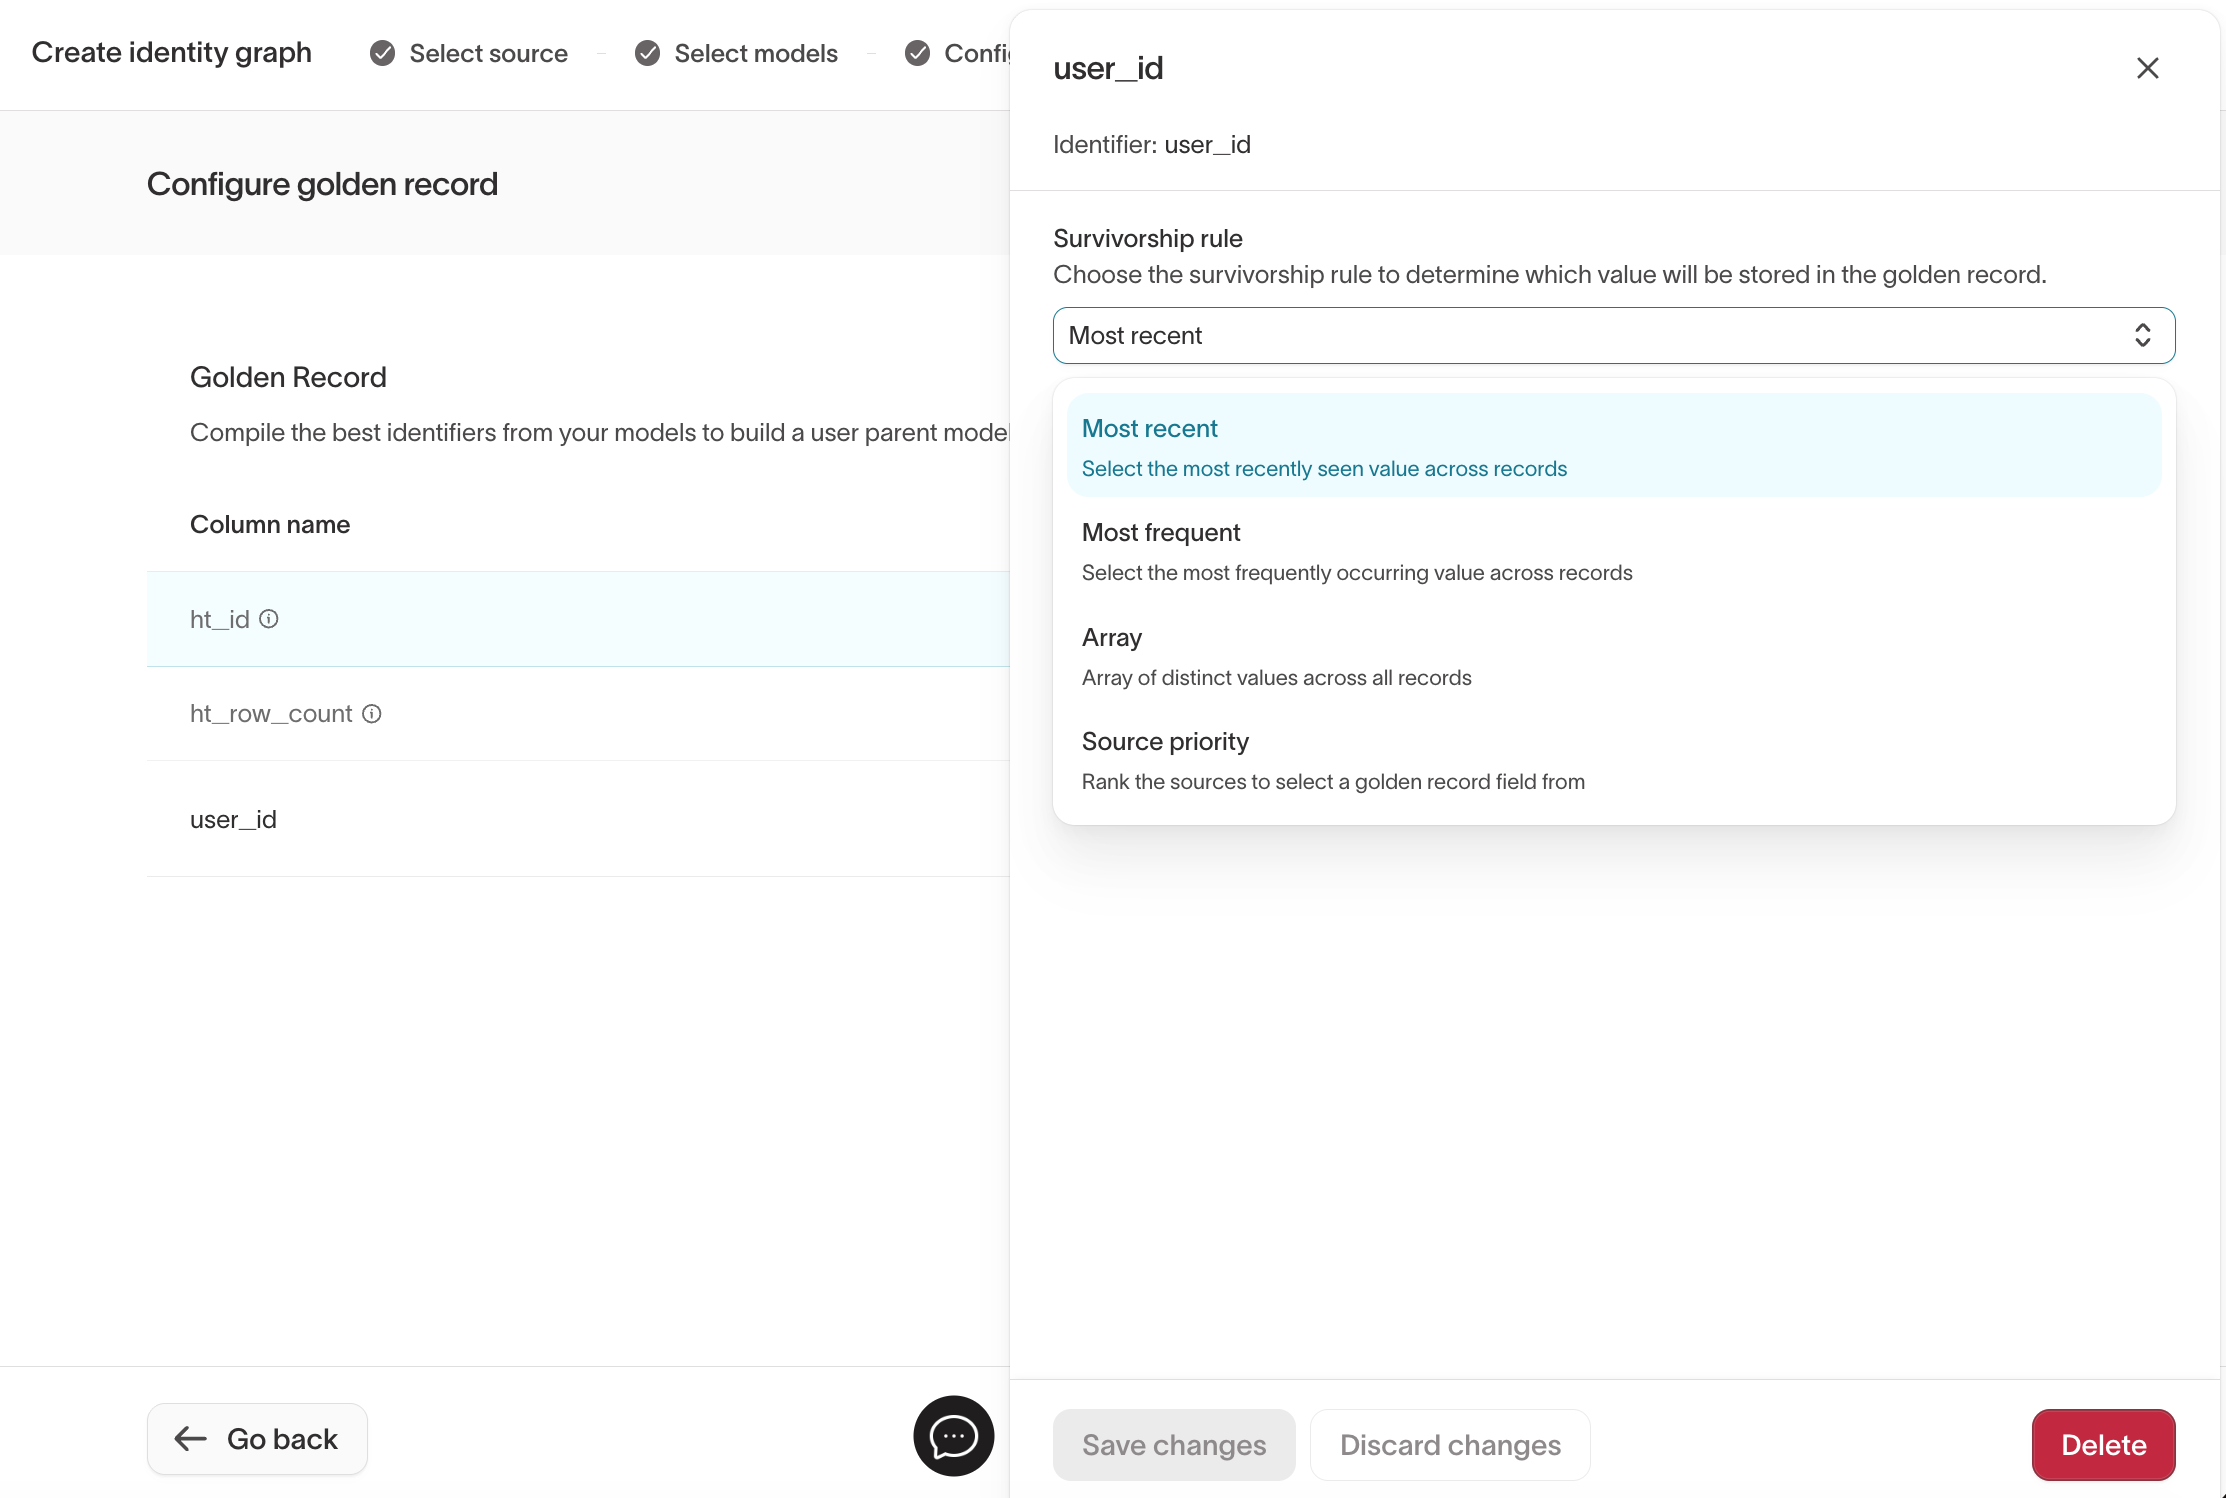
Supported survivorship rules include:
Most recent– choose the value with the latest timestamp.Most frequent– choose the value that appears most often.Array– keep all unique values in an array (for example, all emails ever seen for a user).Min– choose the smallest value.Max– choose the largest value.Source priority– prefer values from specific models or sources in a defined order.
Use Array when you need to preserve a full set of values instead of selecting a single canonical value.
Even if you plan to use Customer Studio, enabling Golden Record gives you a clean, queryable identity table (<output_prefix>_golden_records) directly in your warehouse. For details, see Golden Record.
Step 5: Configure identifier rules
Identifier rules define how records are grouped into resolved identities using exact matches.
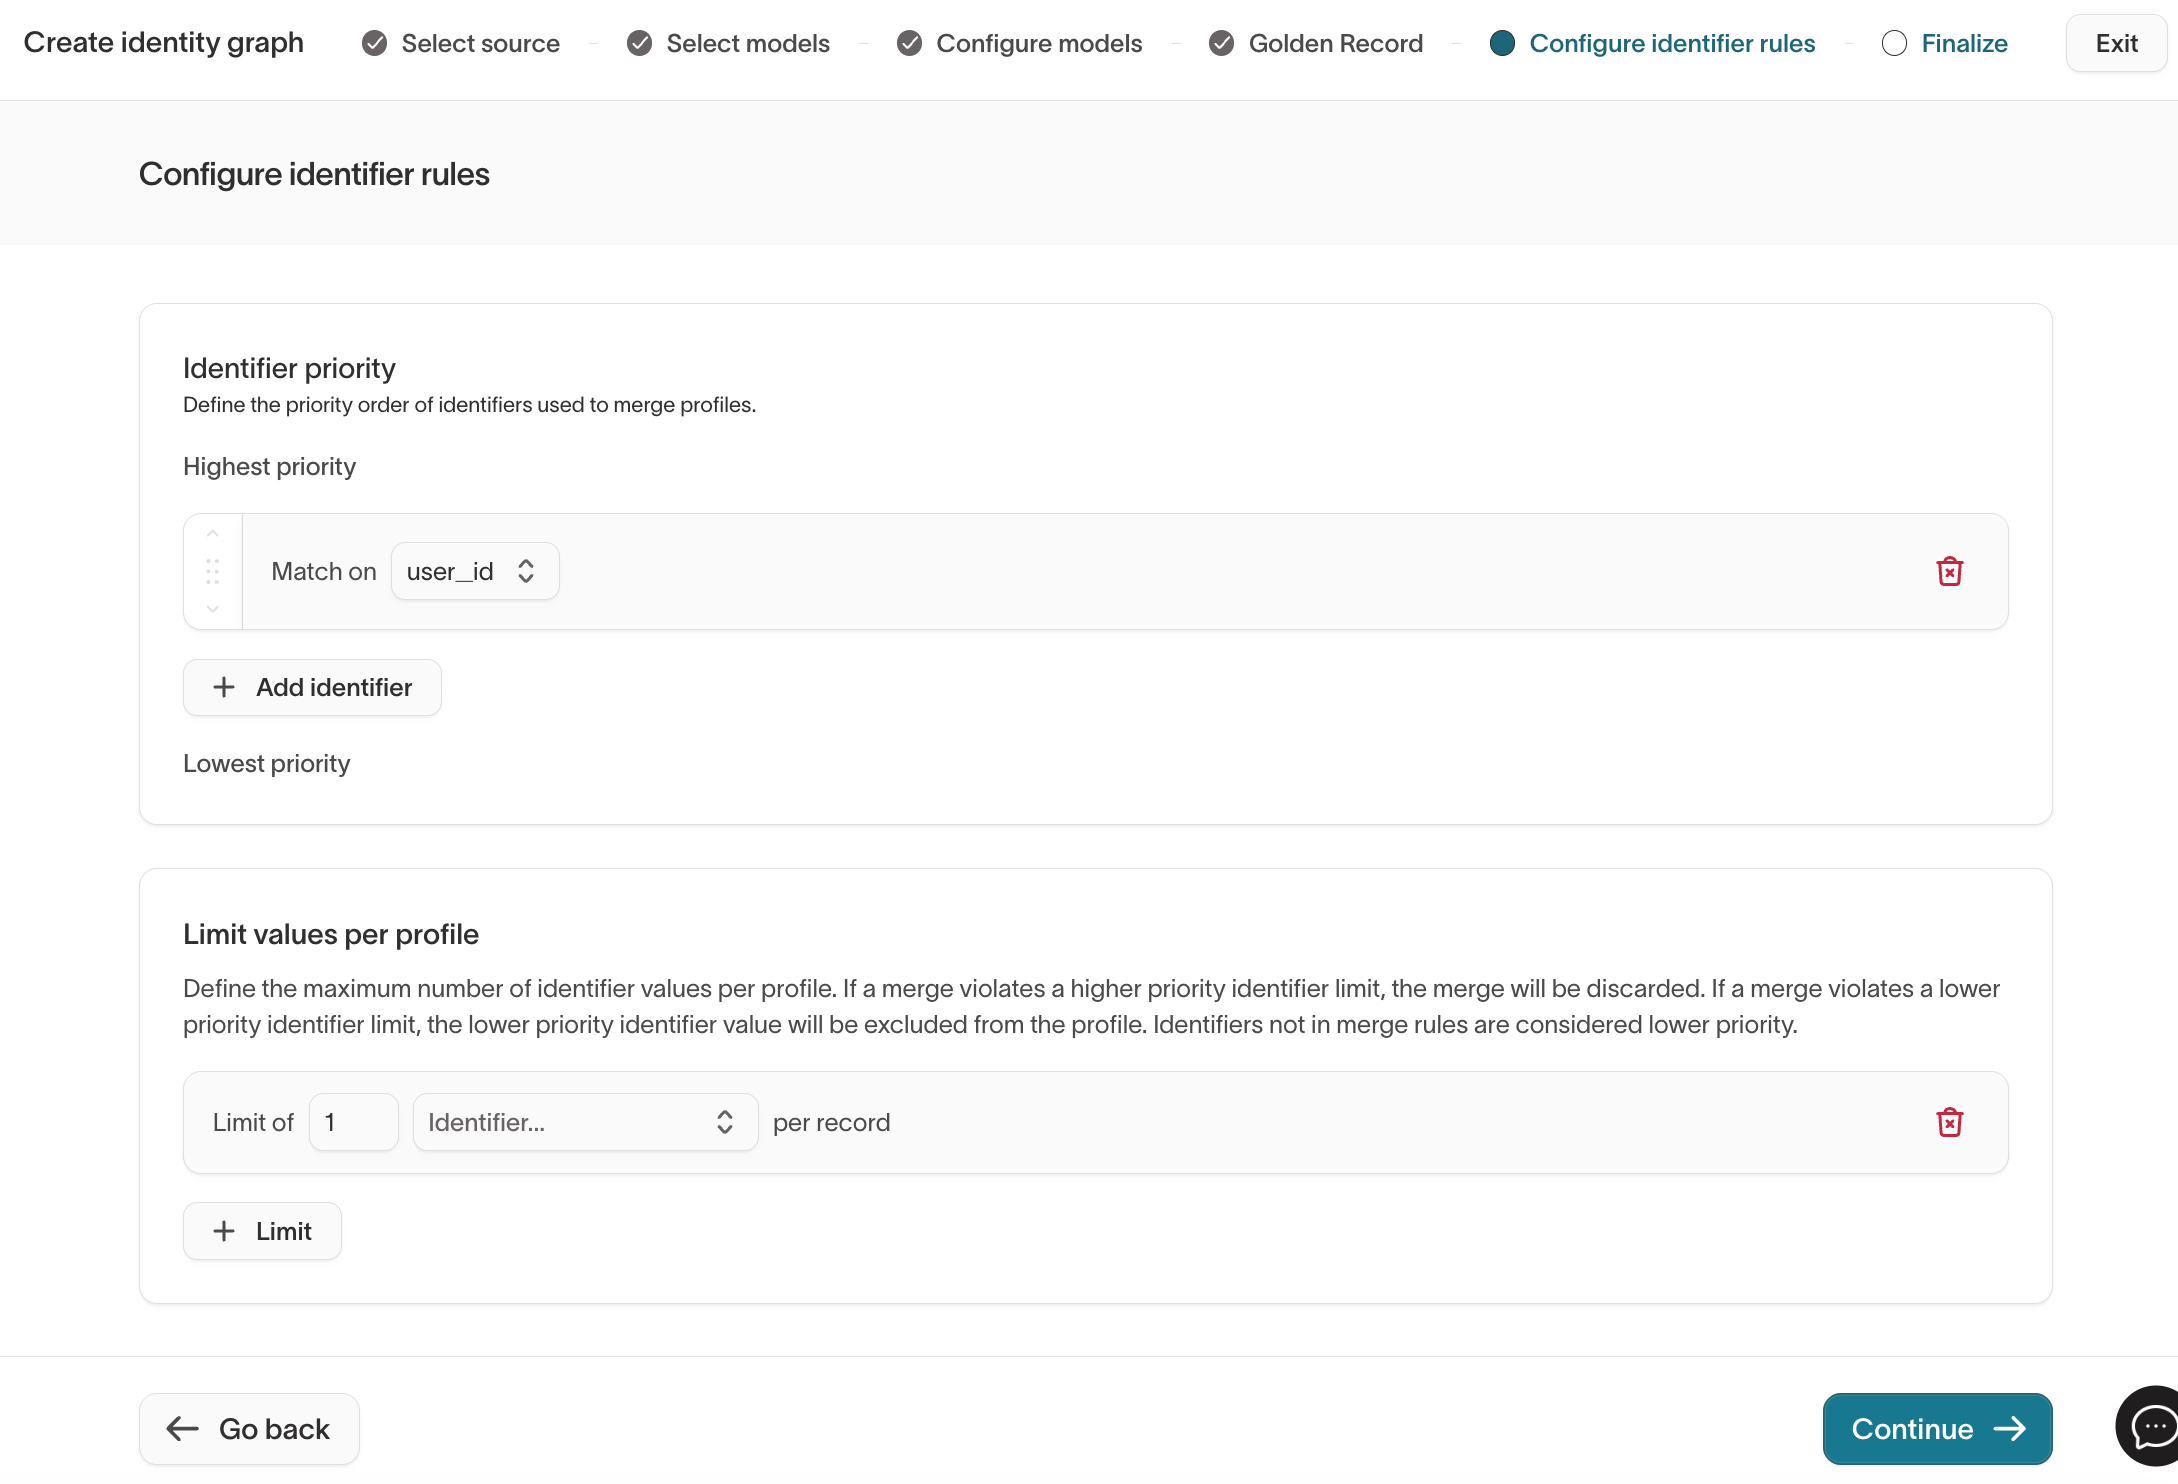
Identifier priority
- Identifiers are evaluated from highest to lowest priority.
- Higher-priority identifiers can prevent lower-priority identifiers from creating unintended merges.
Limit values per profile
Limits prevent over-merging by restricting how many distinct values of an identifier an identity can contain.
- If a merge violates a higher-priority identifier limit, the merge is discarded.
- If it violates a lower-priority identifier limit, the lower-priority value is excluded from the identity.
For detailed behavior, examples, and edge cases, see Identifier rules.
Step 6: Finalize
In the final step, configure graph-level settings and run behavior.

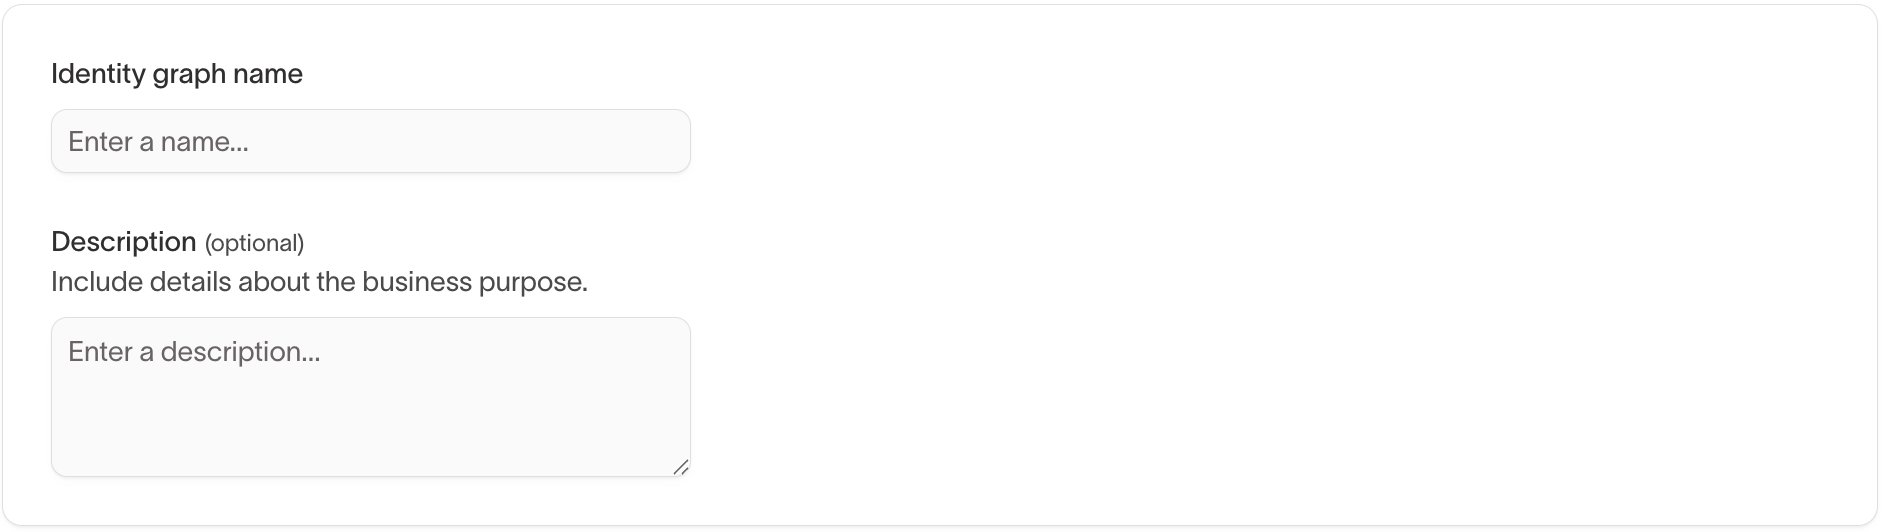
Name and description
Provide a clear identity graph name and optional description to document:
- The entity being resolved (people, accounts, households, etc.).
- Which models and identifiers are used.
- Any notable rule or Golden Record decisions.
Output location
Specify a table prefix for where Hightouch should write Identity Resolution outputs in your warehouse schema.
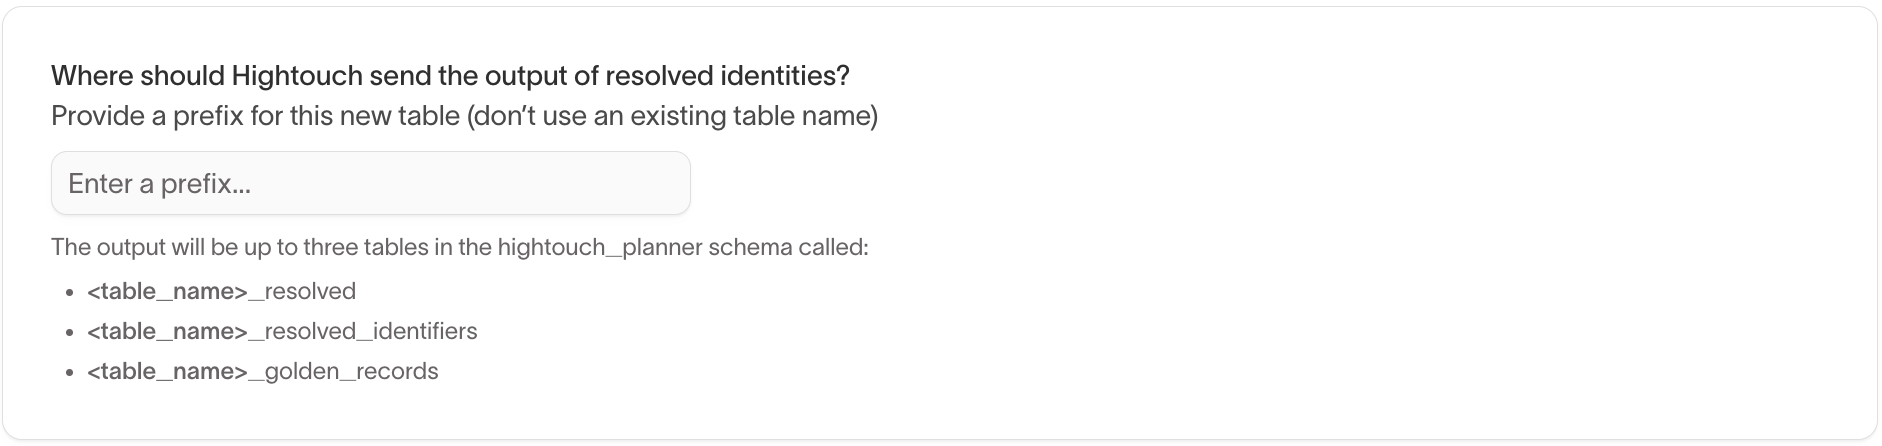
Hightouch writes up to four tables to the hightouch_planner schema:
<output_prefix>_resolved<output_prefix>_resolved_identifiers<output_prefix>_unresolved<output_prefix>_golden_records(if Golden Record is enabled)
These tables are documented in Lookup table usage.
Enable probabilistic matching
to enable probabilistic matching.
If enabled in your workspace, you can optionally enable probabilistic matching.
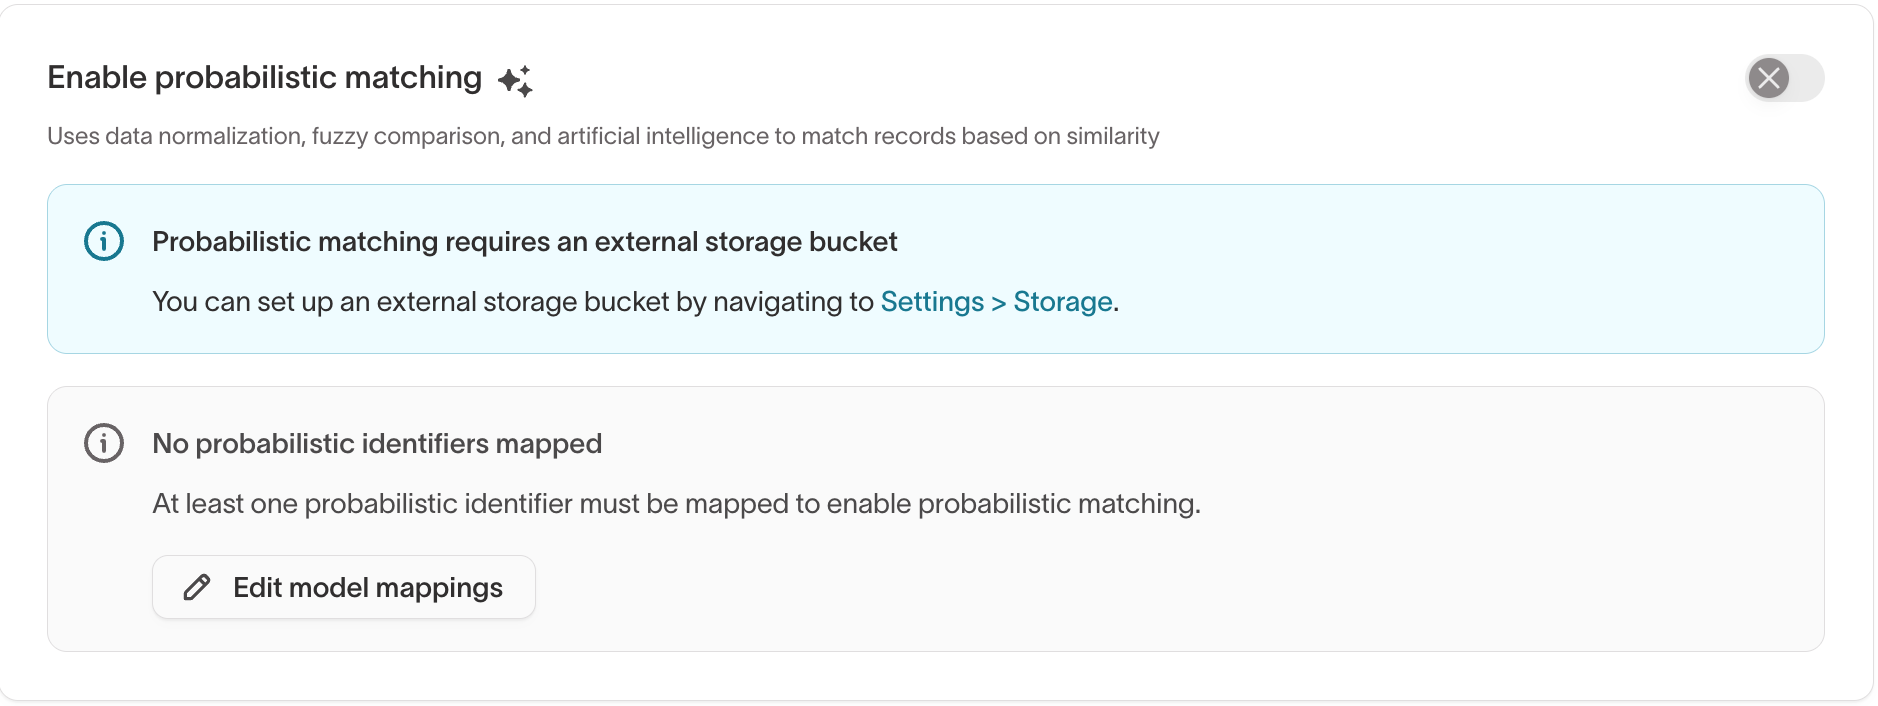
Probabilistic matching requires an external storage bucket. Configure this in Settings > Storage before enabling.
Schedule type
Choose how the identity graph runs:
- Manual – trigger runs on demand (recommended while configuring).
- Interval, custom recurrence, or cron – run IDR on a schedule to keep identities fresh.
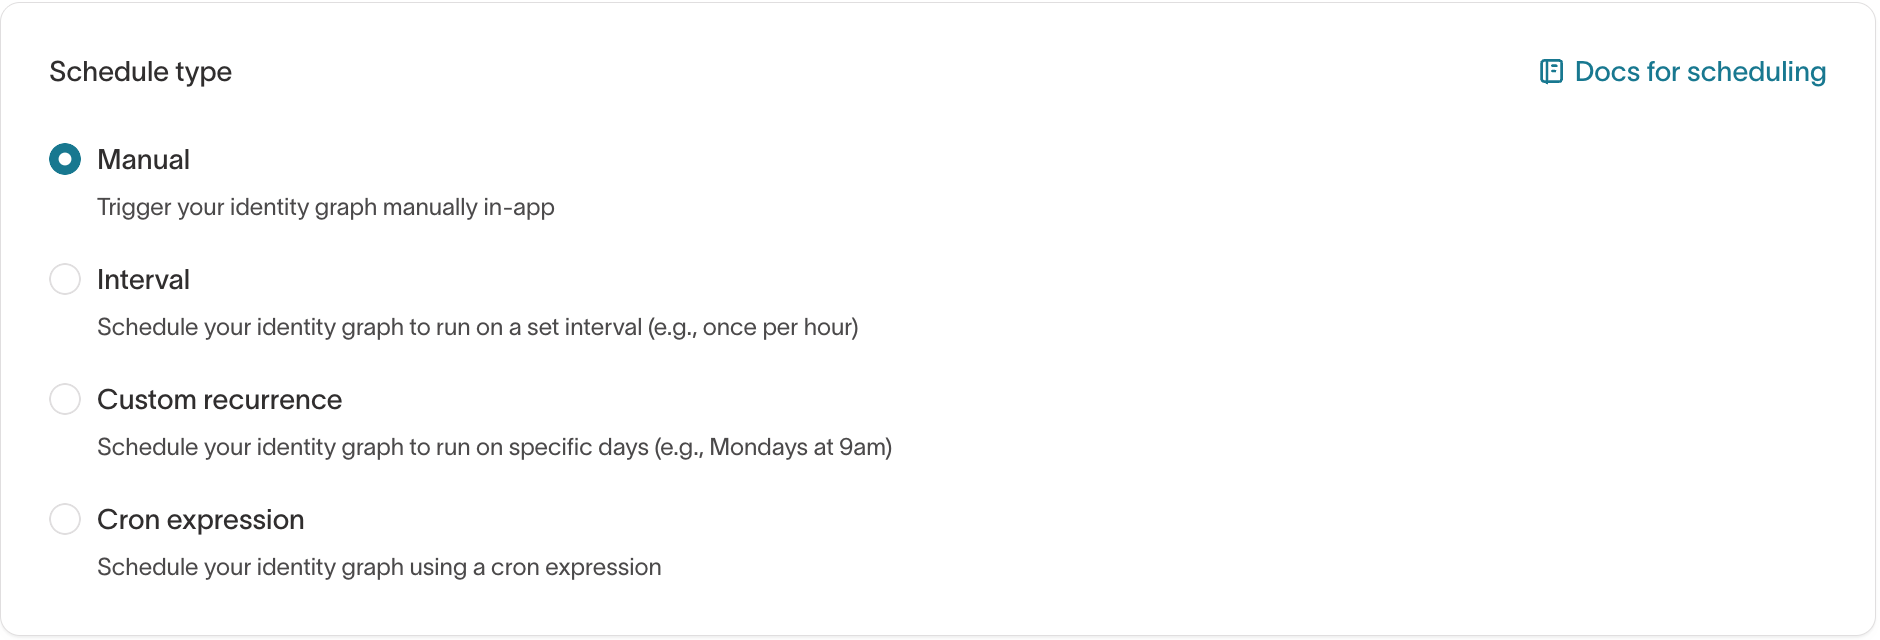
For scheduling details, see Schedule syncs in the UI.
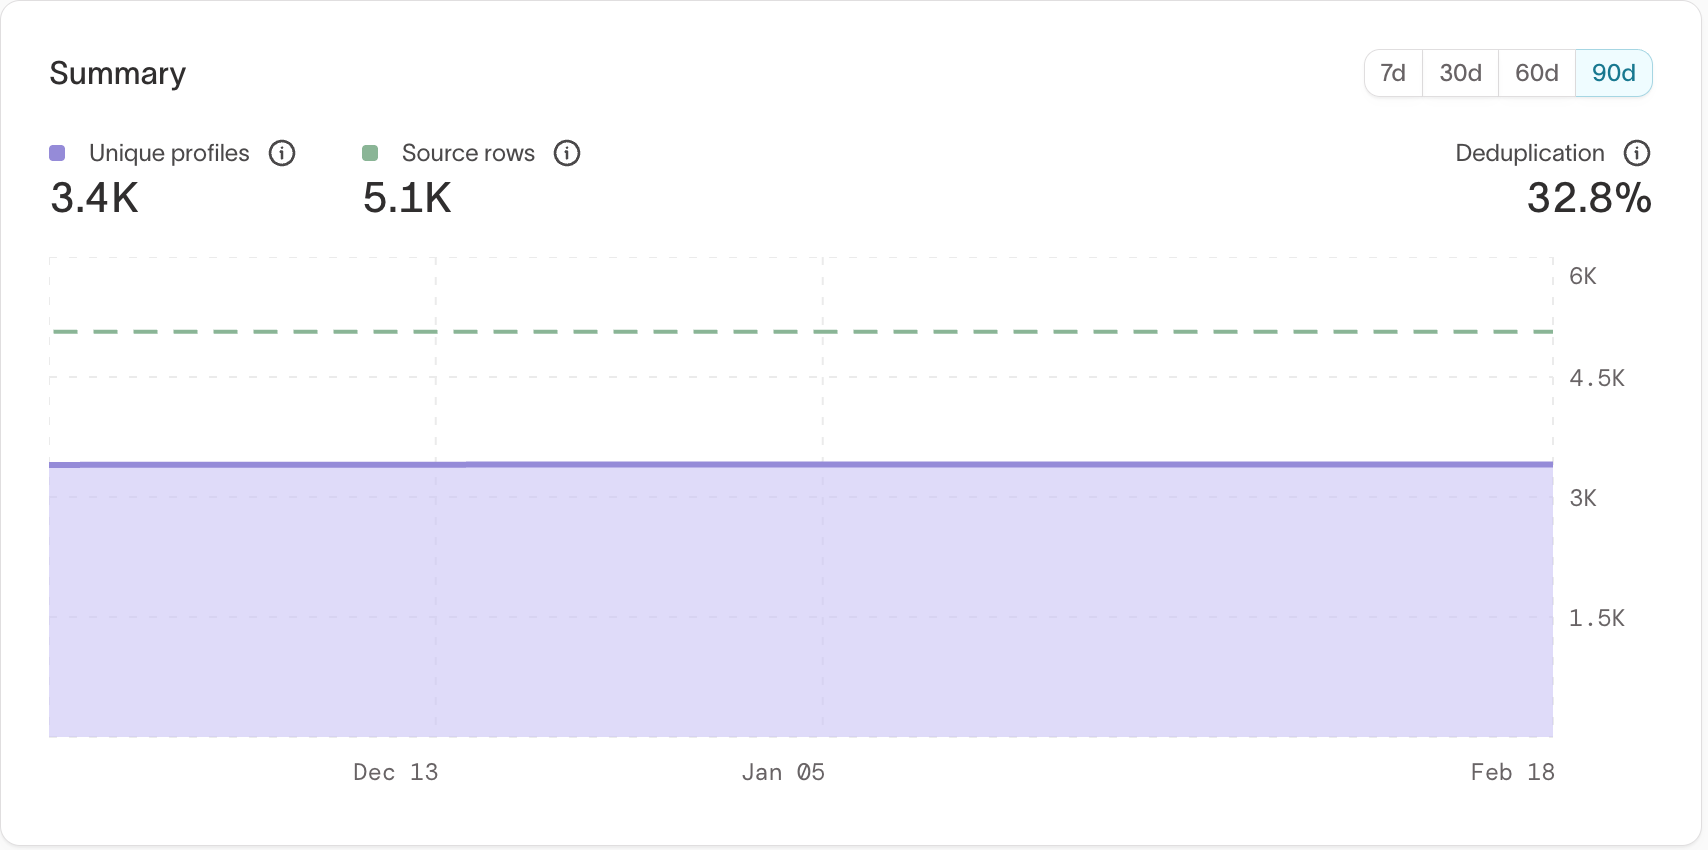
After the initial run, review the number of resolved identities compared to your expected entity count (for example, number of unique users or accounts).
Large discrepancies may indicate overly aggressive merging or overly strict limits.
Run the graph
Click Finish to create and run the identity graph.
On the first run:
- All selected records are processed.
- Resolved identities are created.
- A stable
ht_idis assigned to each identity.
Subsequent runs process new or updated records incrementally.
After the graph runs
Identity Resolution writes resolved identity tables to your warehouse.
You can use these outputs to:
- Inspect identity clusters and identifiers.
- Build schemas and traits in Customer Studio.
- Sync unified identities to downstream tools.
Before activating Golden Record or syncing identities downstream, review a sample of profiles in the Profiles tab to confirm that identifiers and key traits were merged as expected.
To learn how to review results, see Review and validate matches.